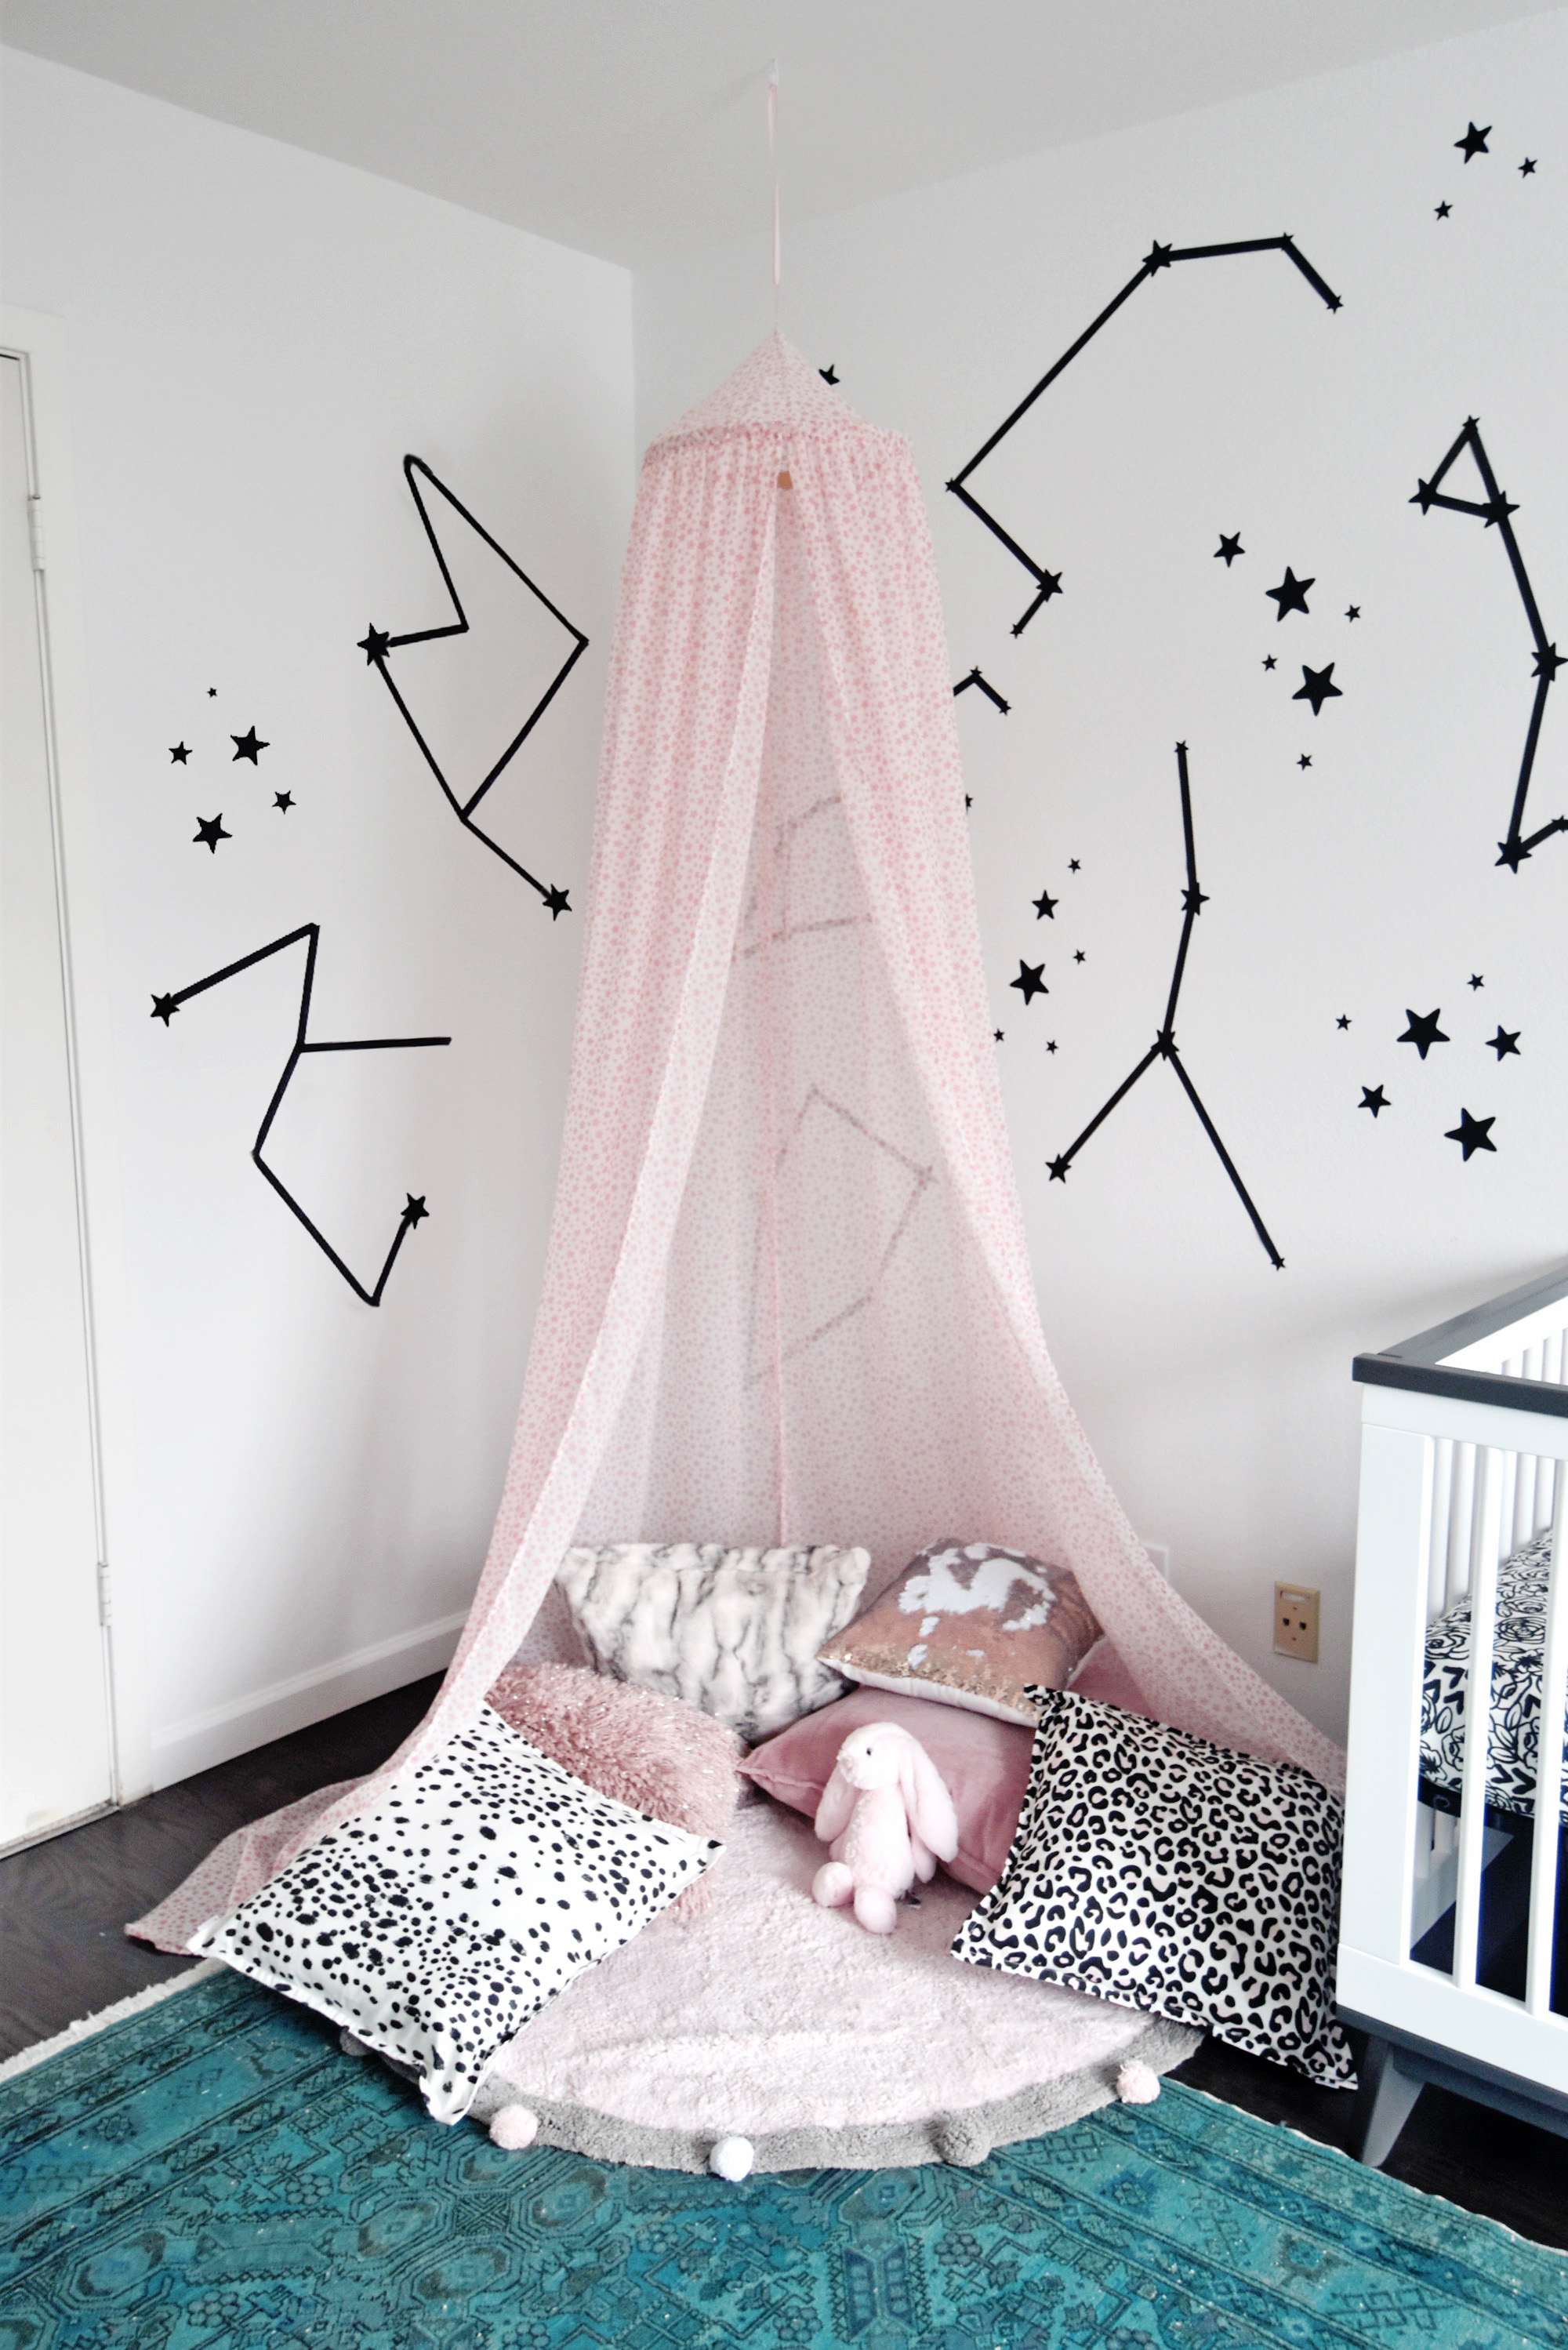
I had a fun challenge with Spoonflower this week to create a beautiful chiffon canopy for my daughter’s nursery. Although at first I didn’t quite know what the best method was, I tried a few different mockups and settled with this DIY using an embroidery hoop that looks professional but is so easy to make! Sewing the chiffon was surprisingly easy, and the sheerness of the drape and flow of this fabric makes for the most beautiful detail in any nursery. I picked pink stars to continue with a constellation theme in my daughter’s nursery, but definitely have fun picking out something bold to make a statement!
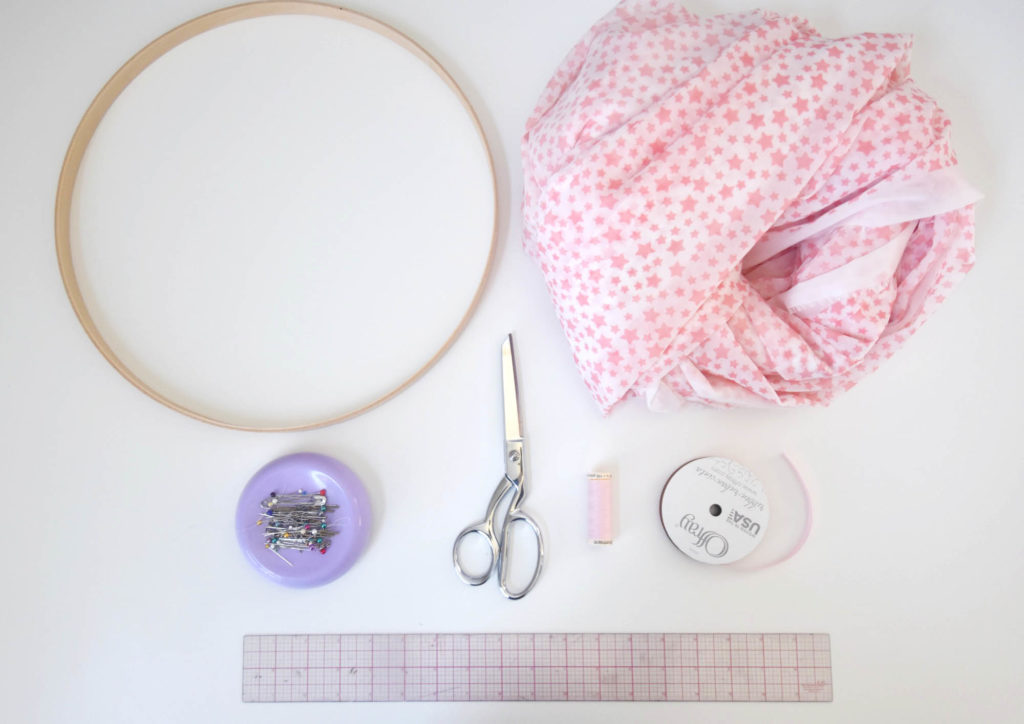
What You Need:
- 5-6 yards of Chiffon fabric
- 14” embroidery hoop
- Ruler
- Scissors
- Pins
- Thin decorative ribbon
Steps:
See the FULL Tutorial with pictures of each step over here on the Spoonflower Blog!
Step 1: Trace and cut out a circle bigger than the hoop size. My hoop is 14”, and I added 4” around the entire edge, making it a 22” circle
Step 2: Fold the circle into quarters, and snip off ¼” of the corner to make room for a ribbon loop to hang.
Step 3: Unfold your circle and re-fold in half, right sides together. Pin a large dart from the outside of the circle pointing in, in order to give your circle a ‘point’ like a children’s party hat.
Step 4: Cut a small 4” piece of ribbon, loop and pin it into the center hole. Sew a straight seam from the center hole along the dart to finish the circle. Trim and finish seam.
Step 5: Measure the outside circumference of your hoop. My 14” hoop has an outside circumference of 44.5”.
Step 6: Cut your chiffon into 2 equal length pieces, with each being at least 2 yards long (depending on where you would like to drape the canopy from).
Step 7: Sew along the longer length of the 2 panels, to create one large panel. Finish the seam in your desired way. I chose a french seam, which is perfect for chiffon. Simply sew the wrong edges together first, then trim, flip inside out, and sew the right edges together to enclose the raw edges. Then sew along the outside edges of the canopy, folding in the edges twice to finish the raw edges.
Step 8: Gather along the top line of your panel. In order to do this, sew 2 rows of a large stitch length, ideally size 5. Do not backstitch or secure the beginning or end of your stitch, and leave long thread edges. Once the two stitch lines are sewn, pull the front side threads to gather the panel. Pull gently, so as to not rip the threads. Continue to pull and work until the gathered panel is the same length as the outside circumference of your hoop (for me, 44.5”)
Step 9: Match the wrong side of the gathered panel to the wrong side of the circle piece (center seam to circle center seam) and pin along the outside edges, with a 1” seam allowance.
Step 10: Fold the seam allowance up and sew another straight stitch the same width as your hoop, approximately ¾”, securing the excess seam allowance in place.
Step 11: Use hand stitching to secure the hoop in place, by crossing back and forth across the hoop, looping into the 2 stitch lines.
Step 11: Hang canopy in desired location, either directly on a ceiling hook or by adding another ribbon to the loop to lower the height of the canopy.
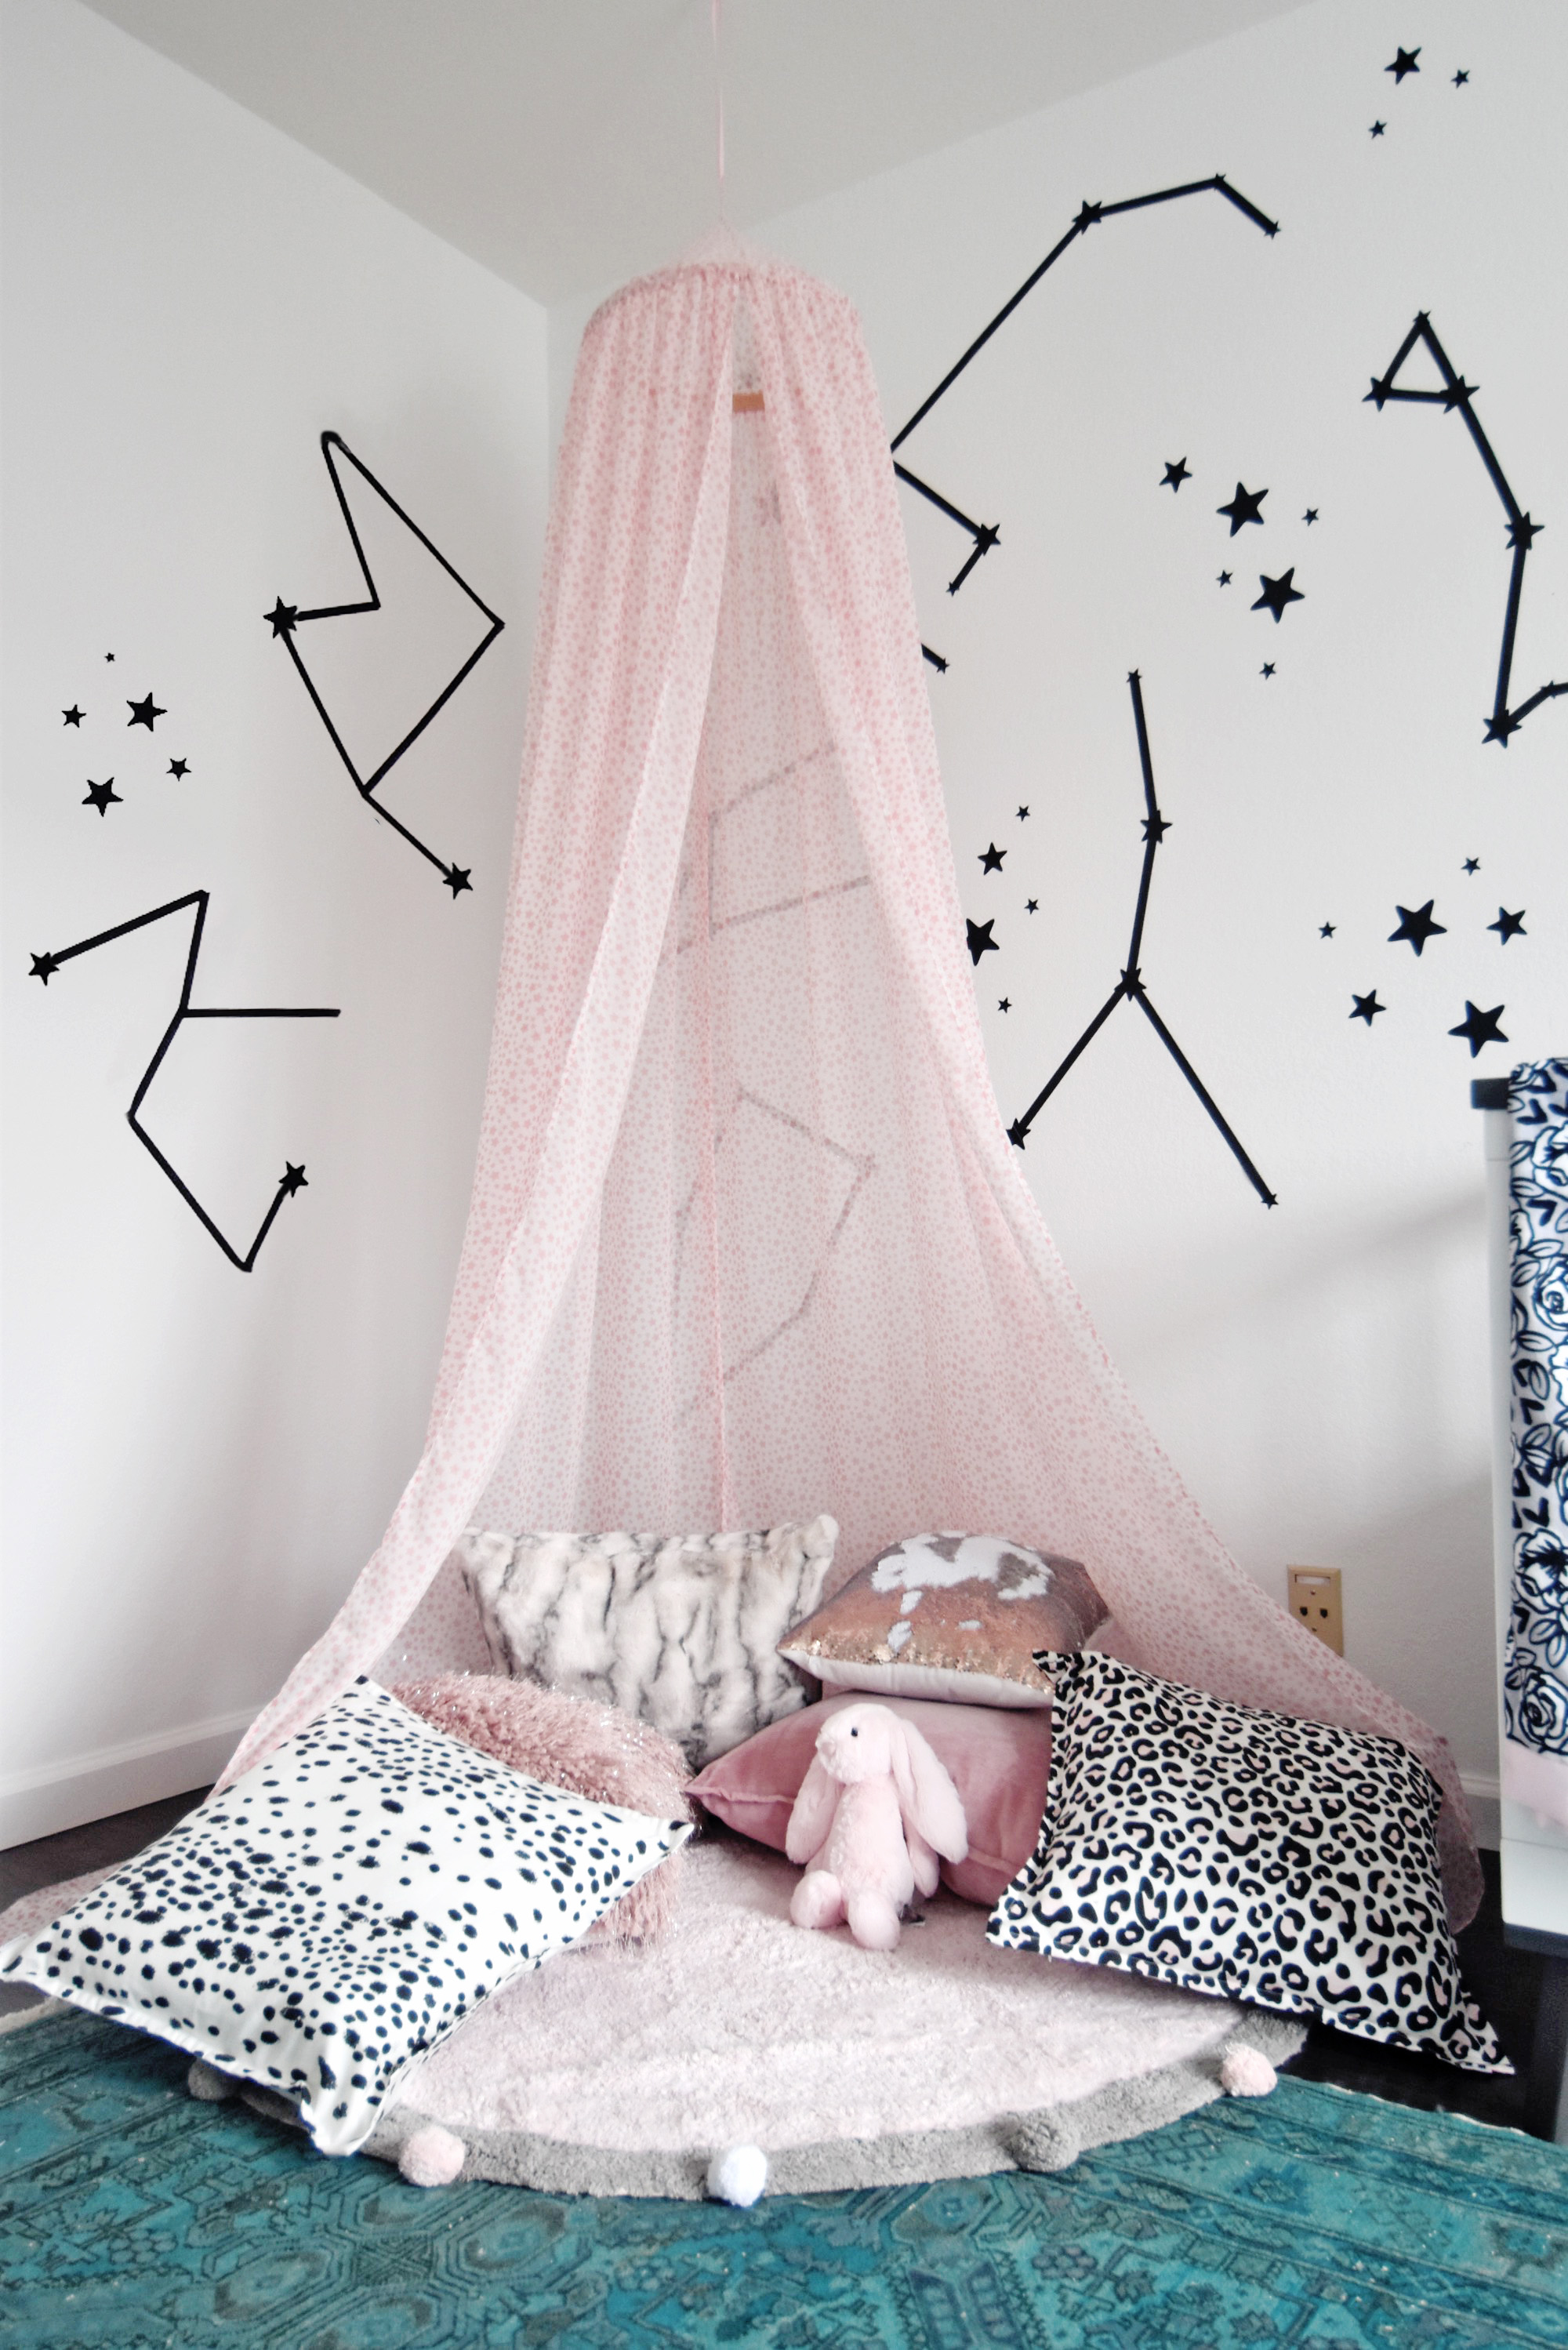
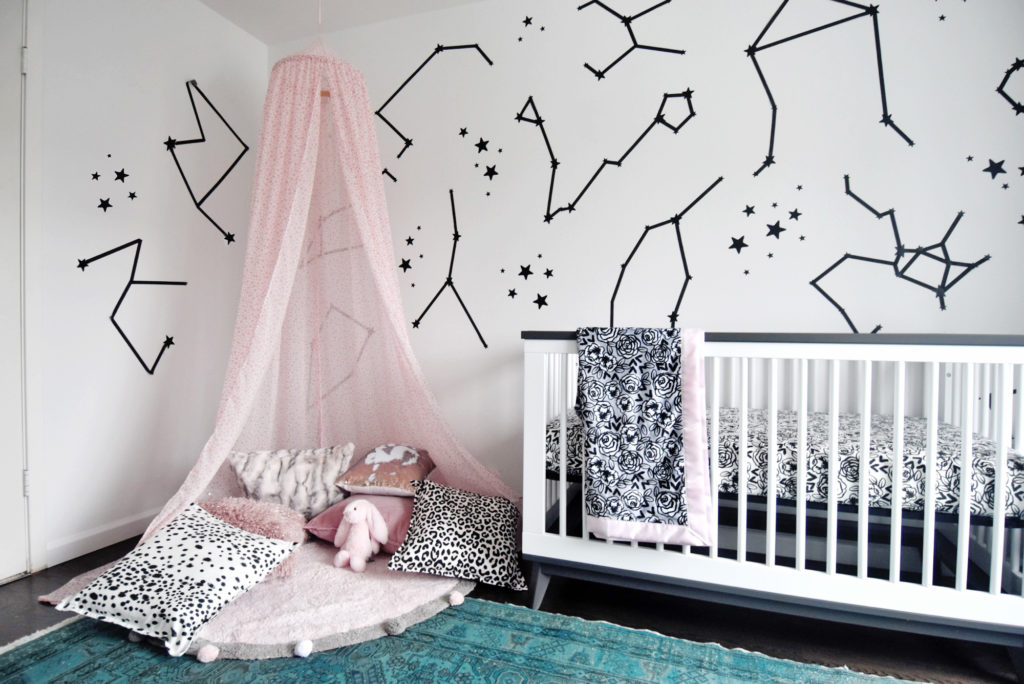
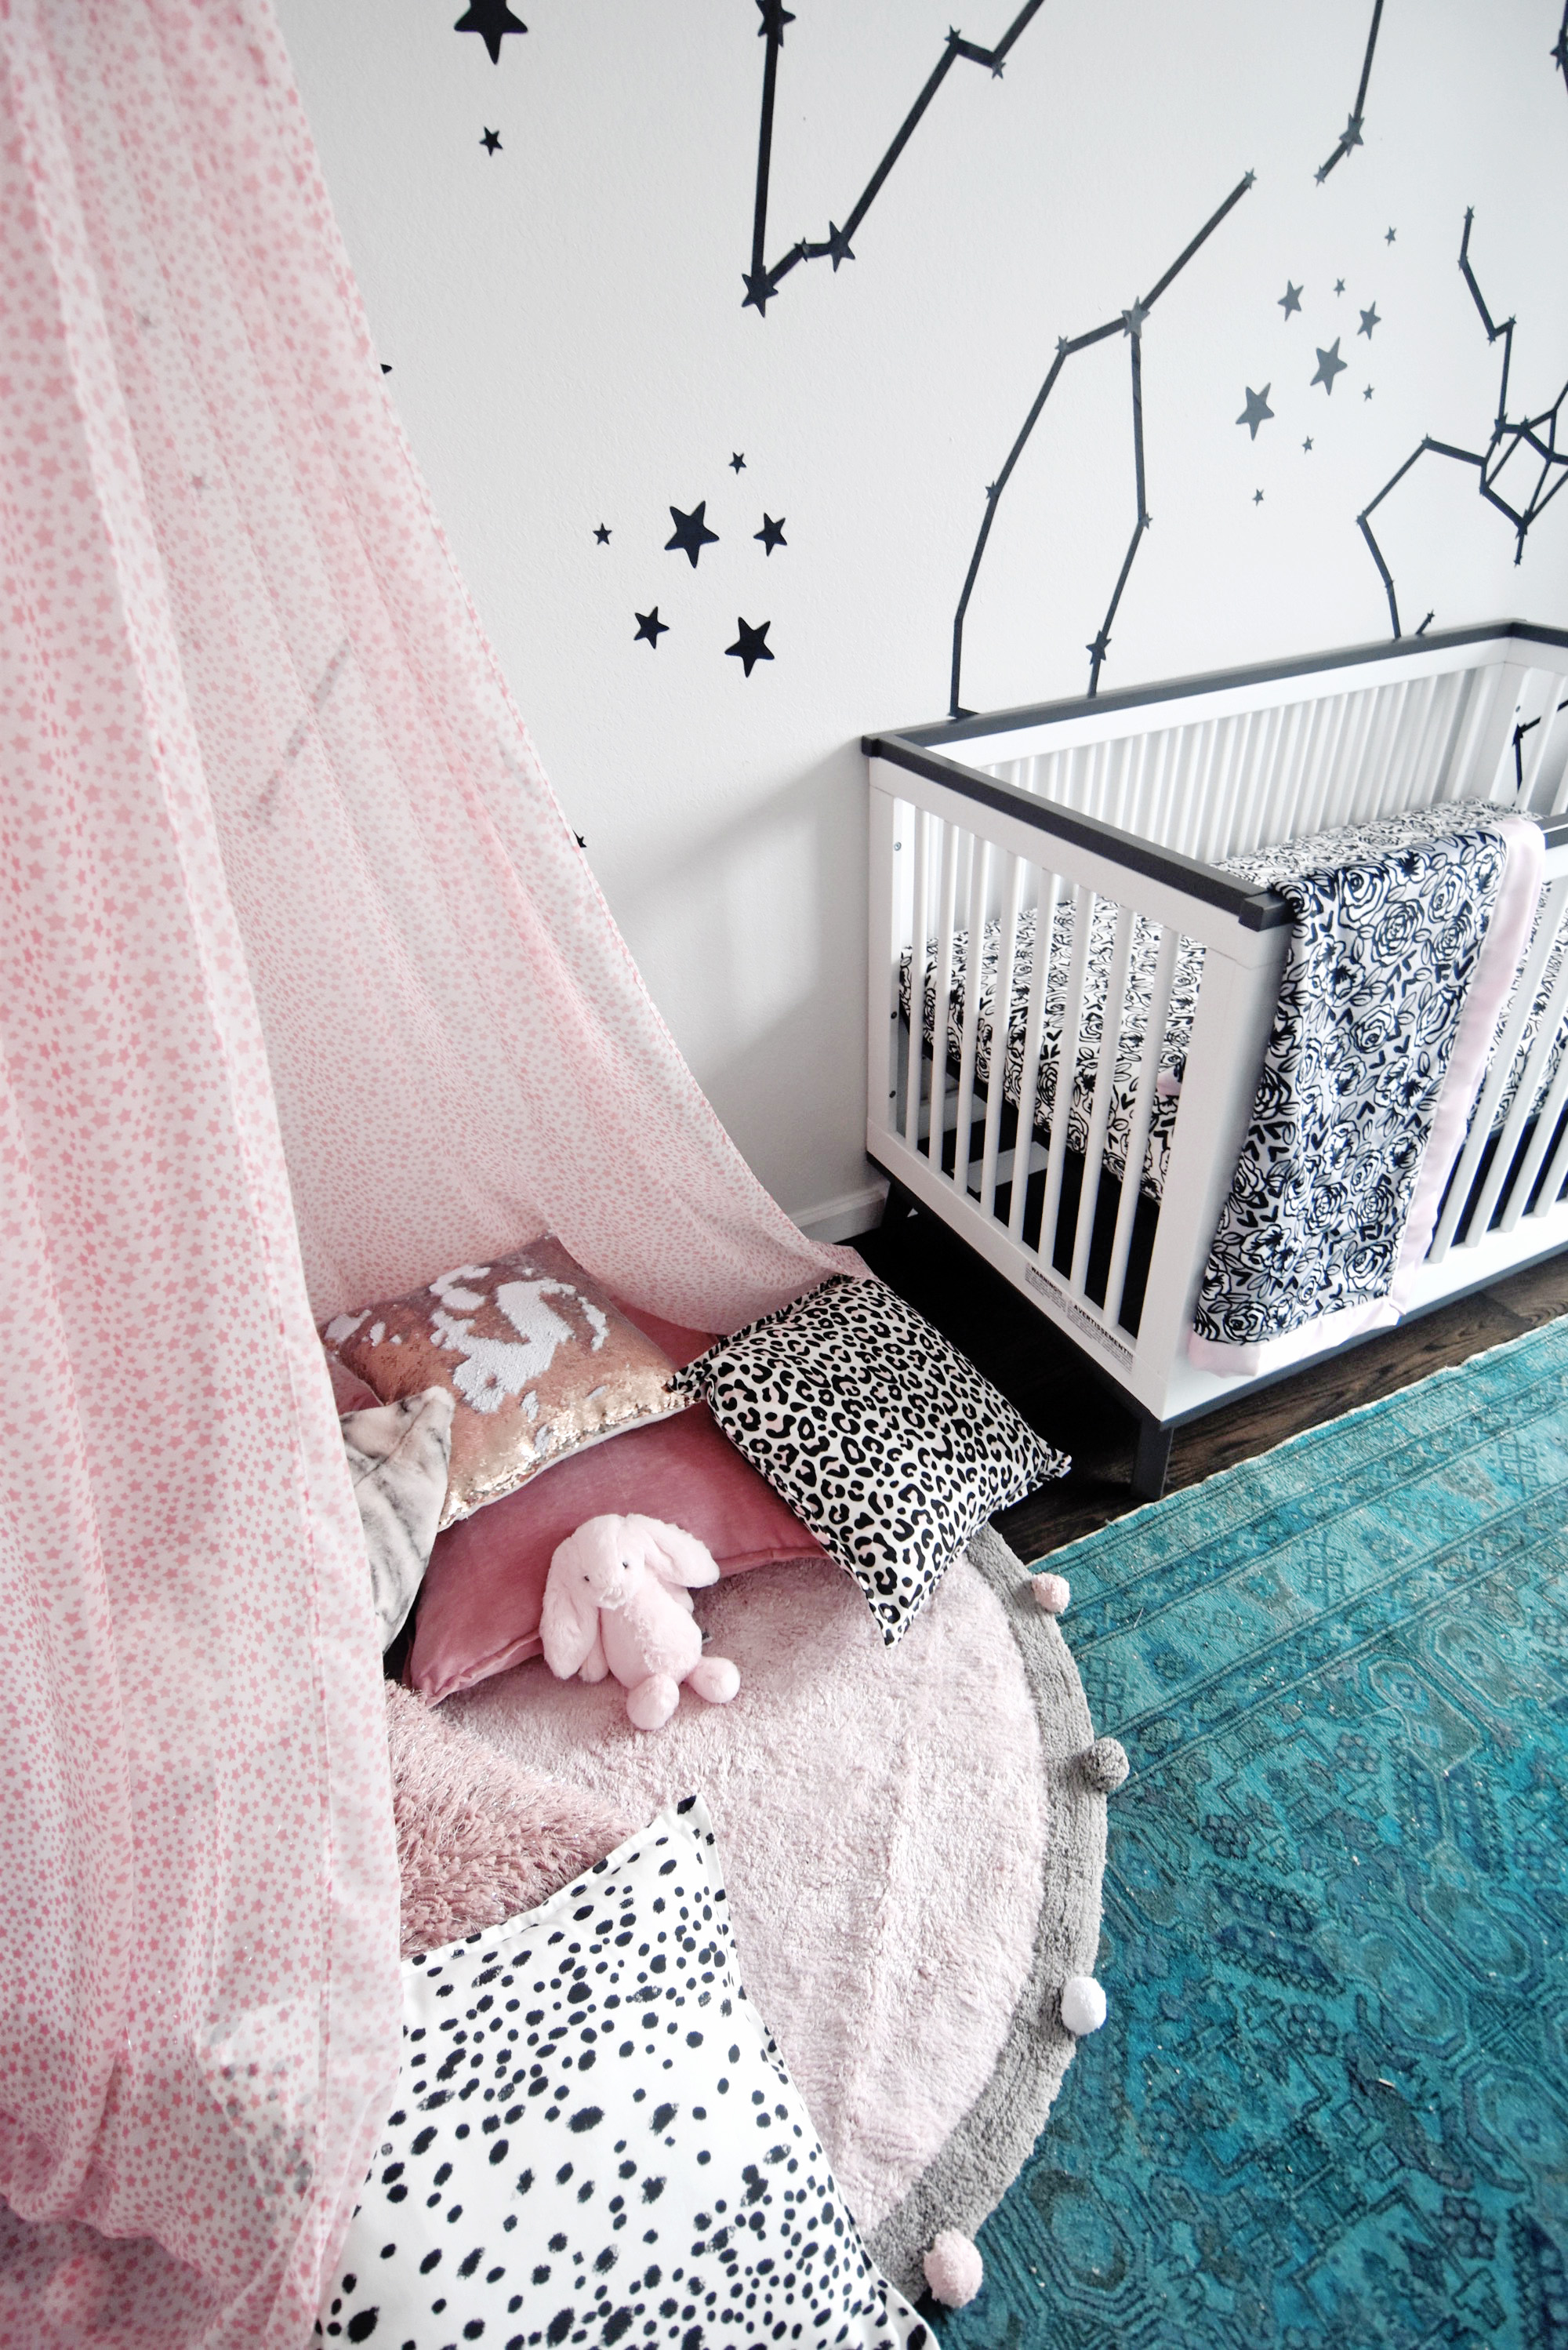
To see the full DIY with pictures, head over to the Spoonflower blog here!
Also, see the rest of my Nursery DIYs and posts:
DIY Moroccan Side Table
Baby Girl Constellation Nursery Mockup
Nursery Fabric Name Garland


