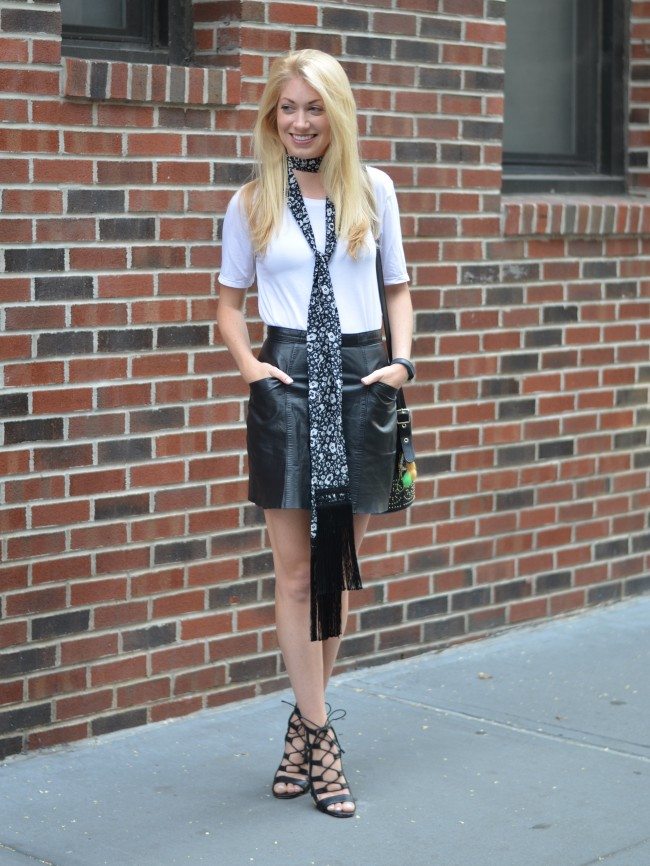
The trend you are about to see everywhere this fall is the seventies style skinny scarf. I’ve been eager to wear one already and figured it was a great use of all of the extra scrap material and notions I have laying around the house, so I whipped one up last weekend and it’s been the perfect accessory for a little style and warmth on the plane and in my cold office. Even though I sewed mine, you can definitely use strong fabric glue as well, so go with whichever option makes the most sense for you.
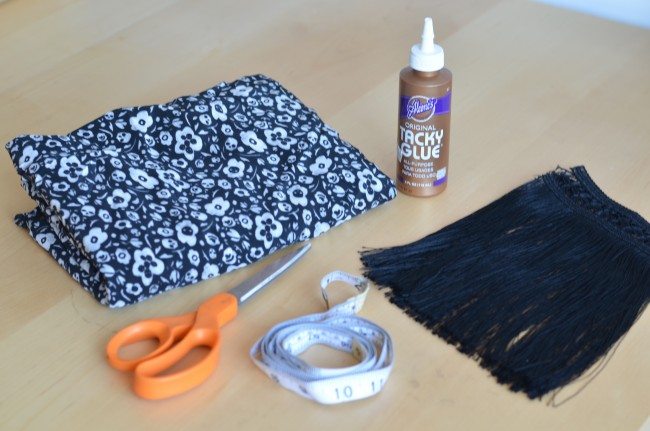
What you need:
1. Half a yard of fabric, approx 48″ wide
2. Fringe (optional but more fun to have it!)
3. Scissors
4. Measuring Tape
5. Fabric Glue or sewing machine (not pictured)
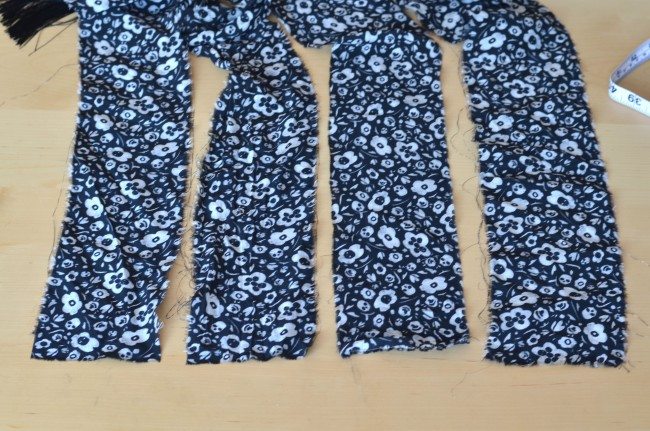
Step 1: Cut your 48″ length fabric into 4 strips, 4″ wide
Step 2: Sew (or glue) the short ends of two strips together, making one really long strip. Repeat with other 2 strips.
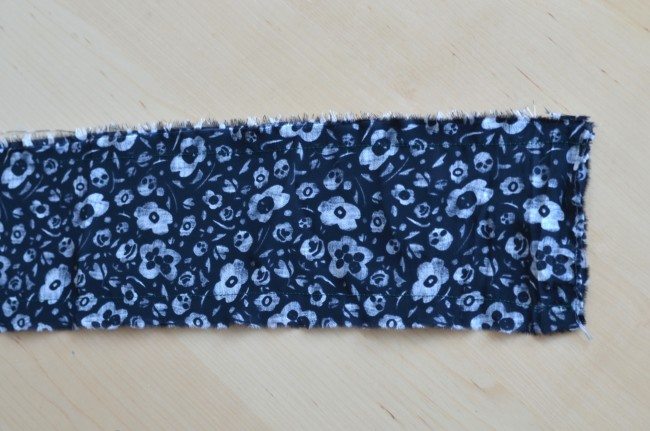
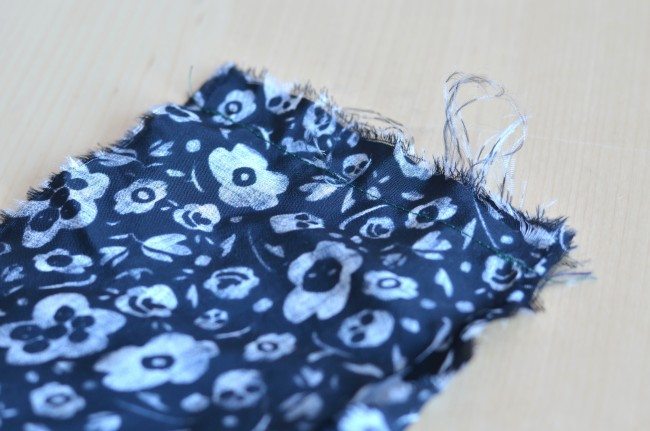
Step 3: Sew both long strips together on long edges of fabric. Make sure the right send of fabric is facing each other and give a 1/2″ seam allowance. This should create one very long tube
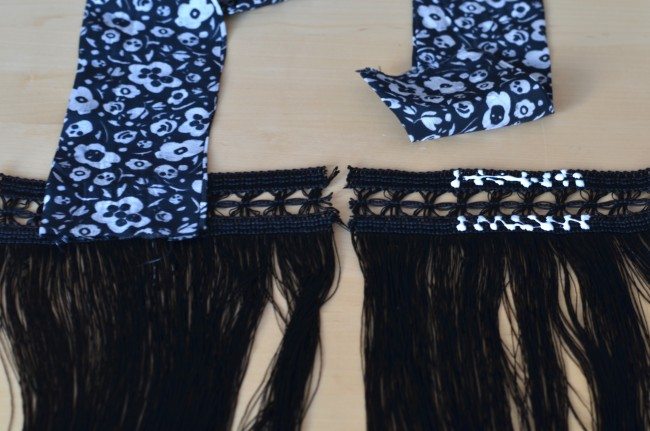
Step 4: Flip the tube inside out using your fingers or a large safety pin to wiggle through. Cut your fringe into 2 6″ pieces (or enough to wrap securely around the base of each end of your fabric tube). Using fabric glue (or hand sewing) affix each piece of fringe to the fabric tube and let dry.
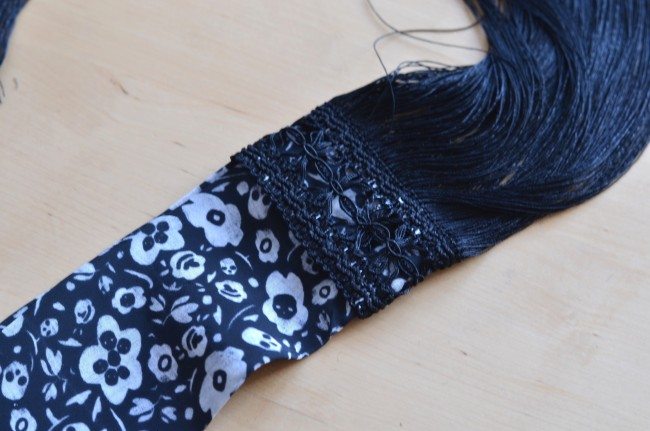
Step 5: Wrap the fringe around the base of the tube, glue those ends down and let dry. I like to put a mug or something heavy on these pieces when drying, to ensure that they truly dry together.
That’s it! Enjoy your new fringe scarf and wear over everything from tee-shirts to collared shirts to dresses. Use it in place of a statement necklace, and I guarantee you will find ways to wear it with plenty of outfits. Keep in mind that I wanted mine really long, so I used the full 48″ width fabric. If you want yours a little shorter, you can go with 36″ wide, which will result in your scarf being 2′ shorter in total length.

What do you think? Will you wear the skinny scarf trend this fall?
