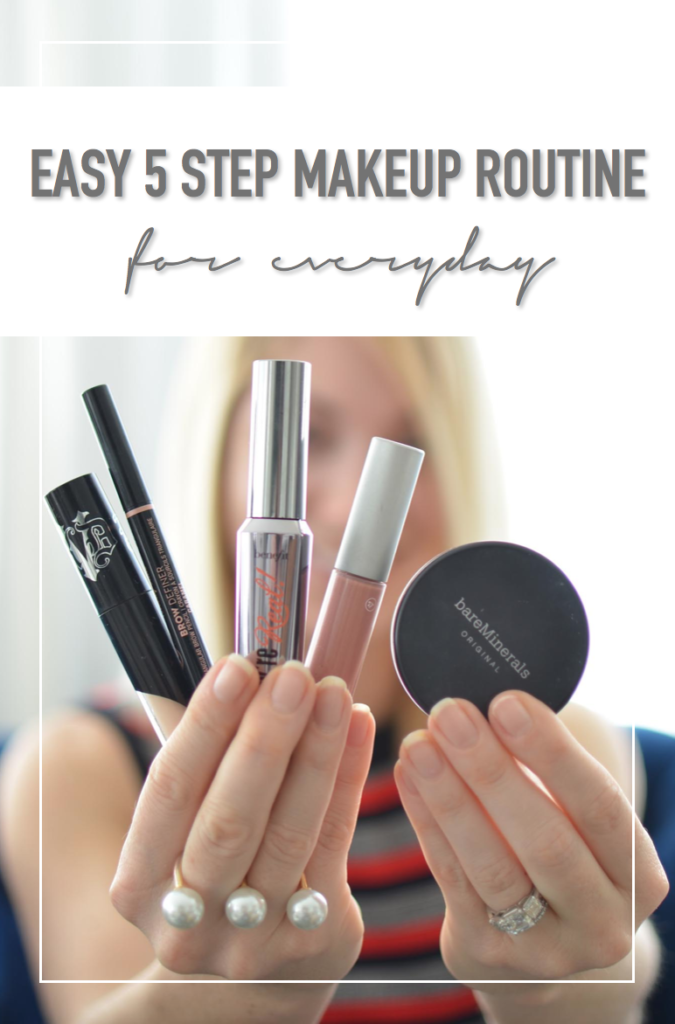
This post has been a long time in the making, but since it’s been a while since I’ve done a beauty post, I didn’t know if anyone would care. But then I realized, you SHOULD care! I have mastered this 5 step makeup routine after many quick mornings running out of the house to teach class, head to work, drive my
to the ferry and pack for vacations when I don’t have a lot of space, and can only bring a few things. There are a lot of intense makeup tutorials out there about how to create the perfect smokey eye, or a bold red lip or contour your face into a Kardashian, but for busy people, we need easy fuss-free makeup for everyday.
My 5 step makeup routine is just that, fuss-free. Its fixes exactly what needs to be fixed and nothing more, so that you can walk out of your house quickly, and looking like yourself. I have also tested out tons and tons of makeup in order to put this together. You can imagine as a blogger I get sent a lot of free makeup all the time and so I only post about the ones I love and go back to time and time again. I even bought minis in most of these products so that I can have them with me in my purse or for travel!

As you can see in the before/after picture above, the finished product is still me, but smoother and brighter. I have removed the blotchiness and redness of my skin, filled in my eyebrows, darkened my lashes which makes my eyes appear brighter, and put on a slightly tinted lip gloss which makes my teeth look whiter. Seriously no ‘enhancements’ were done to these photos to make me look after- that is really the wonders of these 5 items! Although people would say ‘where is the color on your cheeks- you look so pale!” I leave that additional step up to you. I go through phases with blush and bronzer and feel like most of the time it just adds and not enhances, so I skip it for my everyday look.
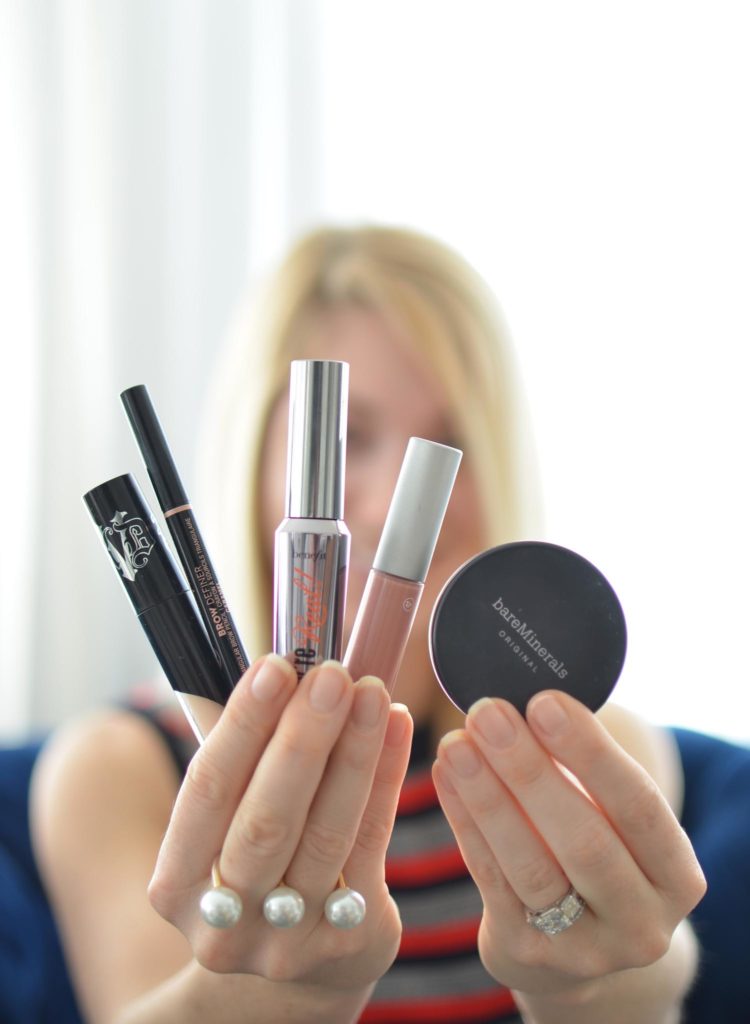
Alright, you have 5 minutes? I’ll give you 5 steps!
Step 1: Use the Kat Von D lock-it concealer to even out your dark and red areas. I use it under my eyes, on my brow bones, nose, chin and forehead and rub it in with my finger. The reason I picked this concealer (after using 3 or 4 others for years- I didn’t know what I was missing!) is that this one ACTUALLY conceals. I am not looking for ‘barely there’. I’m looking for something that will cover, and stay there all day, and this one fits the bill.

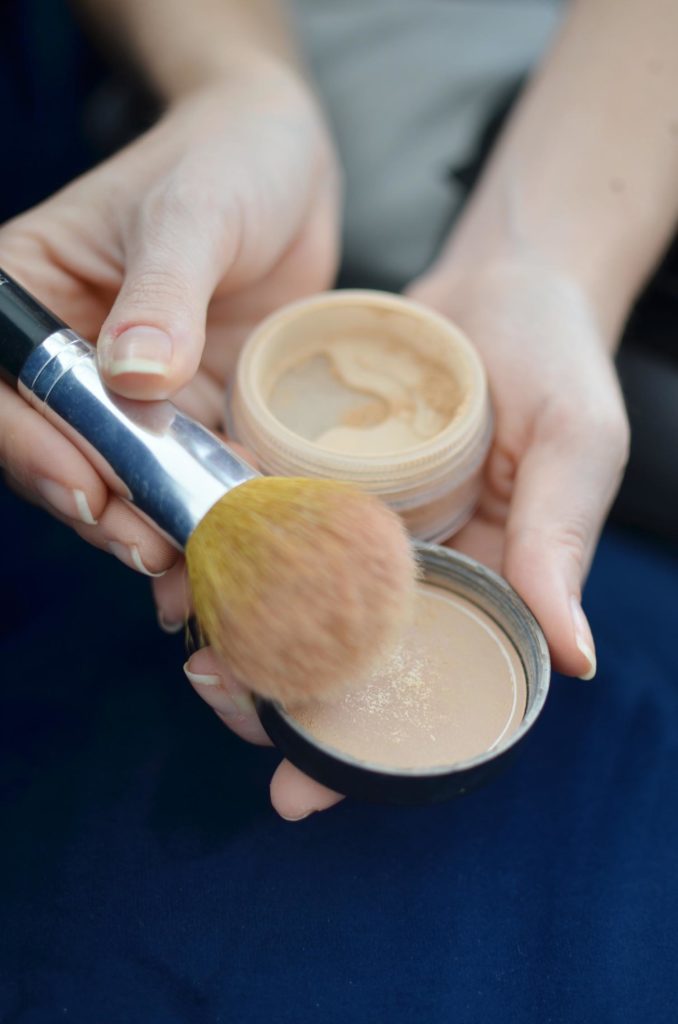
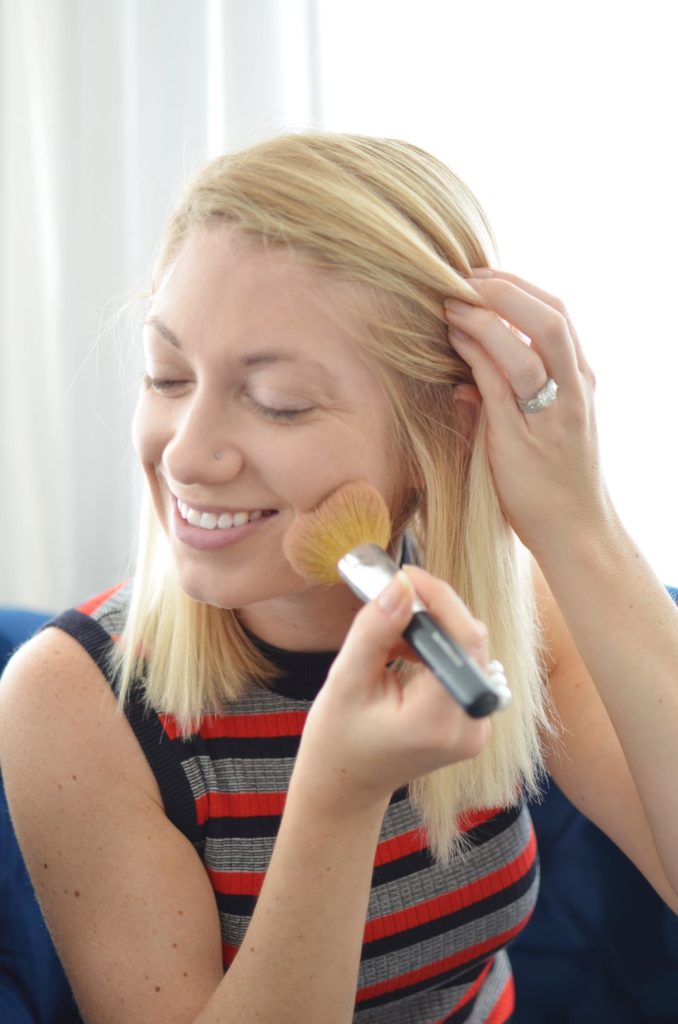
Step 2: Even out the rest of your face with BareMinerals SPF 15 foundation. I have been using this stuff for years, and even though I continue to try other foundations, I always come back to it. It doesn’t make my skin break out, it doesn’t settle in to my lines, and it GOES ON QUICK. Just a light dusting all over my face and my skin is even.
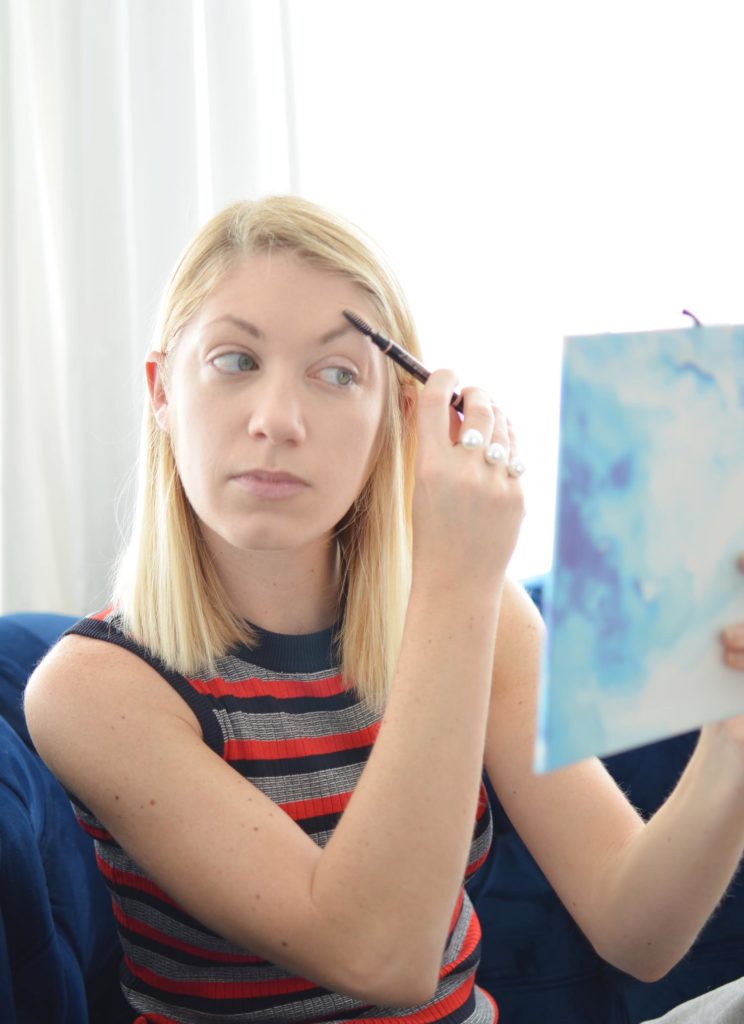
Step 3: Probably the most important step out of all 5 is filling in my eyebrows. Even if I don’t have time to do anything else, I always fill them in. Maybe it was years of over-plucking, or maybe it was that time in eighth grade when my girlfriend hit me in the eye with a putter while mini golfing, but my eyebrows grow sparsely and uneven. Filling in your eyebrows is the one thing you can do to make your face feel ‘finished’ even if its the only thing. I have tried out so many different eyebrow tools but my favorite is the Anastasia Beverly Hills Brow Definer. It has a brush at one end to get the hairs in place, and a thick triangular pencil at the other that makes it easy to get almost any brow shape.

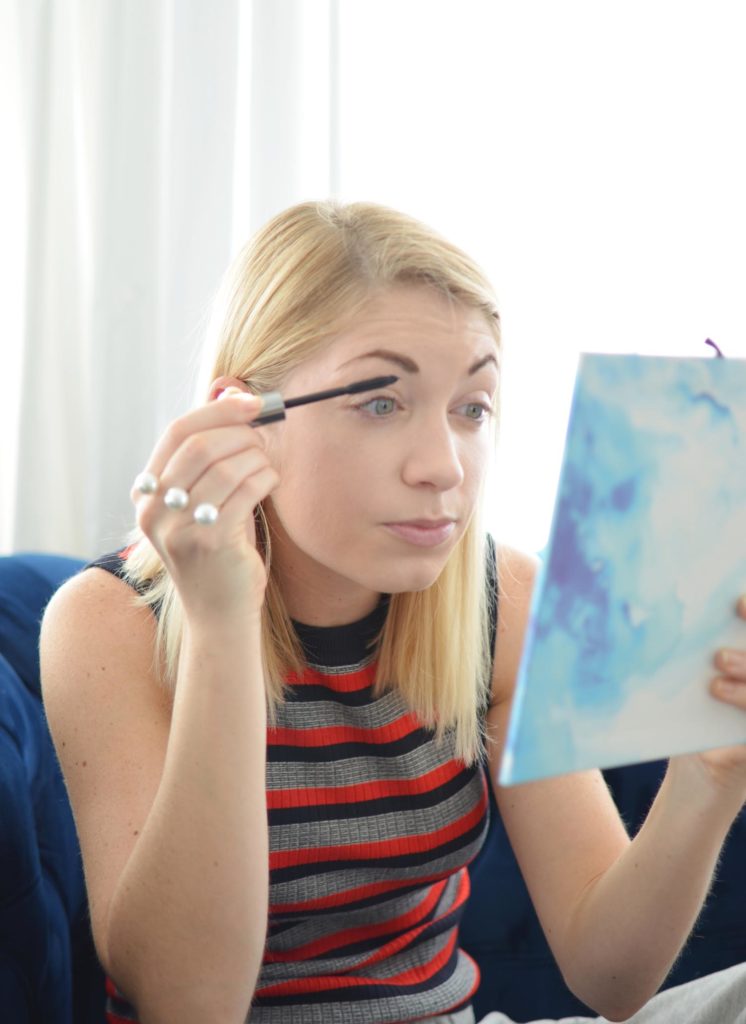
Step 4: There are a lot of great mascaras out there but when I need to do my lashes I look for something that adds volume and thickness without clumps. For this you need a big brush but with plastic-y bristles like a comb, which the Benefit They’re Real! Mascara has. Don’t believe me? That’s cool. Maybe you’ll believe the 210K people at Sephora who swear by it.
Step 5: Final step, a little gloss. Full disclosure I received the Nourish-Mint lip gloss as a gift from Aveda and I thought I would regift it to someone (whoops). But then I re-read it and it said ‘mint’ in the title, and I thought “well, I love mint flavored chapstick, so maybe I’ll dig this’ and BOY, DID I. I mean, there’s really only a hint of mint in the scent, it’s more about the smell, which is fresh and wakes you right up in the morning! But beyond that, its a great lipgloss. It’s a bit on the thicker side which means it stays put. And in the everyday-but-better colors that they have like Pink Lupine (what I’m wearing) its noticeable but not look-at-me.



So there you have it! My super easy 5 step makeup routine for everyday beauty. I would love to hear what you think about this post since it’s different than my usual fashion fodder, but I hope it’s helpful. What does your morning makeup routine look like- are there any products you can’t live without? I would love to hear!
