We have been in our new home for over 3 months and are finally starting to make a few decisions on furniture. Before we moved in we had the intention of taking furniture shopping slowly, and since we weren’t entertaining (due to Covid) we decided to remove any pressure on decision-making. But then, as we spent more time in the space and realized it didn’t feel very homey because of the empty walls and empty corners, our ‘take-it-slow’ approach morphed into rapid fire for key items.
We went to a Restoration Hardware outlet to buy an outdoor sofa, but instead came back with a new indoor sofa that fit our space better. But once you find one thing, the ripple effect is started and everything else starts to move around! Instantly our old coffee table was rendered useless, as it was too small to reach from the sofa. Plus, being that it was marble and we have a rambunctious toddler who loves the new sofa so much she treats it as her personal trampoline, I wanted to swap it for something less dangerous.
DIY Ottoman Cover
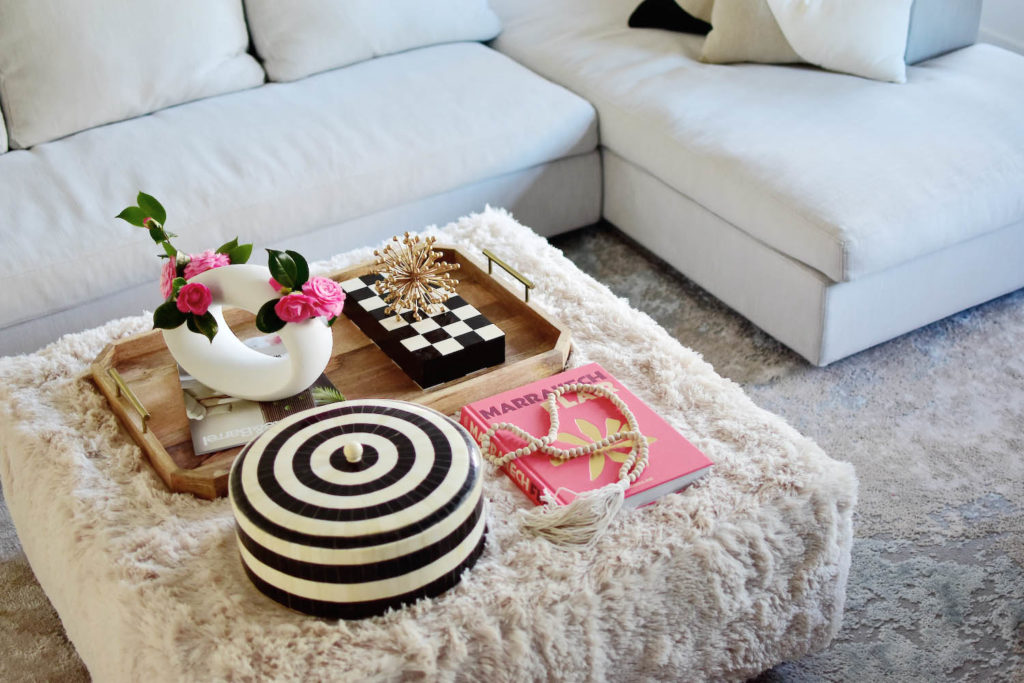
I was thinking a softer coffee table ottoman would be the perfect solution to the problem, but most of the styles available are not big enough, come in hideous colors, or if you order custom would take up to 3 months to arrive, which was not an option. So, creating a DIY Ottoman Cover was the next best option!
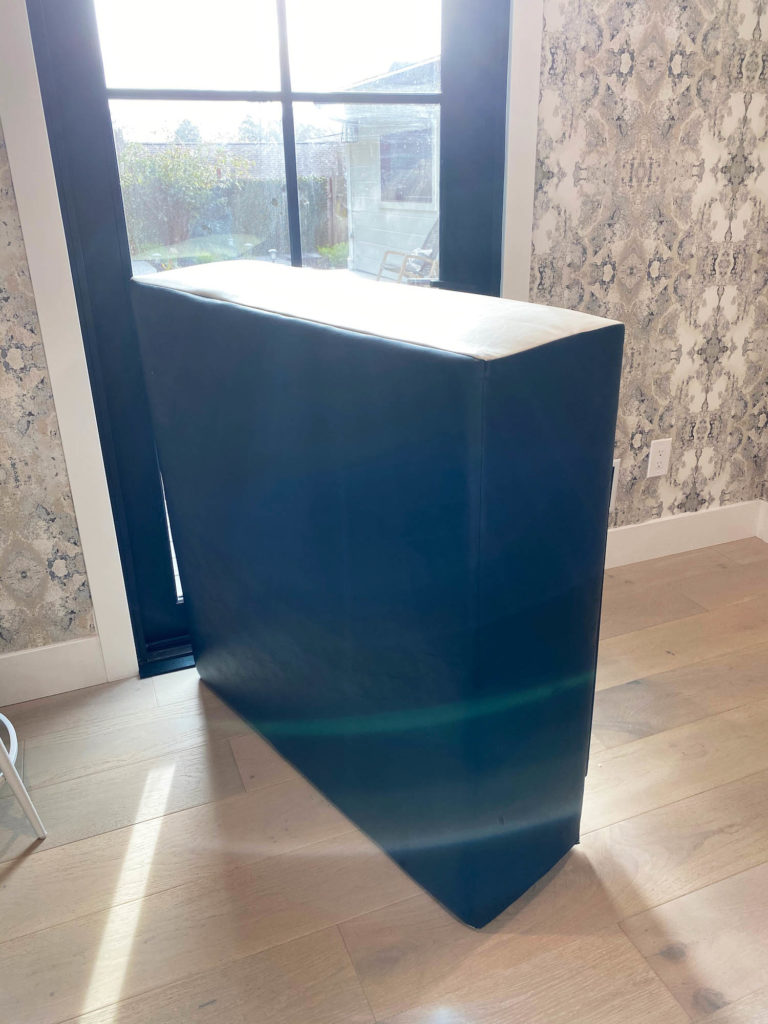
I had looked online and in consignment stores for weeks trying to find the perfect coffee table to cover, but the hunt took longer than I had hoped. Finally, a 40″ square leather color blocked, fairly hideous ottoman was uploaded to a local website and it was at my house by the end of the day! The shape, size and base were perfect for recovering and exactly what I had been looking for, so I jumped when I saw it.
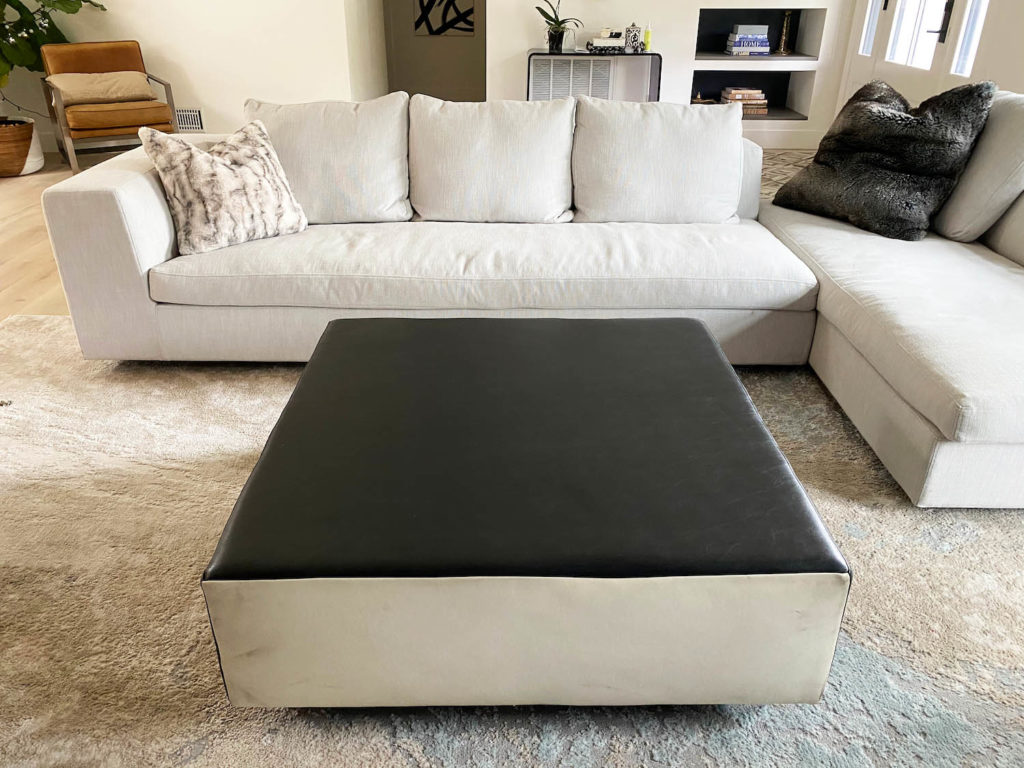
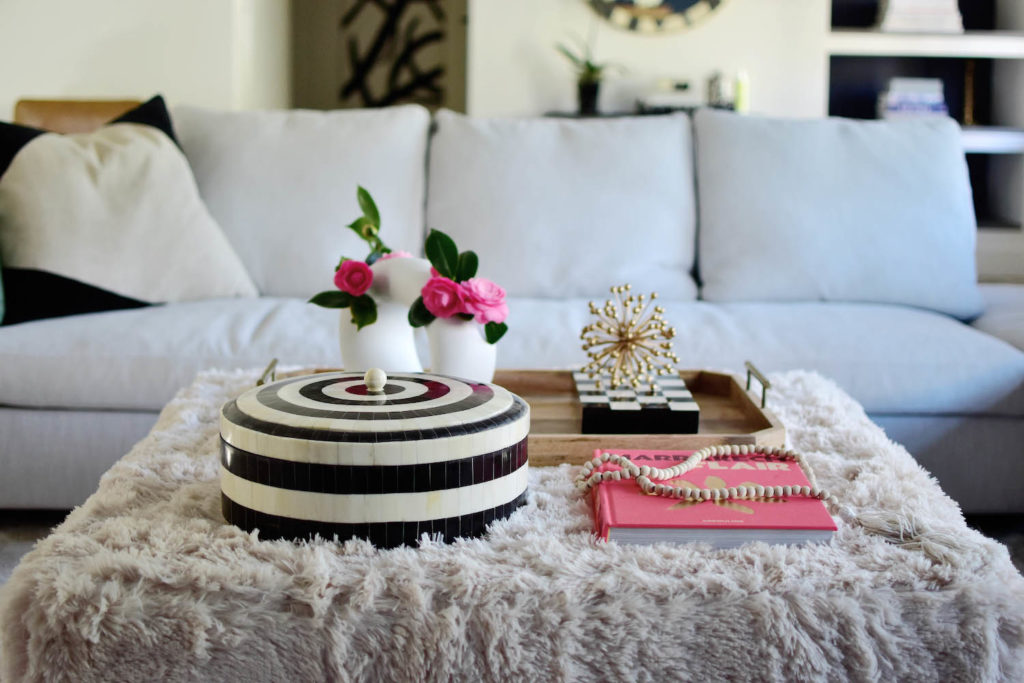
My inspiration for covering this piece came from this Restoration Hardware Yeti collection, which was out of our price range. I love that it’s cozy and whimsical and fun for the kids, and I had already spotted the perfect faux alpaca fabric for a DIY version from my local fabric store. I also was toying with the idea of mint green velvet, black, and even a houndstooth print which would completely change up the room, but realized that if I made the faux fur version into a cover, I could change it up whenever I wanted!
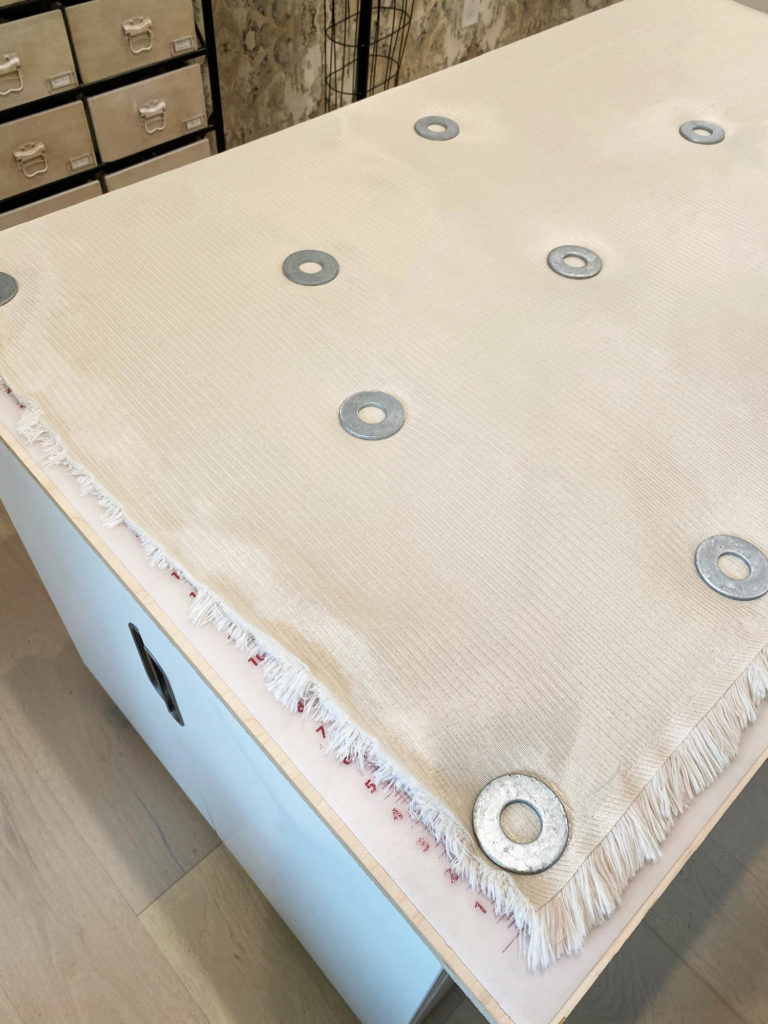
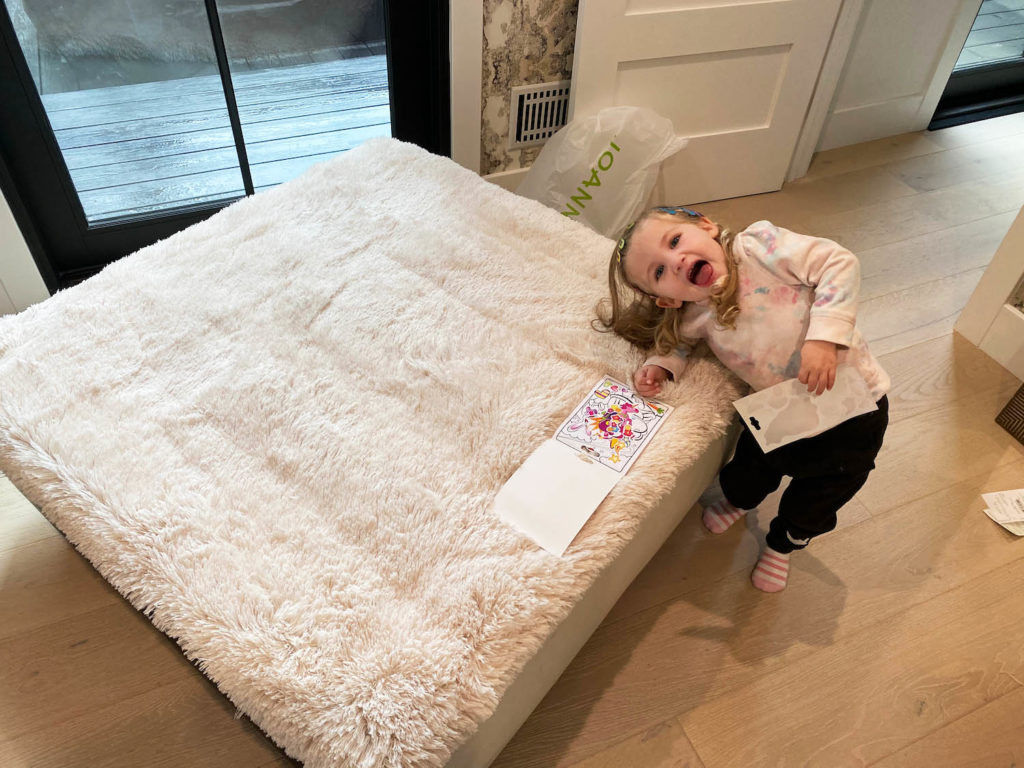
I measured the top of the ottoman as 40″ x 40″, and each side as 12″ tall. Therefore I needed one panel that was 42″ x 42″ (for faux fur I thought it best to leave a larger, 1″ seam allowance) and 4 panels that were 15″ x 42″. I left one additional inch for the bottom of the side panels so that I could wrap the faux fur underneath the ottoman. I only needed 2.5 yds of fabric to get all of these pieces done, and with a coupon the fabric only cost me $35!
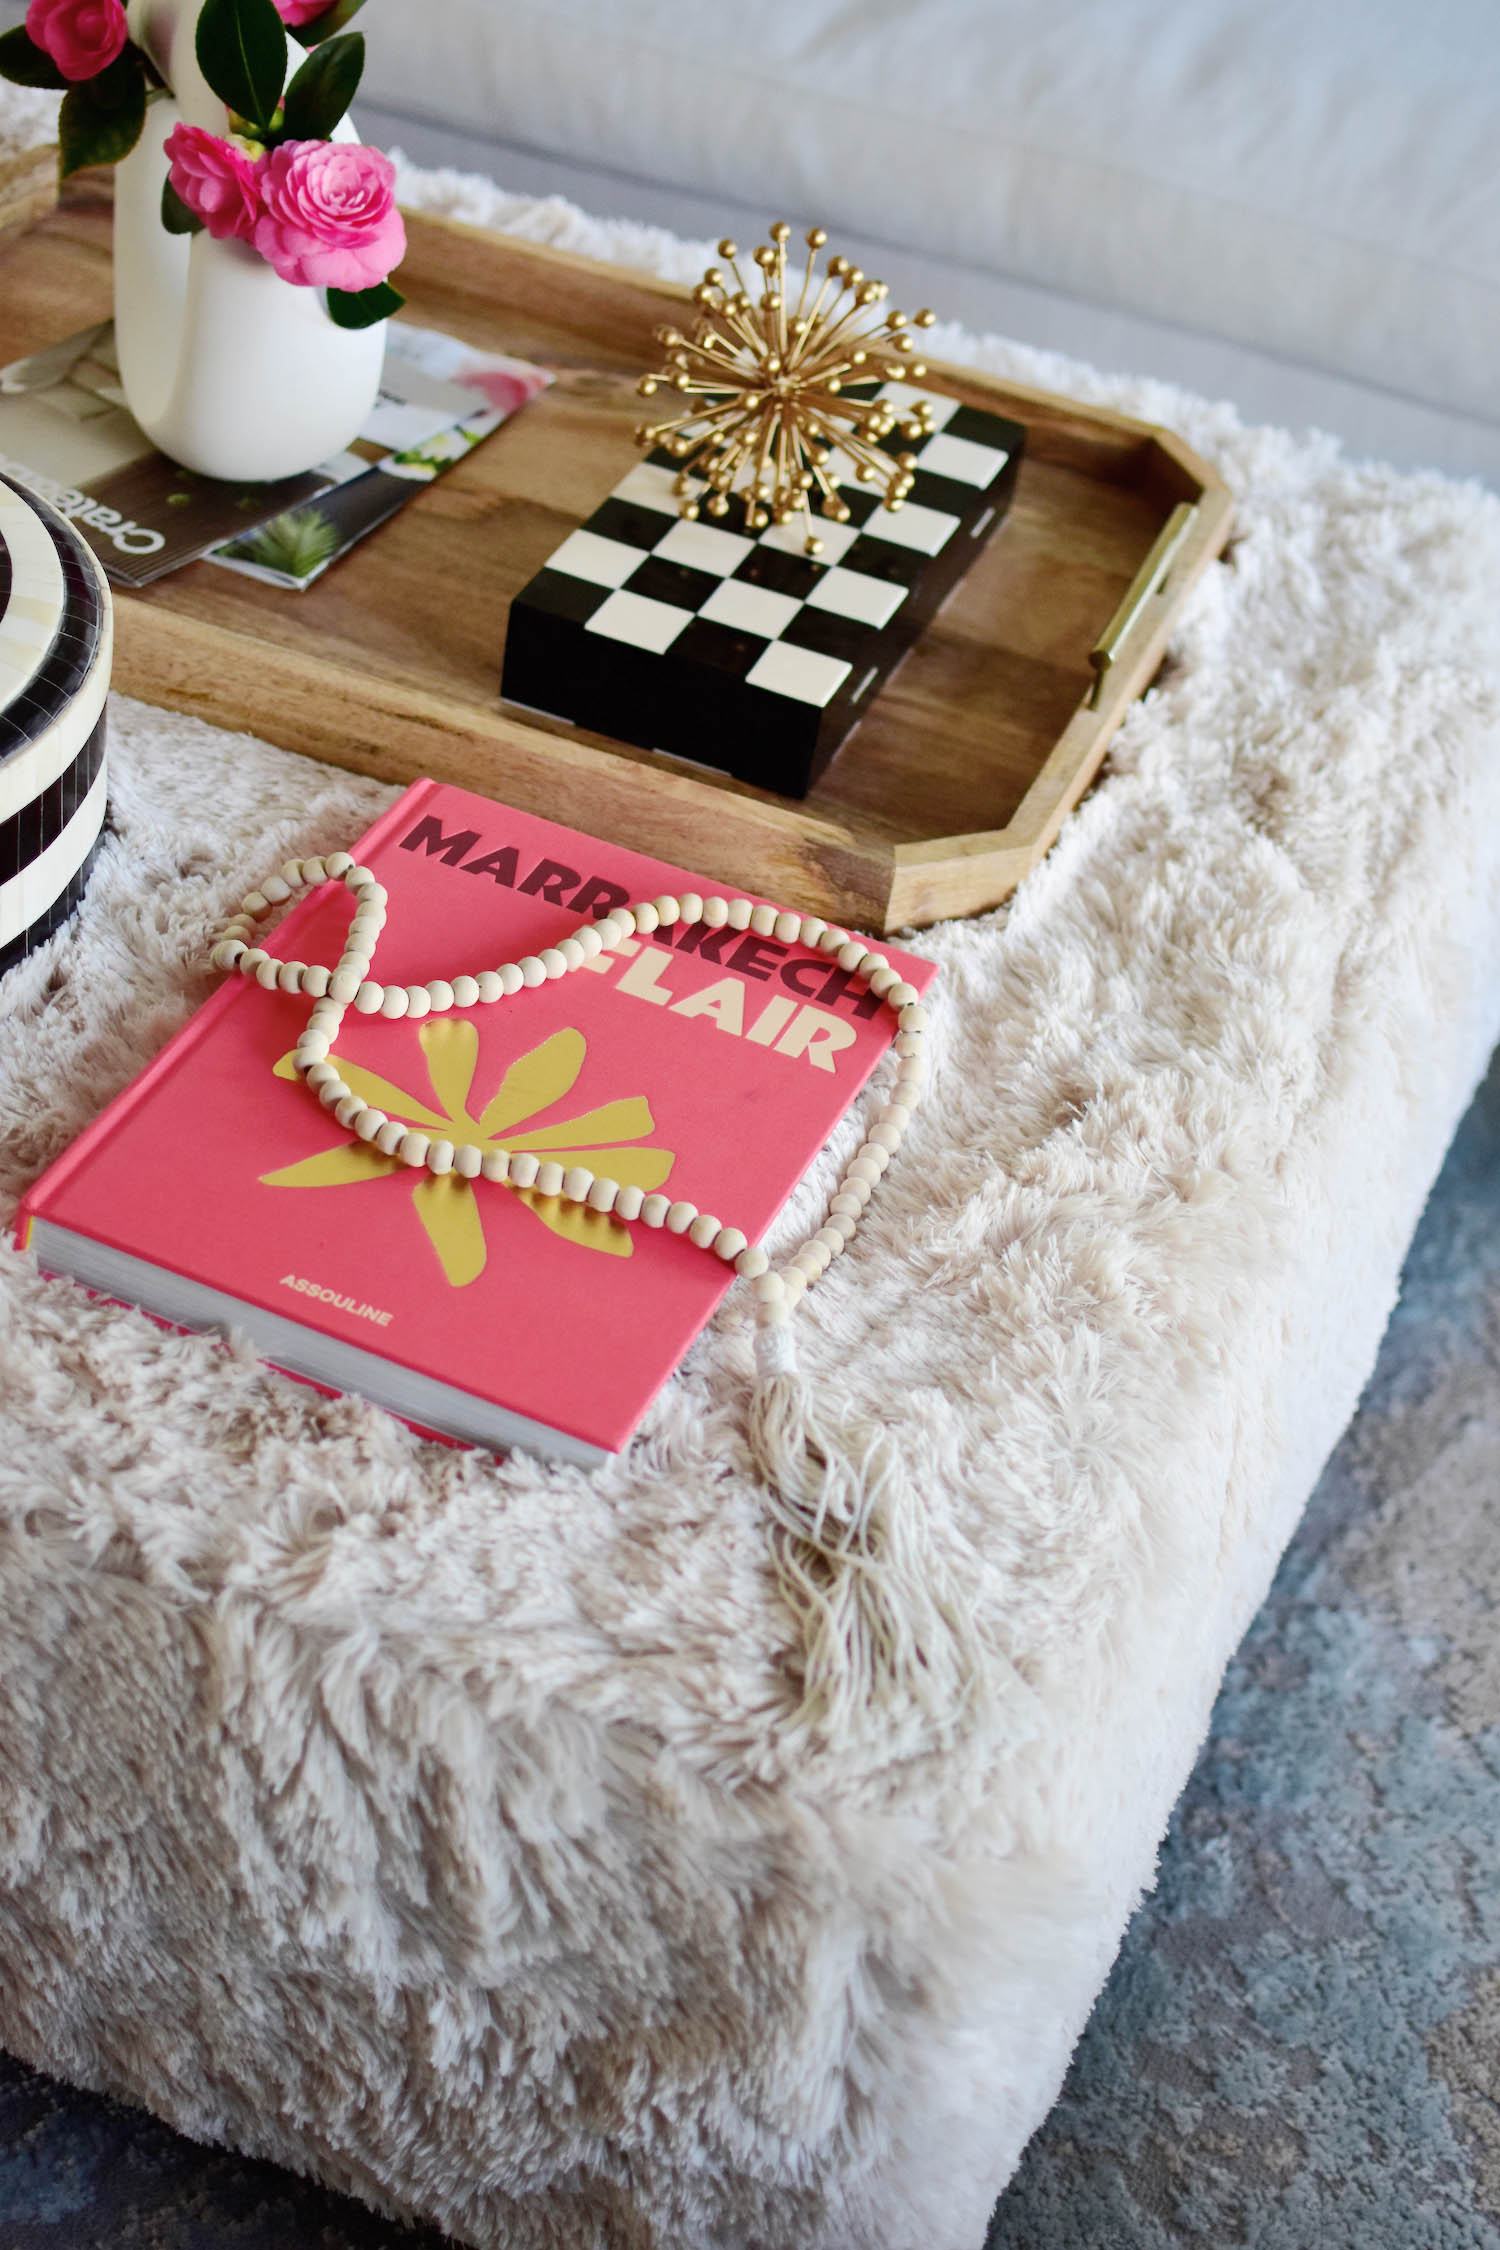
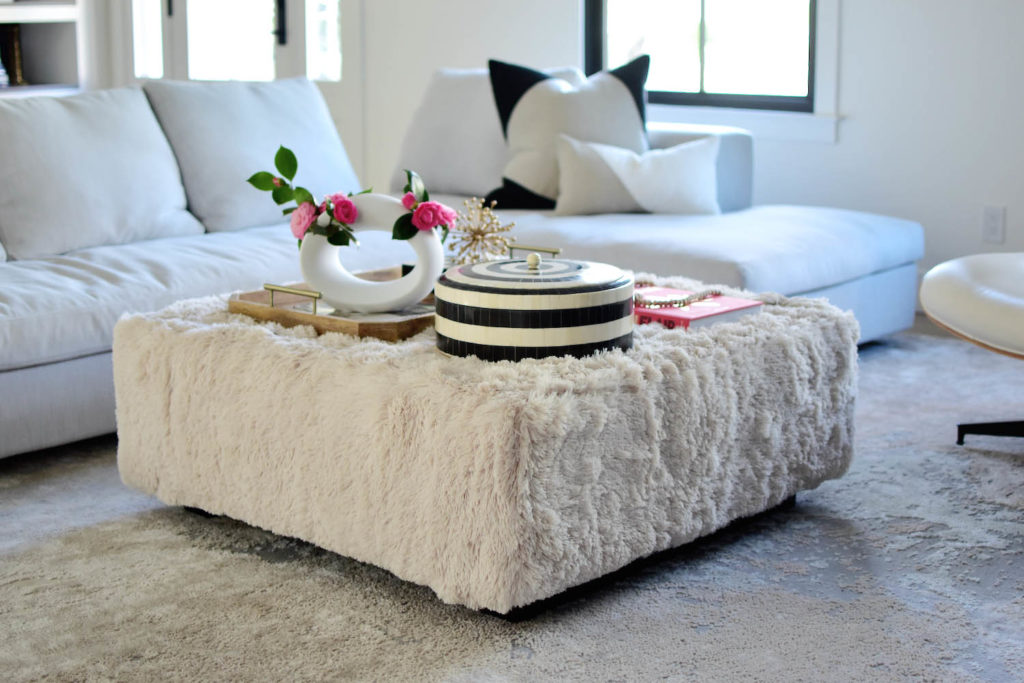
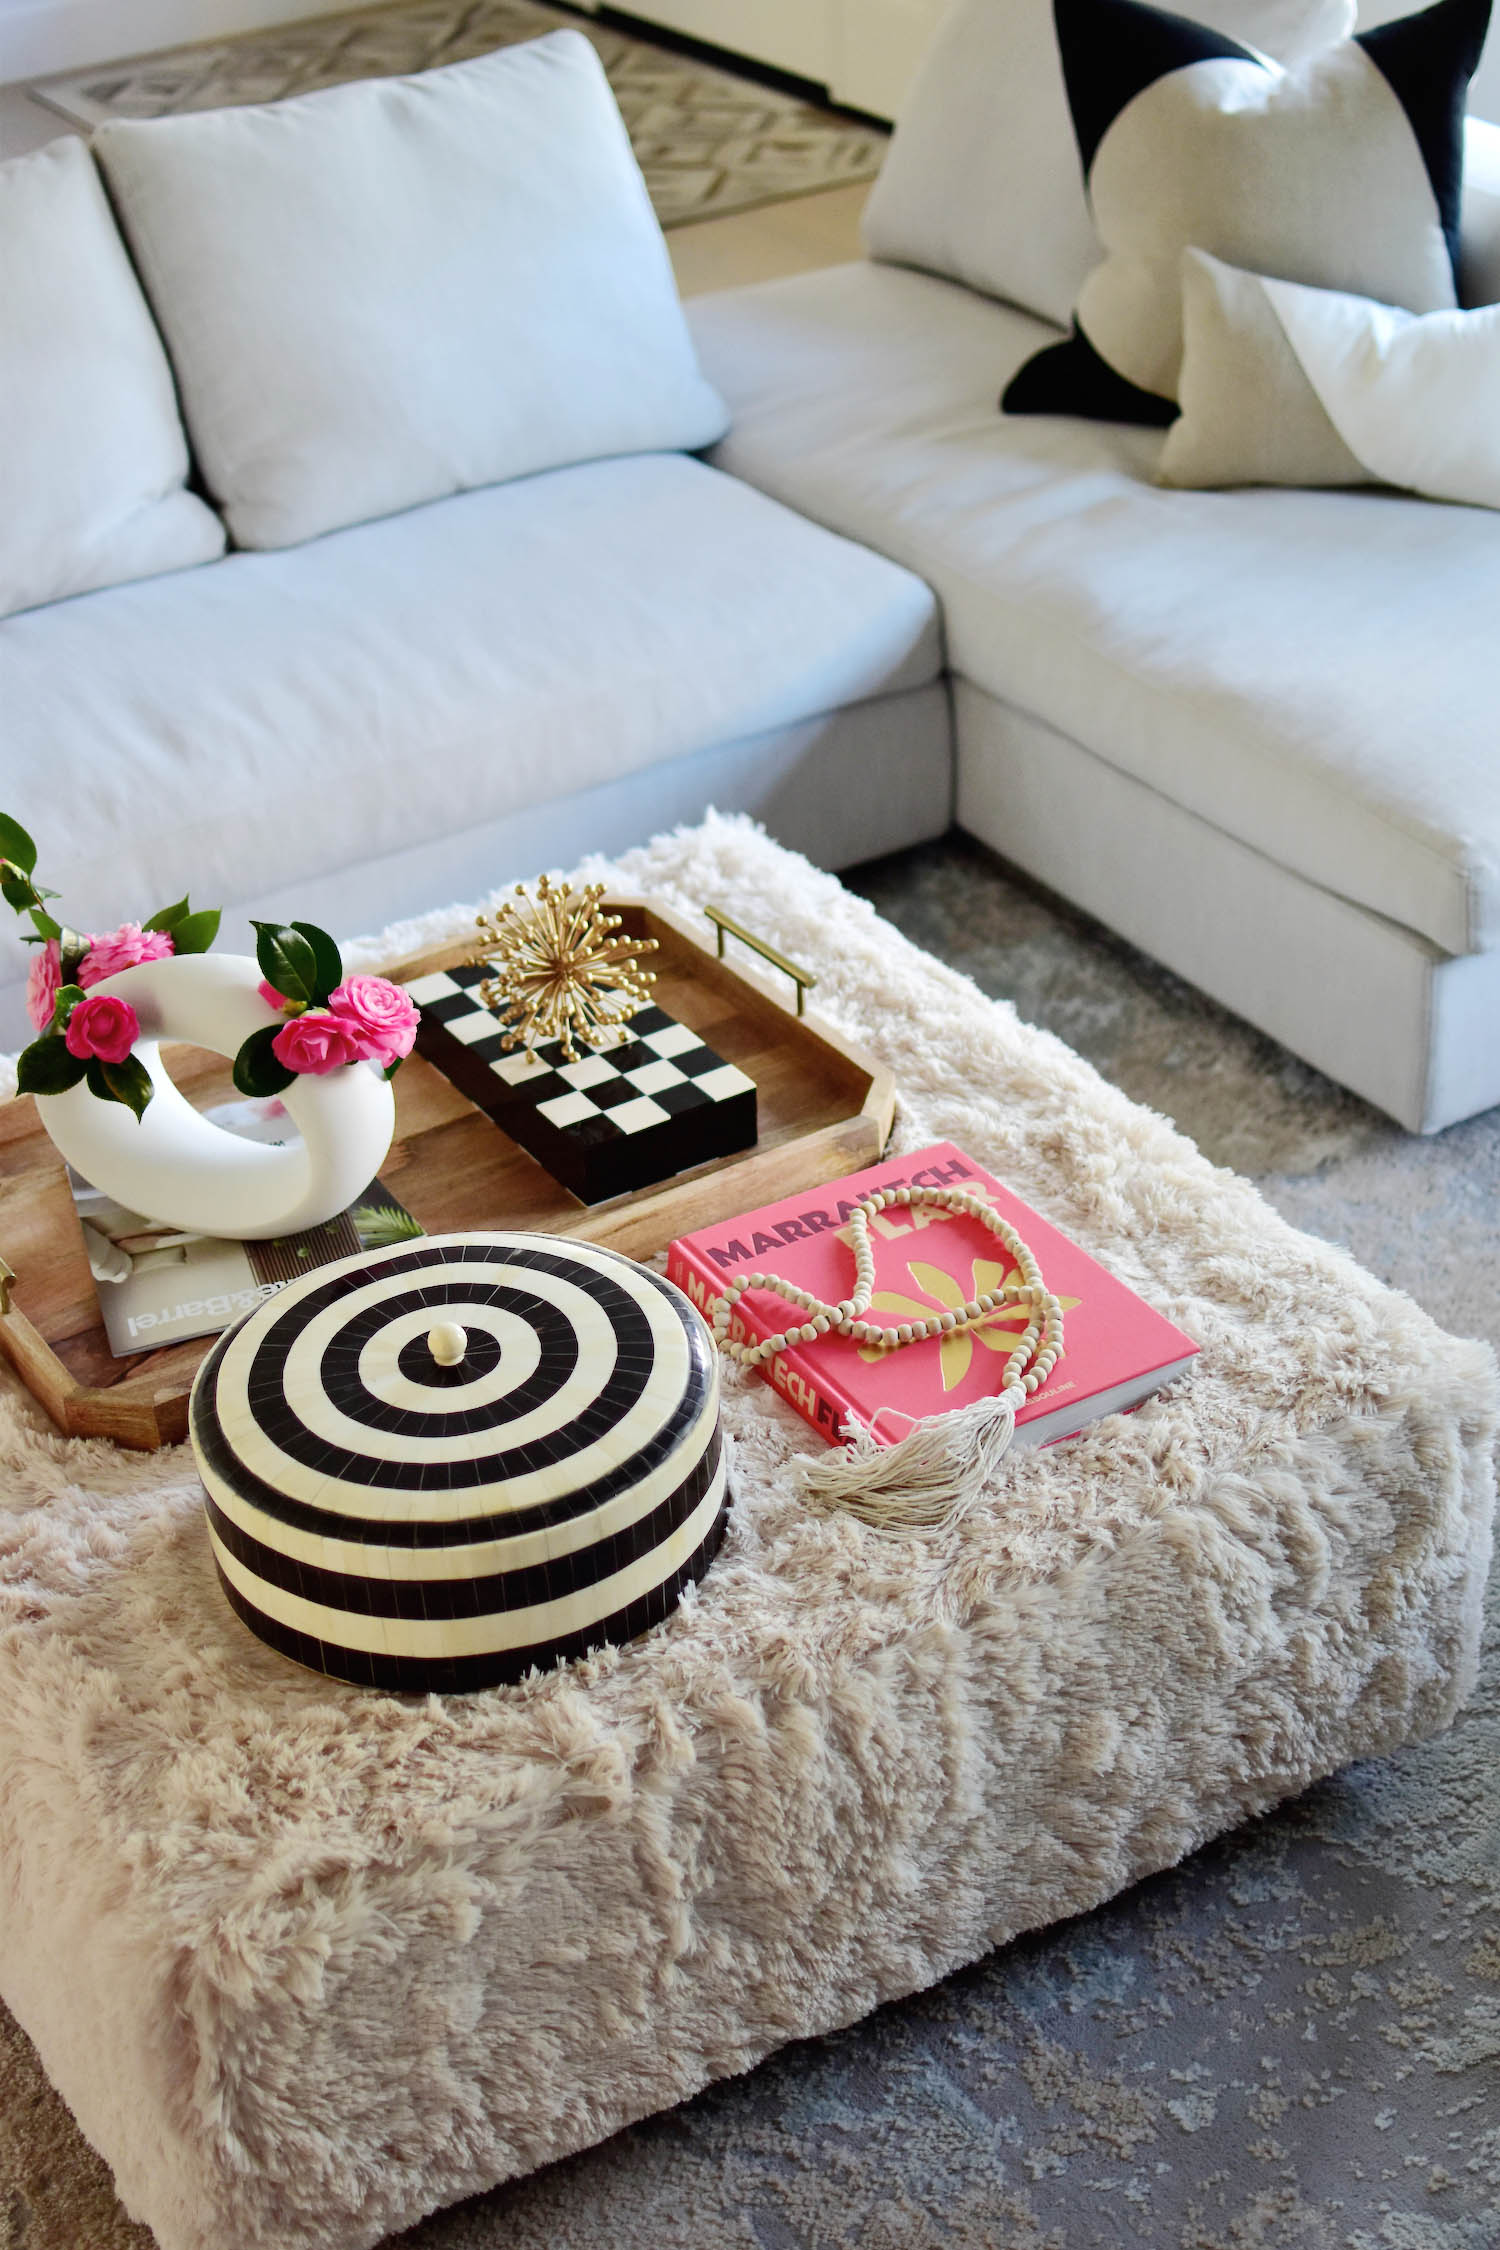
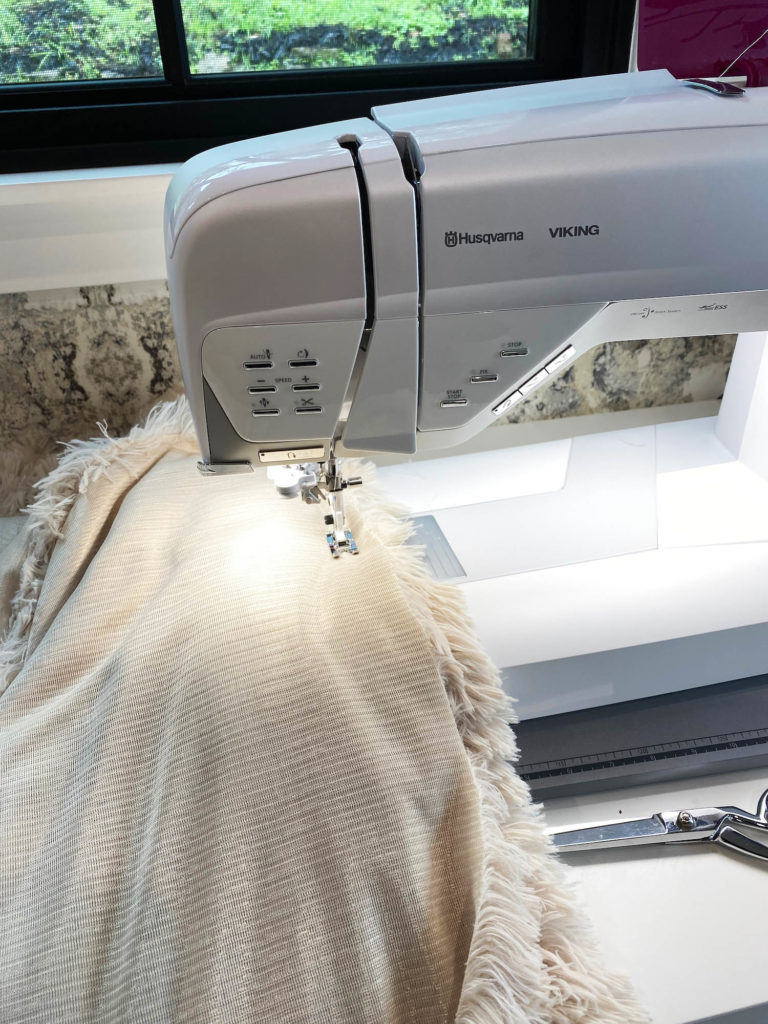
I sewed all of the side pieces together first, then attached them to the top square panel and double checked that it fit on the ottoman perfectly. It was a little long on the sides as planned, so I then sewed on 1″ wide elastic scraps to the sides which wrapped around the bottom of the ottoman. The elastic bands are to the edges, not the center of the ottoman, so it’s still pretty easy to put on the cover. The elastic bands were a last minute decision that really worked out, because it holds the fabric neatly in place while still giving my DIY ottoman cover the flexibility I craved. If it was more difficult to do I probably wouldn’t change it that often, but since it’s so easy I’m already plotting the next few covers I am going to make to switch up the room.
