Marina’s first birthday is coming up and I wanted to put together a mini party for her, which would be memorable for me and great for photographs, but easy on the wallet. I seriously had no ideas for a 1 year old birthday party theme, until I stumbled upon this stunning fabric on Spoonflower. Being who I am, fabric often speaks to me in so many ways, and immediately I fell in love with a sophisticated outdoor tea garden-type party.
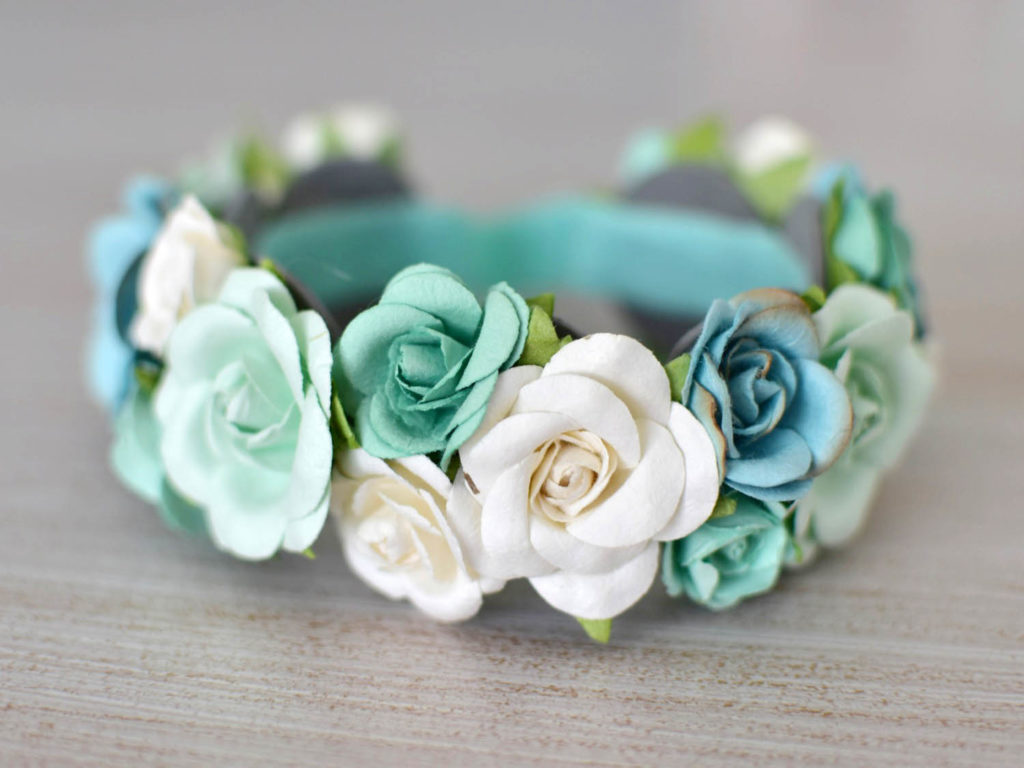
I knew I could use the fabric for a tablecloth and make Marina an outfit, but I wanted to incorporate a Frida Kahlo-esque over the top floral crown as well (but small enough so that she would actually wear it!). I went to the craft store and came up with this DIY Floral Headband, that works so well for babies and toddlers that I’m hoping to make myself a similar one!
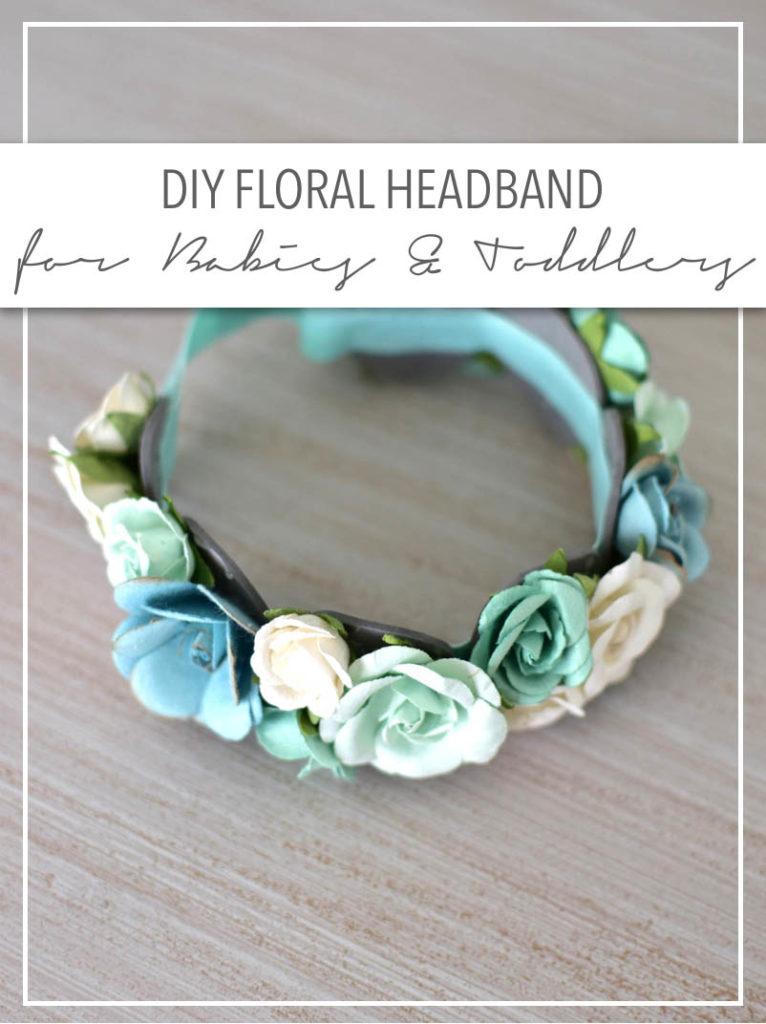
DIY Floral Headband for Babies and Toddlers
What You Need
- Assorted Paper Flowers – I ended up buying a few different packs, which I will also use to decorate signs for the table. I bought these, these, and similar to these in store, but there are tons of colors and options to choose from at your local Michaels.
- 1″ Decorative Elastic – I had to go to JoAnn’s for this since I needed a special mint color, but most craft or fabric stores have tons of colors!
- Foam – I used grey but any color in your palette (or baby’s hair color) will work!
- Glue Gun
- Scissors
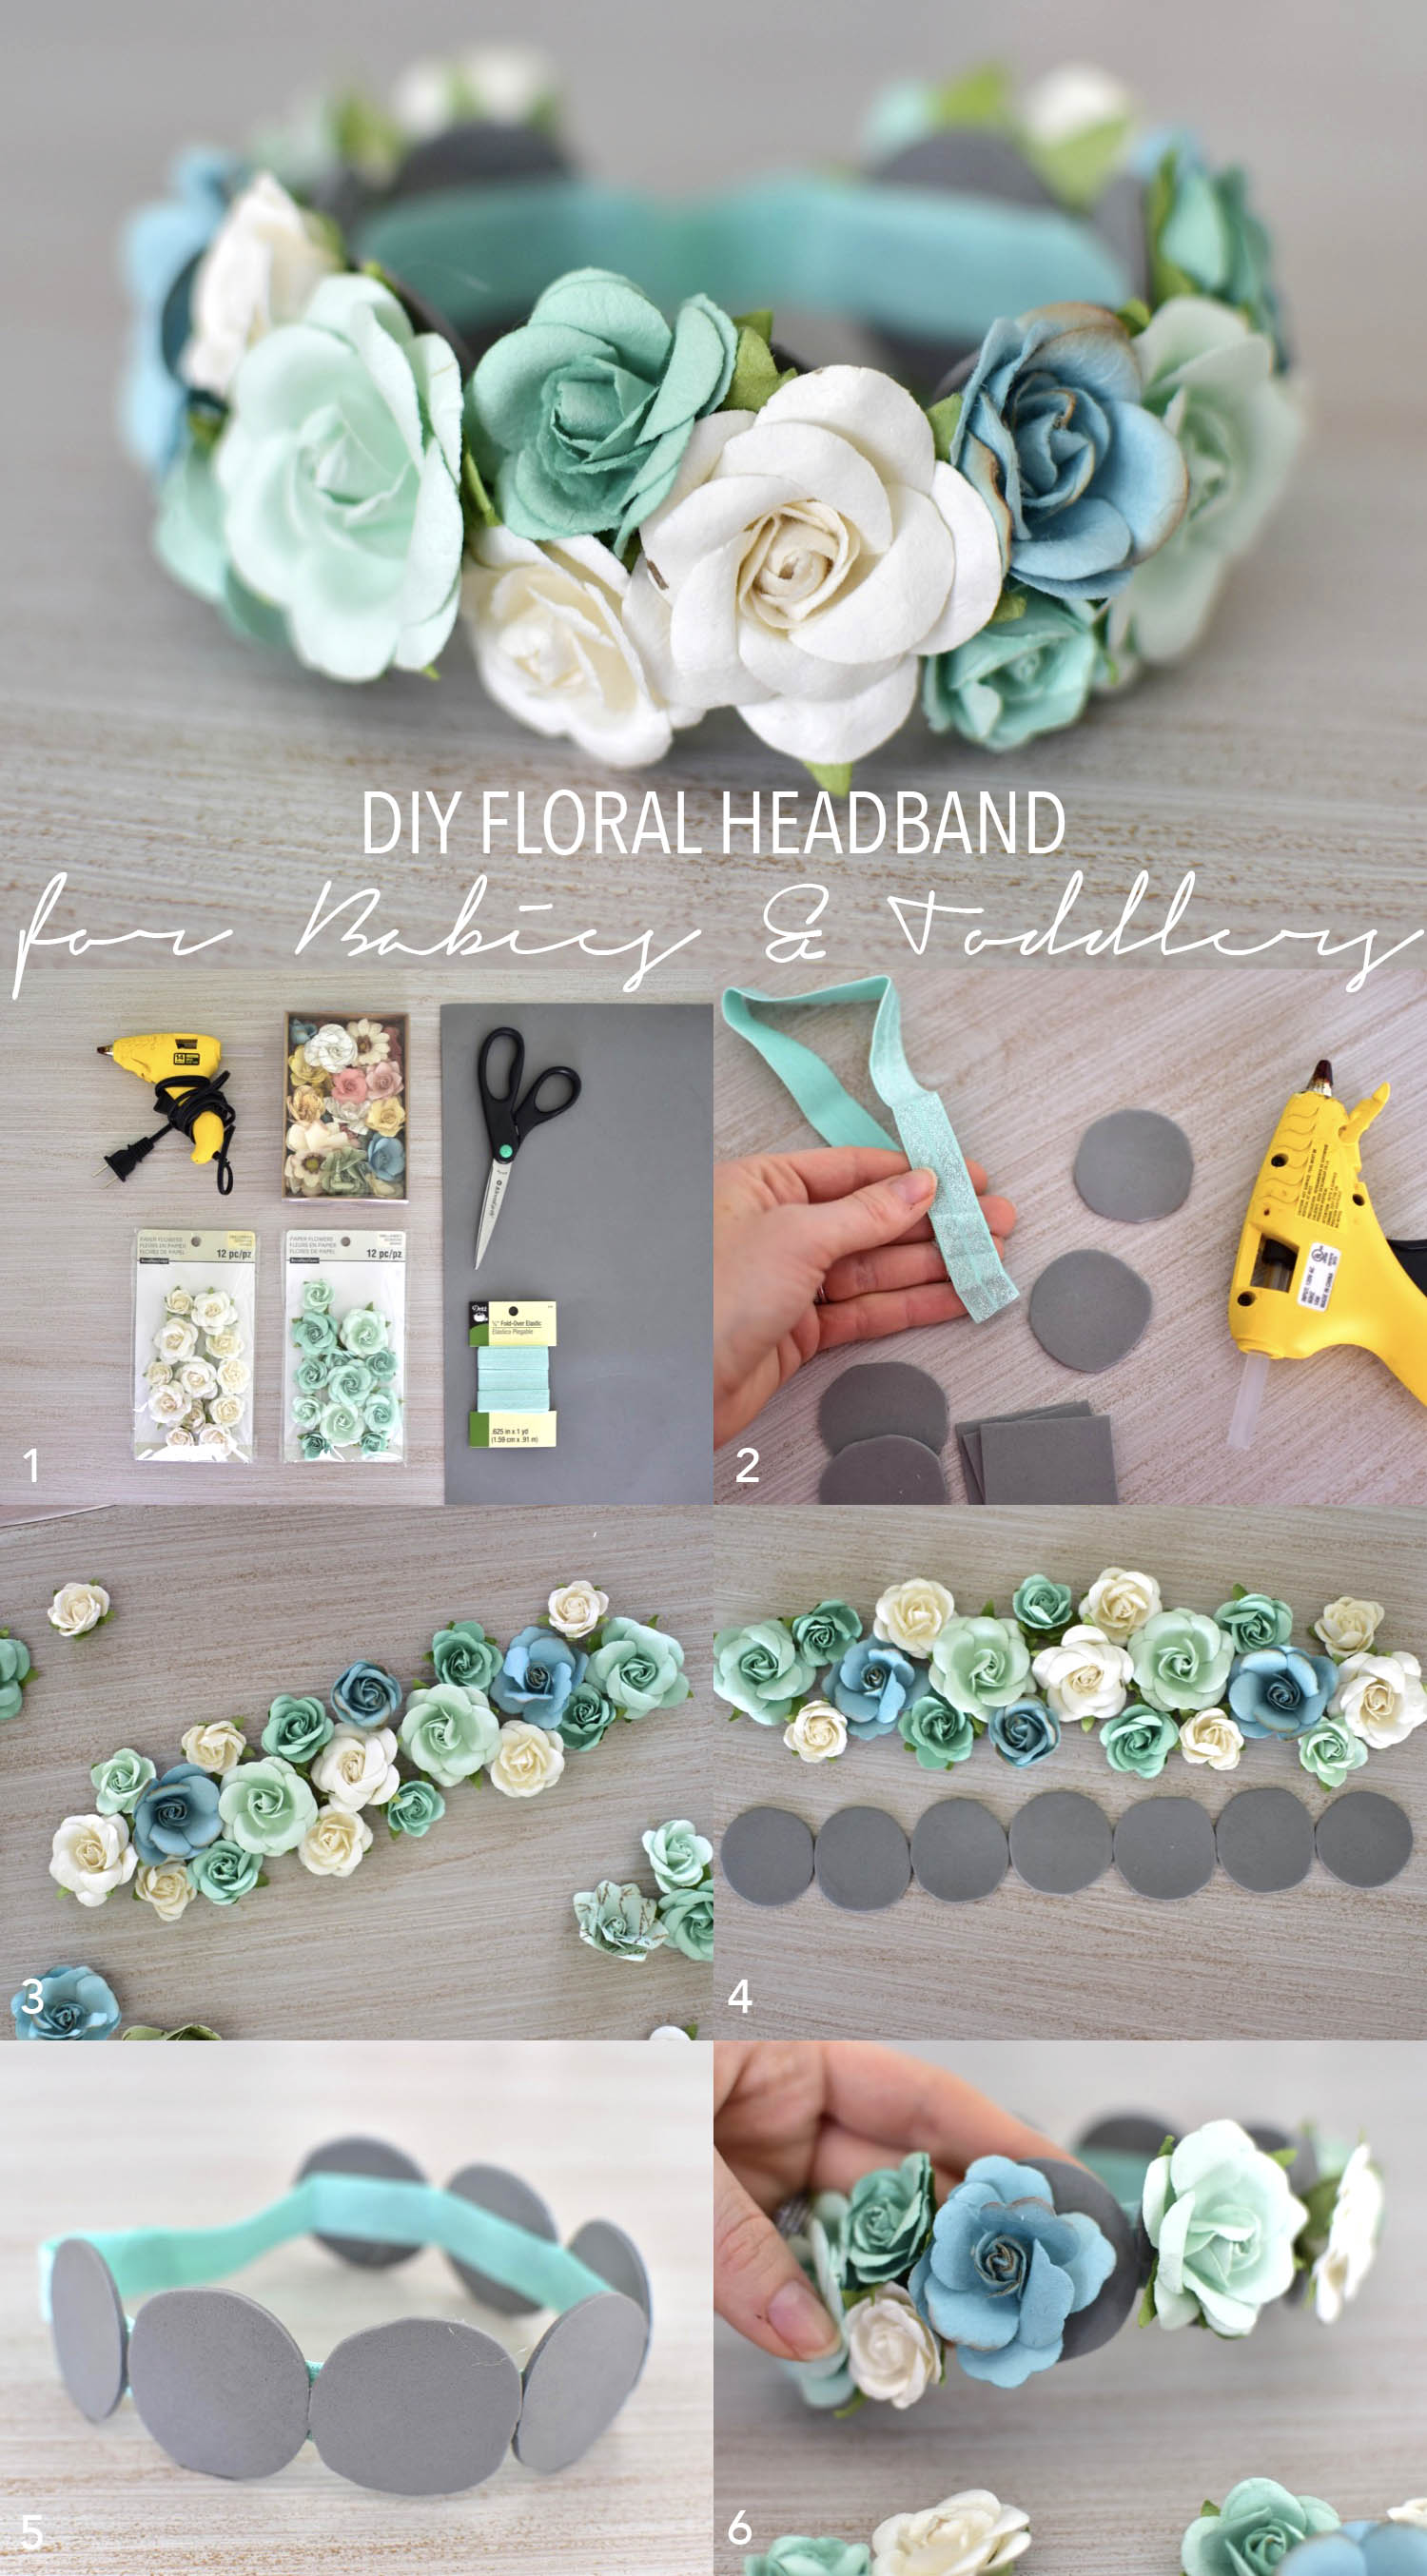
Step 1: Cut the elastic to the circumference of your baby’s head. Hot glue the ends to overlap by 1/2″ and let dry. It may seem too stretchy now, but you will lose half the amount of stretch once you glue on the flowers, and you want baby to be comfortable!
Step 2: Cut out small circles of foam about 1.5″ across.
Step 3: Layout your flowers in the pattern that works for you. I put larger flowers in a row, and interspersed smaller flowers throughout, alternating colors. I wanted the flowers to go from ear to ear, so I needed to make sure I did about 8-9″ of flowers.
Step 4: Lay out your foam circles to the width of your floral arrangement, making sure you have at least one circle for every large flower.
Step 5: Glue the foam circles to the headband, securing the foam circles to each other as well, so that they don’t stick up when being worn.
Step 6: Glue the larger flowers on first. The way I laid out my design, I assumed 1 large flower and 2 small flowers per circle. I glued all the larger flowers to the left hand side of the circles, ensuring that the smaller flowers would also have enough space. Make sure flowers are very close together.
Step 7: Once dry, you can trim back extra foam core if the shapes are too big, but try it on baby first!
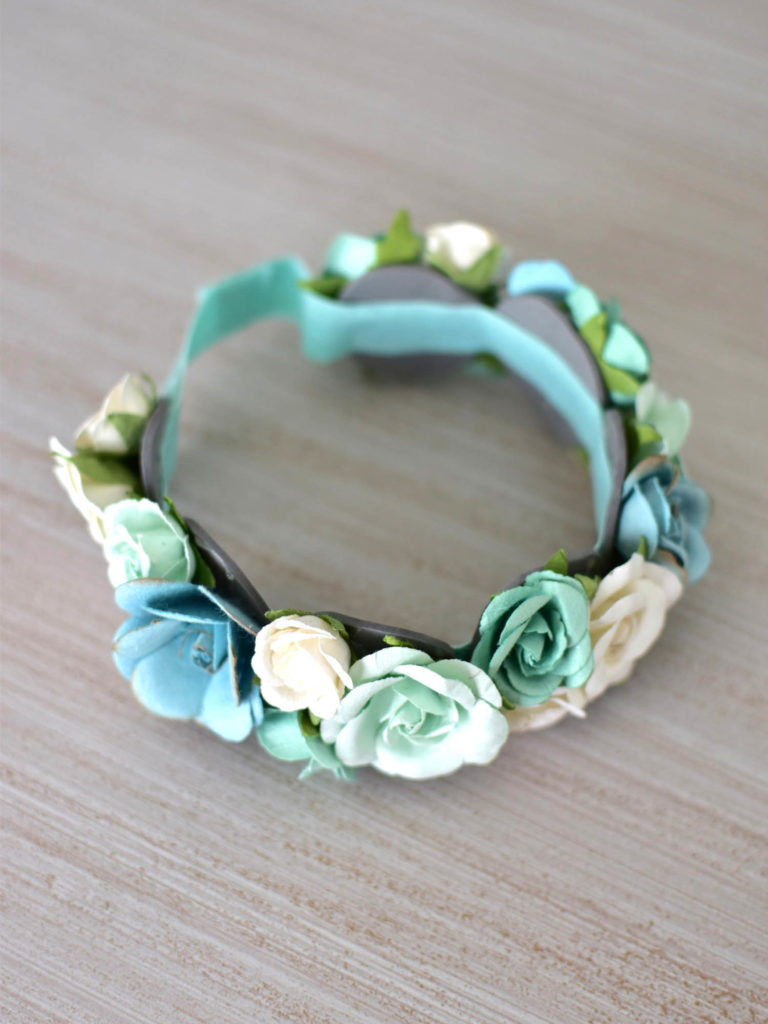
I hope to have more pictures of the birthday party and Marina’s finished look in the coming weeks, but wanted to get this DIY out there early for any spring parties, easter celebrations or get togethers coming your way!
