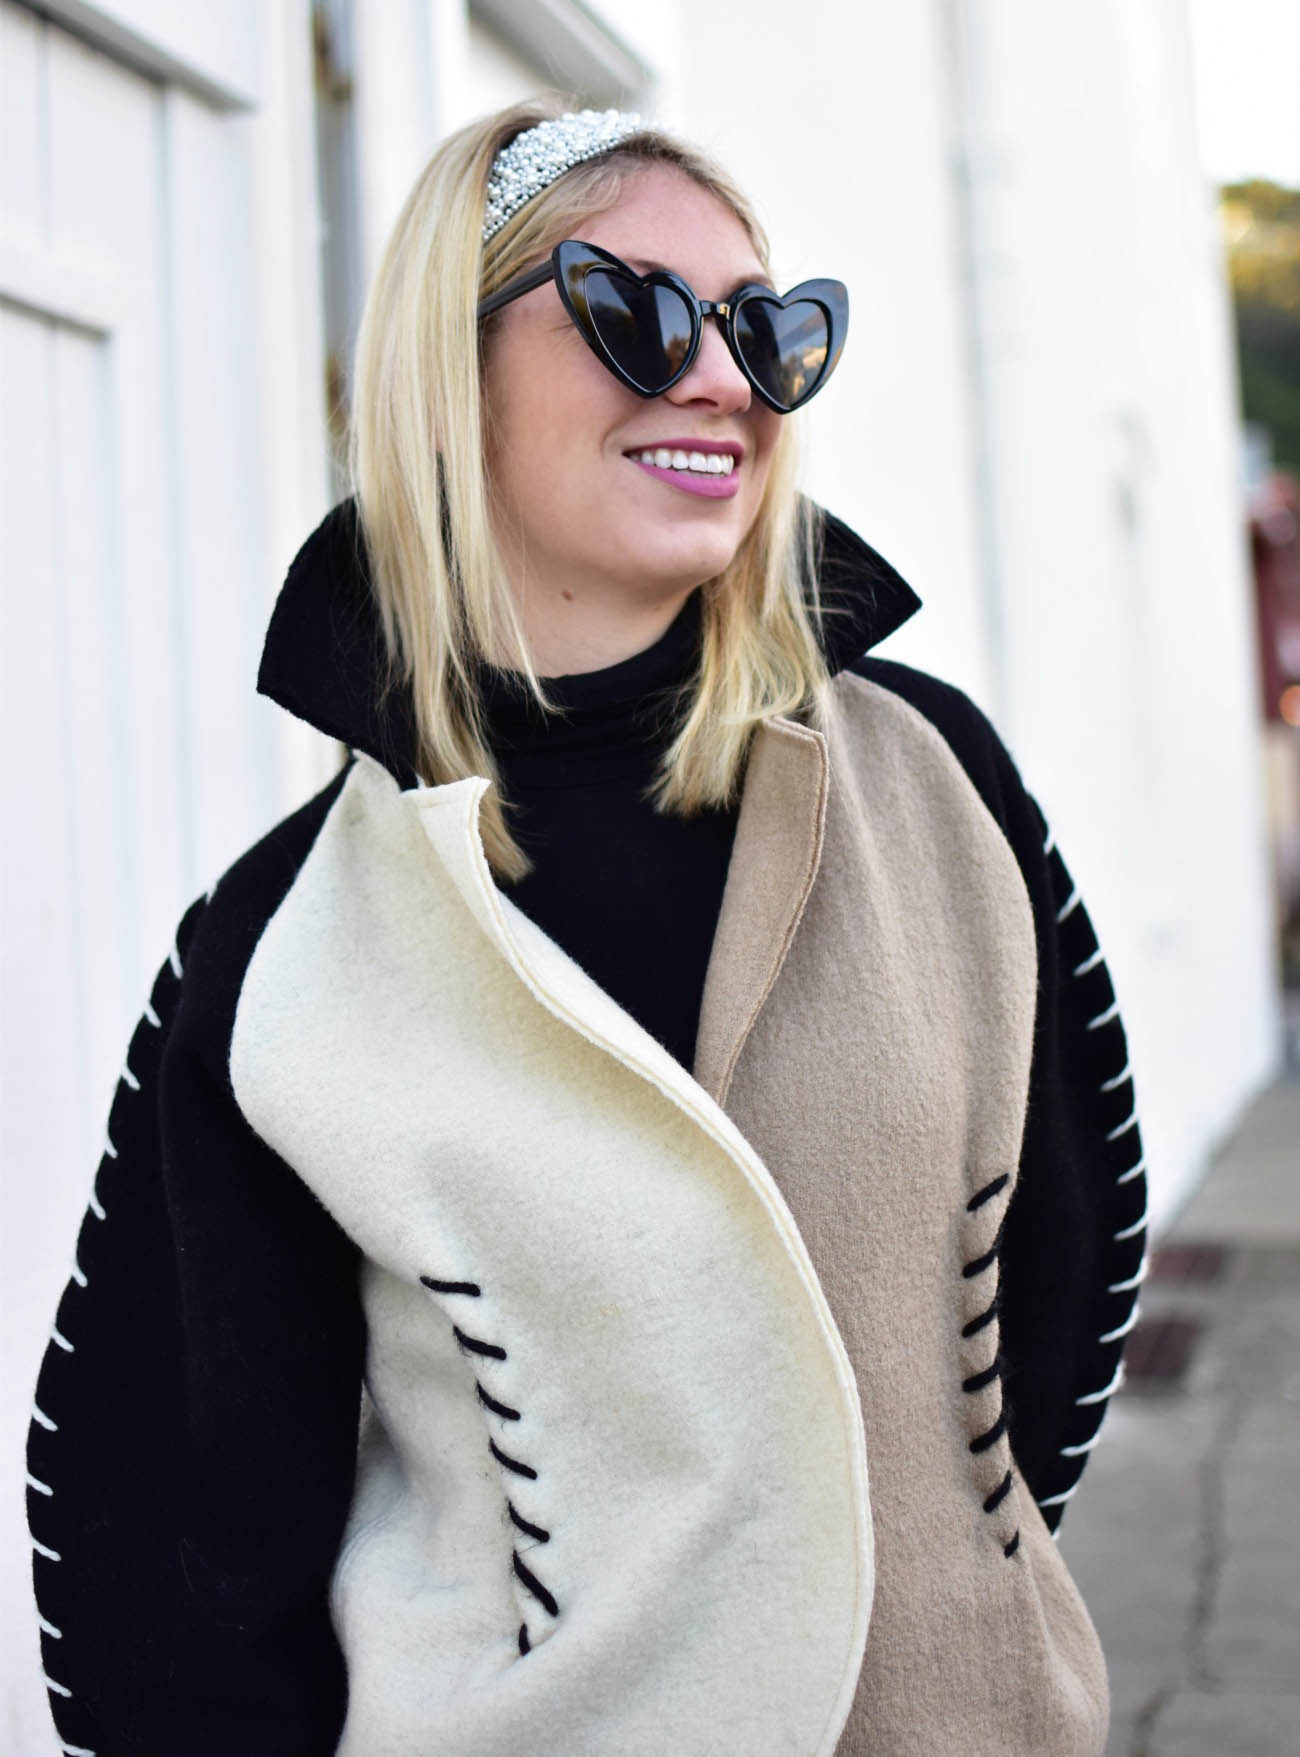
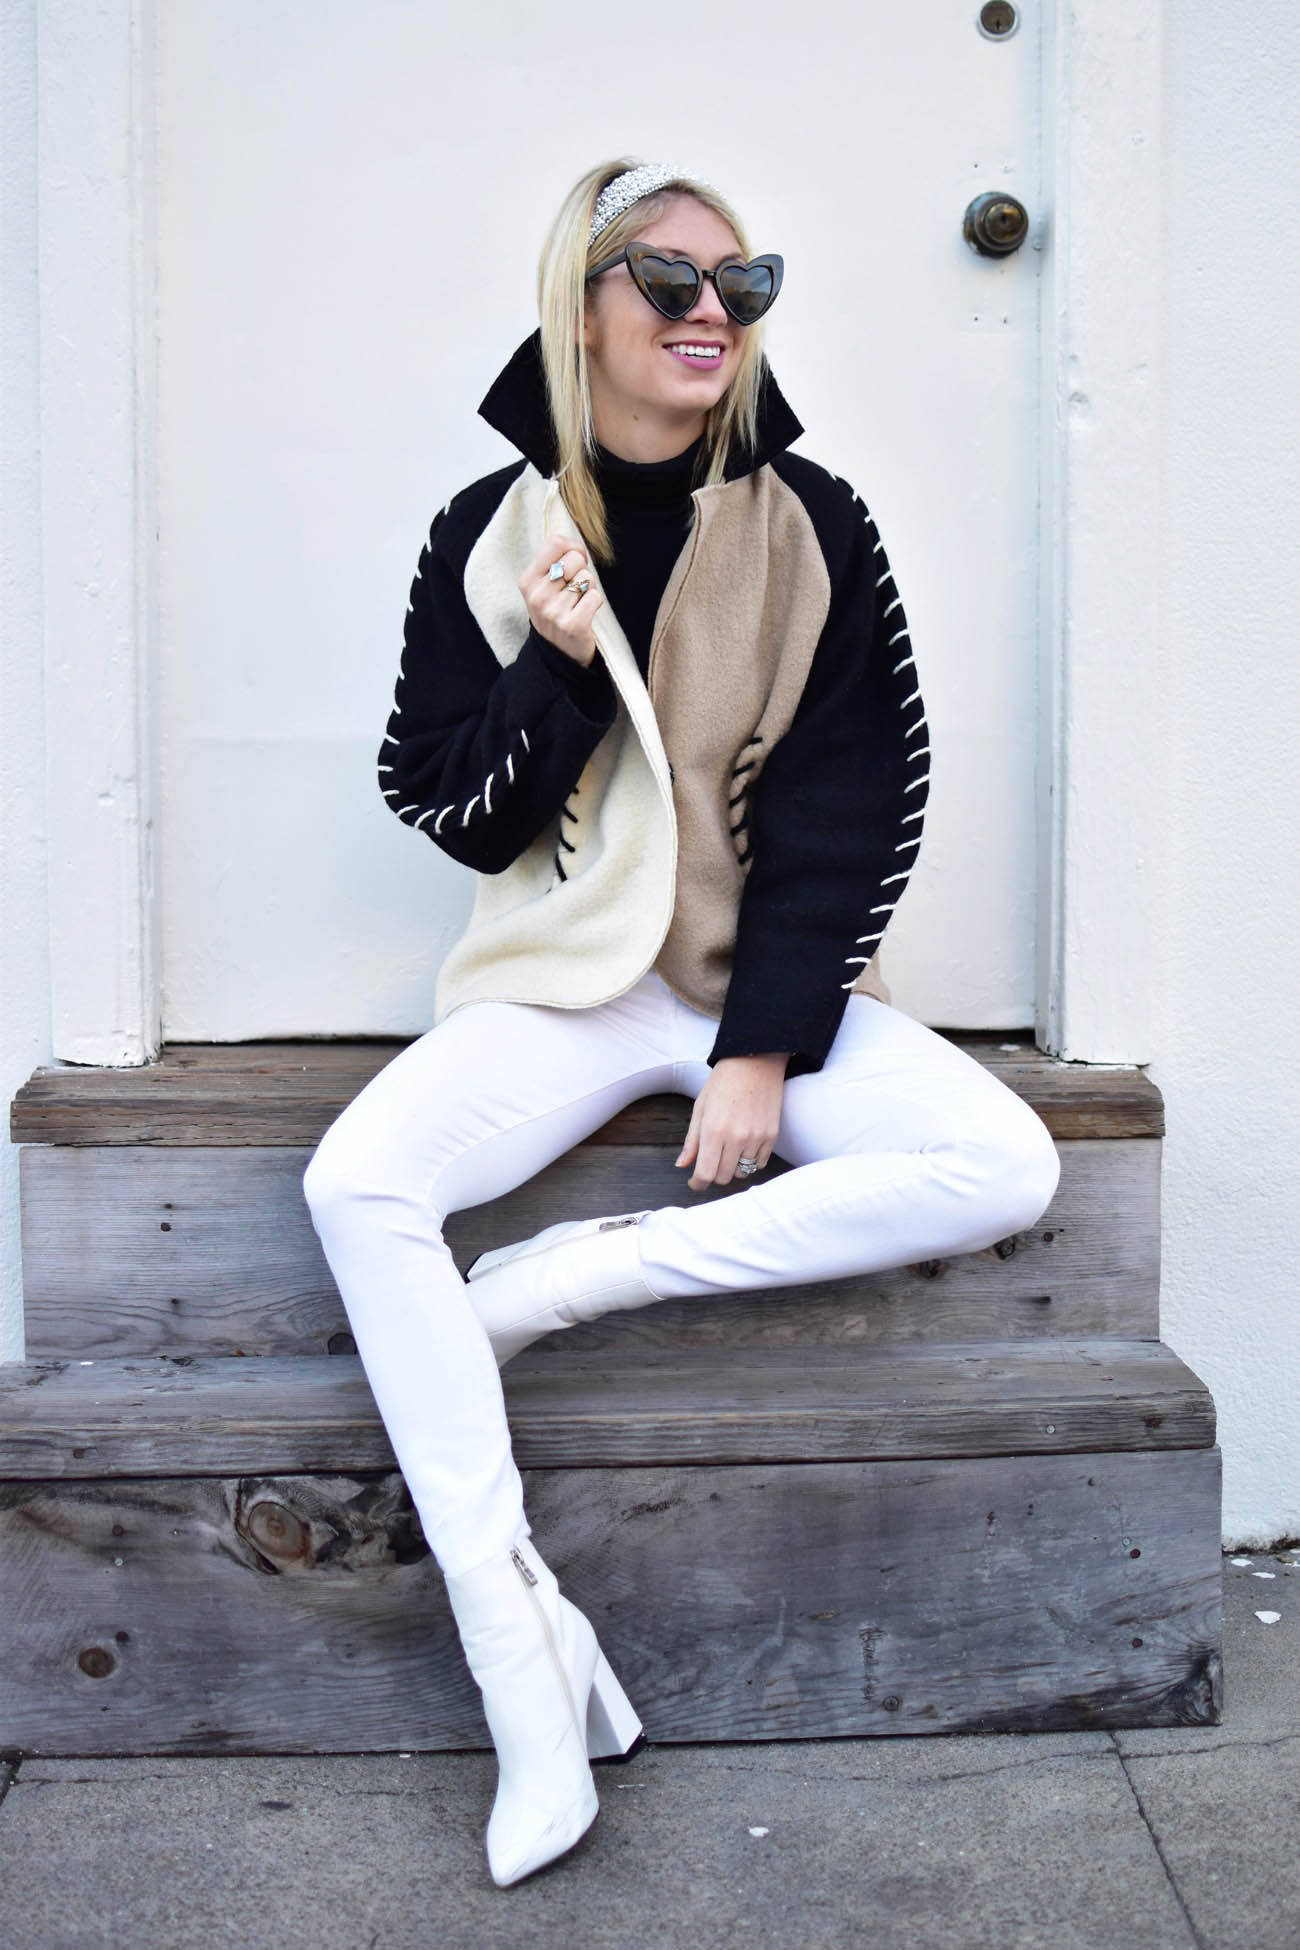
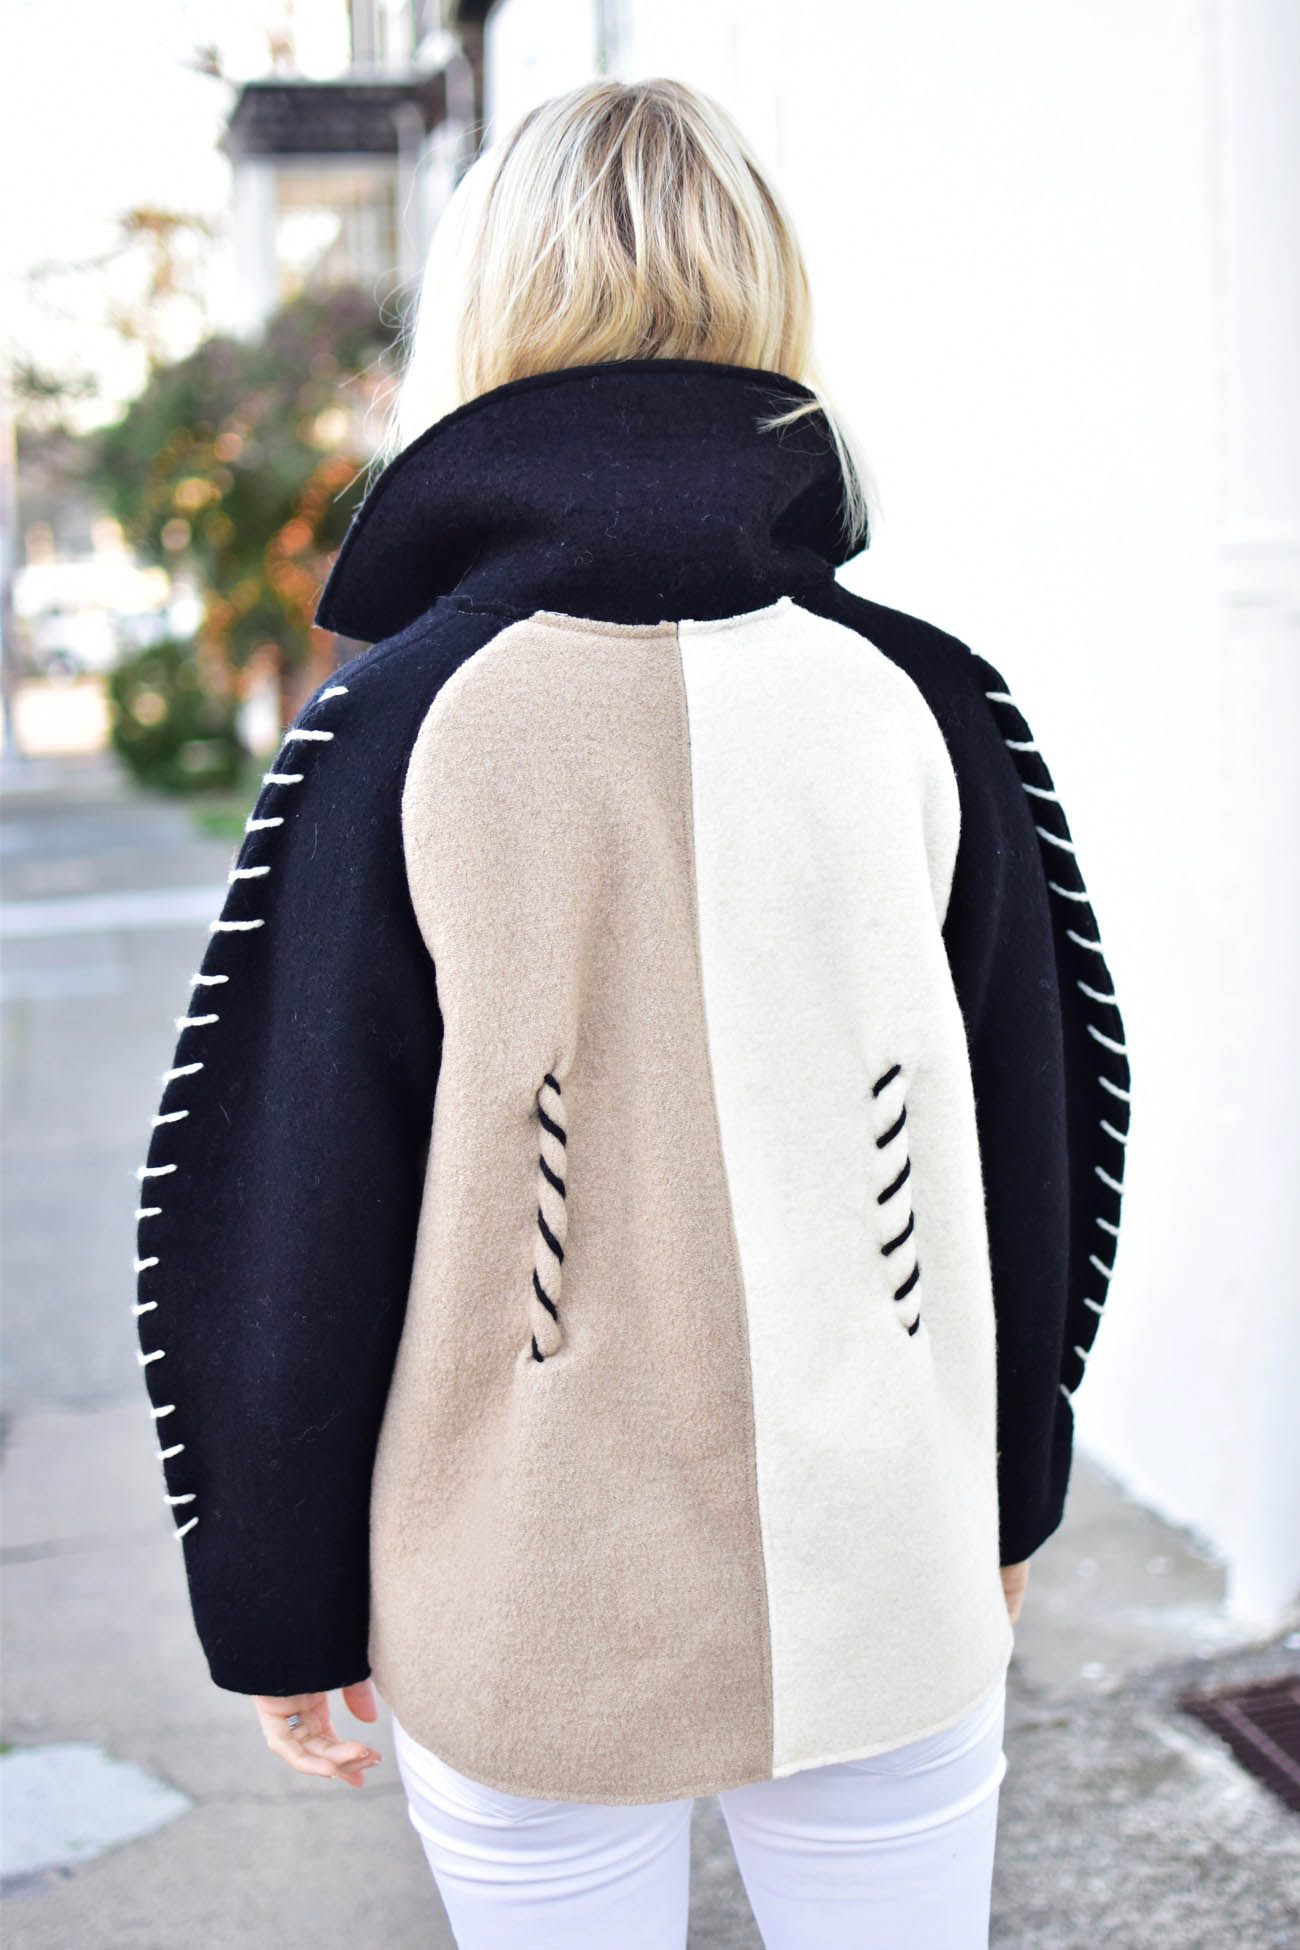
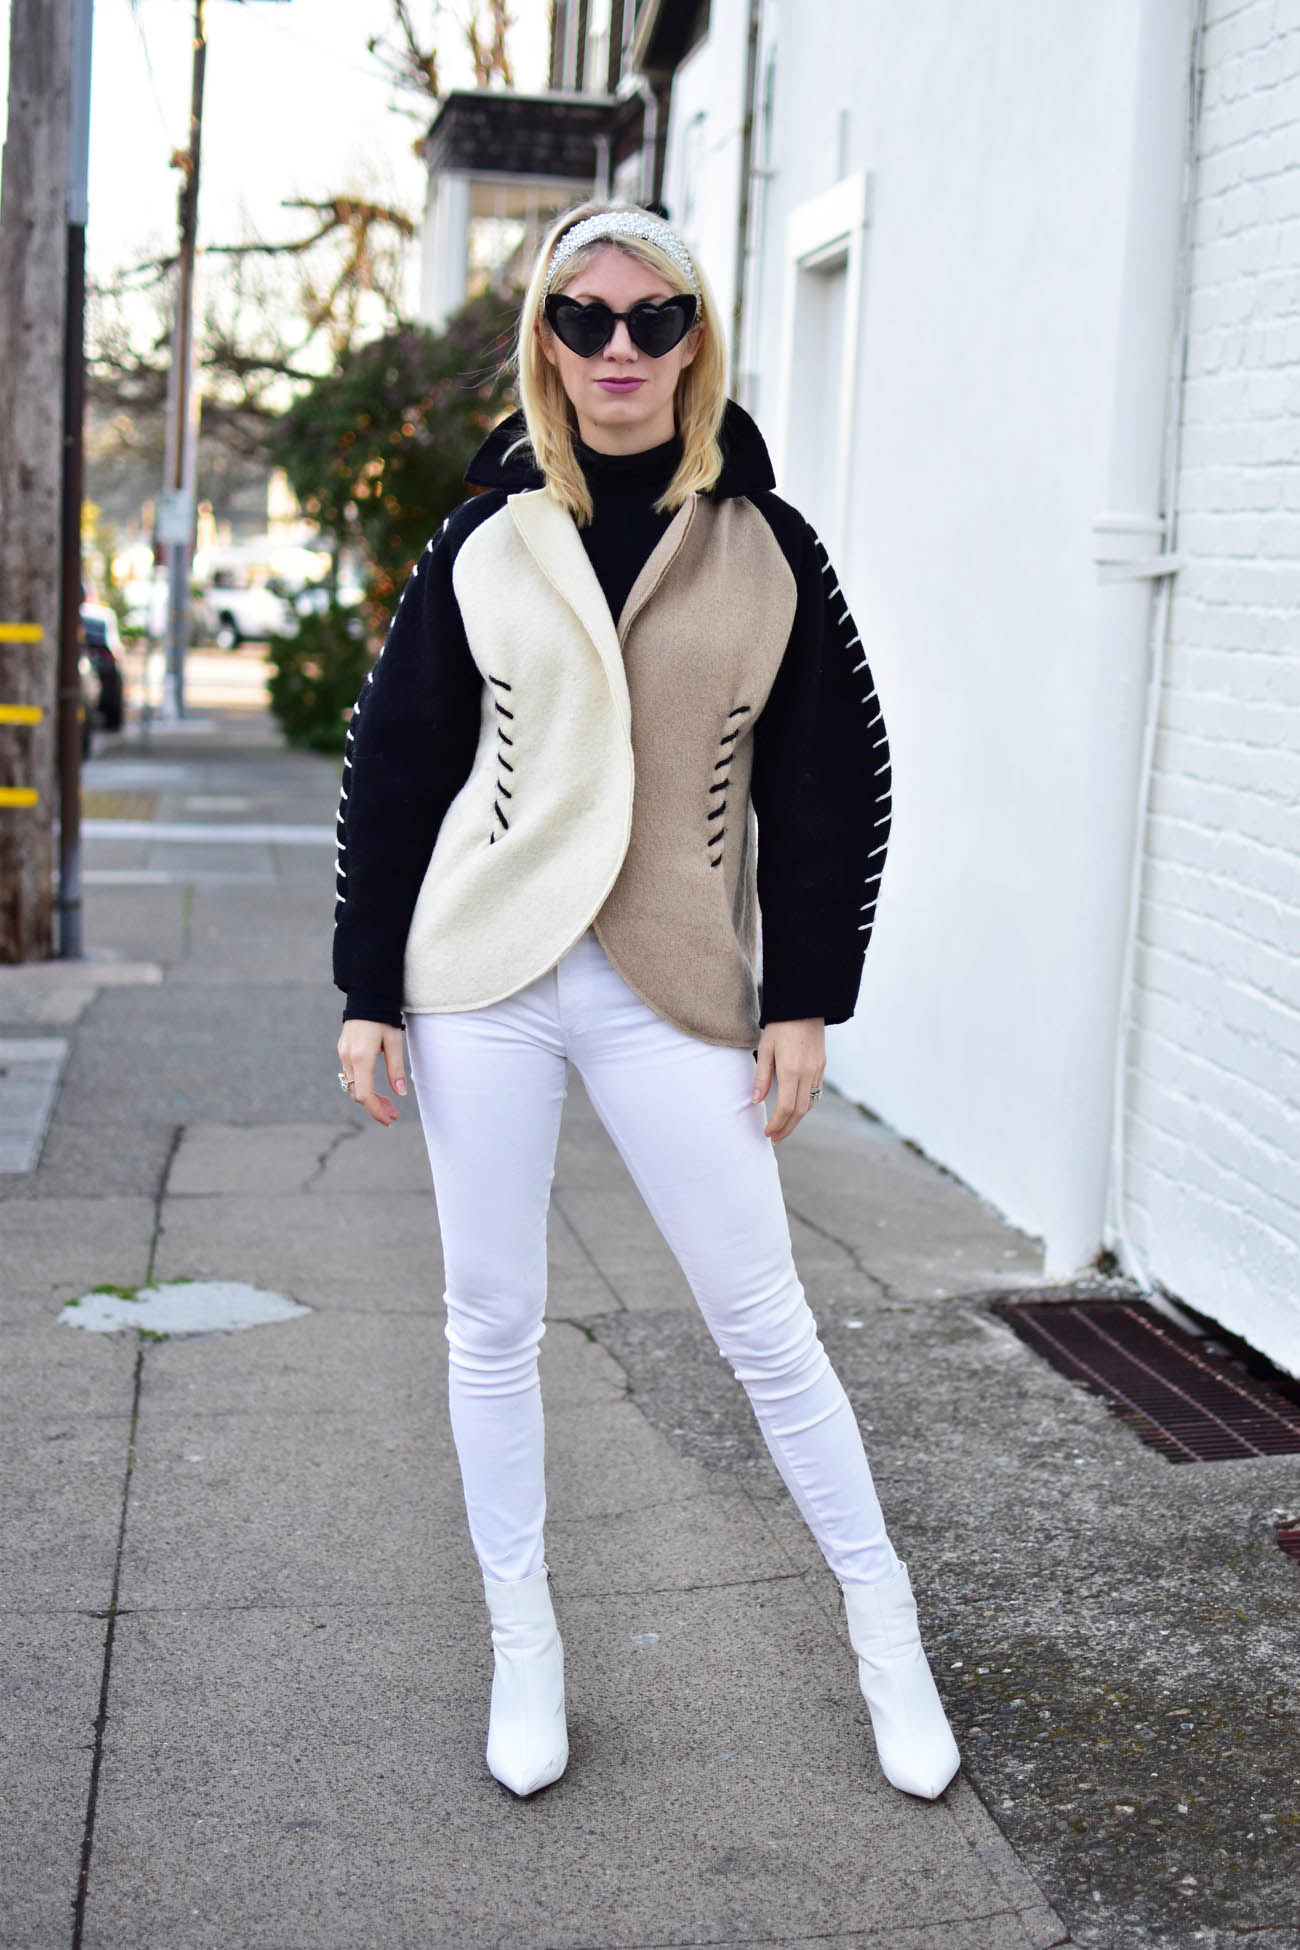
I’m feeling reallllyyyy good about this color block boiled wool jacket because it was on my list of 5 Fashion Design Projects that I wanted to make in 2019. By February 1, I already knocked one of them off the list! All of those projects on the list were intended to push my pattern making, sewing and design skills, so completing one already, that came out well and I actually want to wear, is a major feat!
I explain in that post why I wanted to make a boiled wool jacket, but to sum it up, it is a beautiful fabric that doesn’t require lining or extensive finishing, which means I could focus on the pattern making and sculptural design of the jacket instead of how I would have to reinforce it, hem it, line it etc., which is my least favorite part of sewing.
The design process
I fluctuate between flat-patternmaking (where you alter a pre-measured ‘sloper’ which is a basic bodice or skirt shape) and draping (free-form manipulation of fabric on the dress form) because some projects are better for one style versus the other, and for this jacket I chose draping. My draping skills are much weaker than my flat-pattern skills, but often when you are trying to get a certain amount of fullness or volume from the body, being able to visually see it on the dress from rather than flat form can be the easier method. In order to create this jacket, I used my draping textbook from college, and combined the instructions for a raglan sleeve, a coat, an oversized shirt and a collar, in order to the get my design from paper into fabric form. That part was highly stressful for me, so I chose to do it all in a single session, so that I could really focus on the proper technique. Draping the sleeve was particularly tricky, as I have never draped a raglan sleeve, with a rounded top seam, but it worked out!
Refining the Pattern
After converting my pattern to a fleece for a test ‘muslin’ and making the changes, I knew that I would need to double up at least the bodice of my jacket in order to get the round, stiff shape that I wanted. I wasn’t sure if I had bought enough fabric for that, but looking at my wool, I realized that my black wool was already about double the thickness of the cream and sand colors, so I wouldn’t have to double the thickness of the sleeves. Luckily I had just enough fabric to double the body, and I realized that this was even more important, because later on when I hand stitched the darts with yarn, I needed the added thickness to really make the ‘seam’ stand out. Then I realized I was going to have difficulty with the collar I draped, because I didn’t know how to insert it into the neck seam with so much thickness. Fortunately I stumbled upon this photo at just the perfect time, which gave me the confidence to plainly insert the collar into the neck with raw edges, an idea I loved in theory but didn’t know how it would look.
Sewing the Boiled Wool
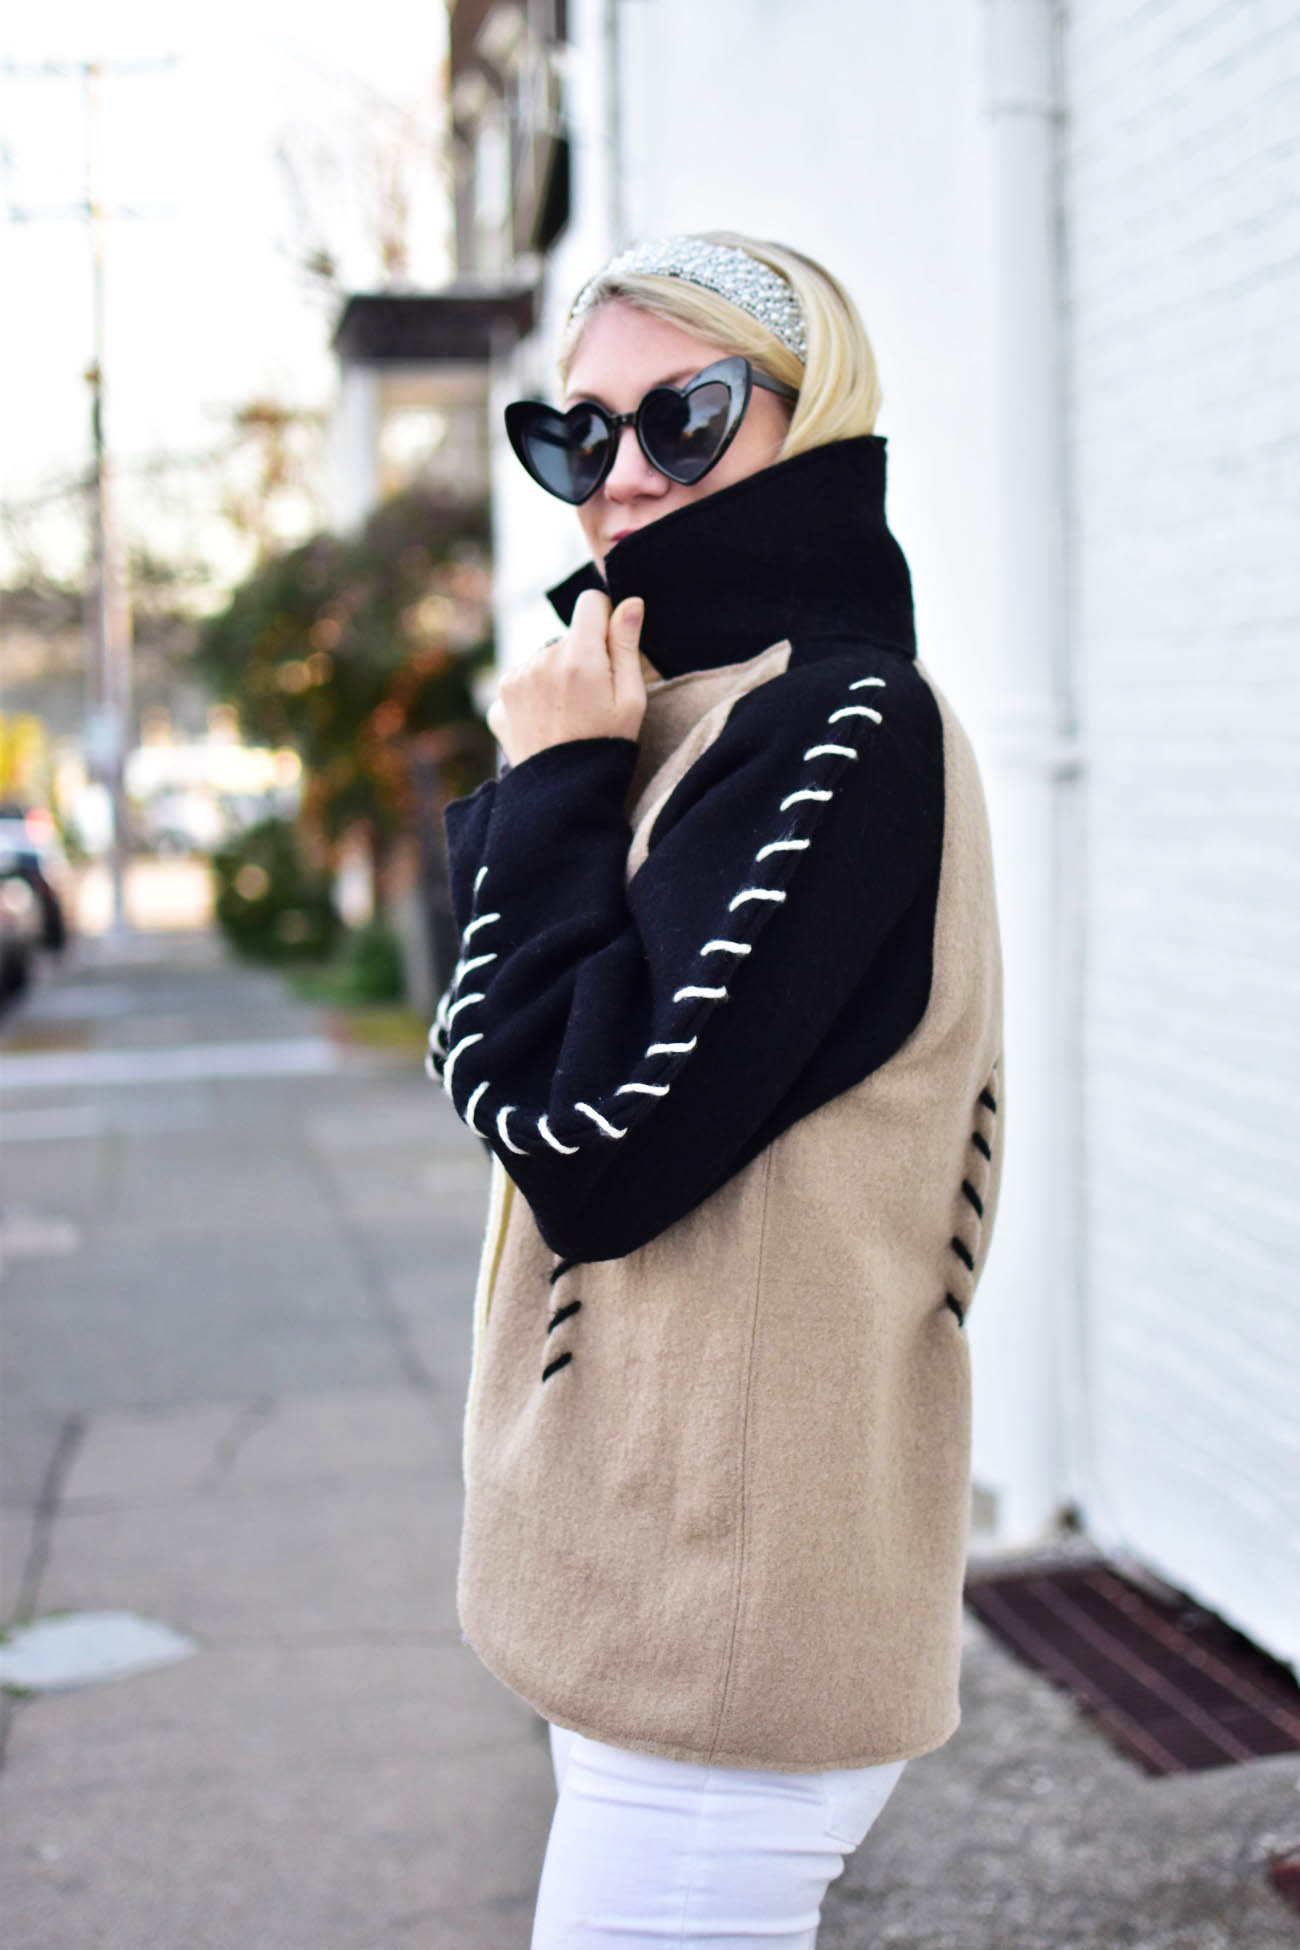
This was by far the easiest part of the process, as I had hoped. I bought several swatches before landing on this boiled wool from Stonemountain & Daughters. Although it was a bit pricier than some other options, this one was 100% wool as opposed to some of the wool/acrylic blend options out there. Also, 100% wool has a bit more structure to hold the shape of my garment, whereas synthetic alternatives would have been a little more free-flowing. While boiled wool leaves small traces of hairs behind, otherwise it cuts smoothly, leaves no fraying edges, and sews beautifully with a larger stitch length. I used 3.5 width for the regular seams and a 4 for the top-stitching, which is my absolute favorite part about sewing with this fabric. It looks so undeniably luxe, and makes the splurge on the fabric worth it!
Finishing Touches
The added yarn detail for the color block wool jacket almost didn’t happen. I was so happy with the overall shape that I had created, that I didn’t want to ruin it or do anything to the jacket to make it less awesome. So I started with the back seams as a test, and realized the using a tapestry needle and 6 oz yarn was fine, as any holes I made in the boiled wool would fill back up if I didn’t like the way they turned out. Luckily, I was OBSESSED with the detail and now I am wondering how I can even more to the jacket without going overboard…?
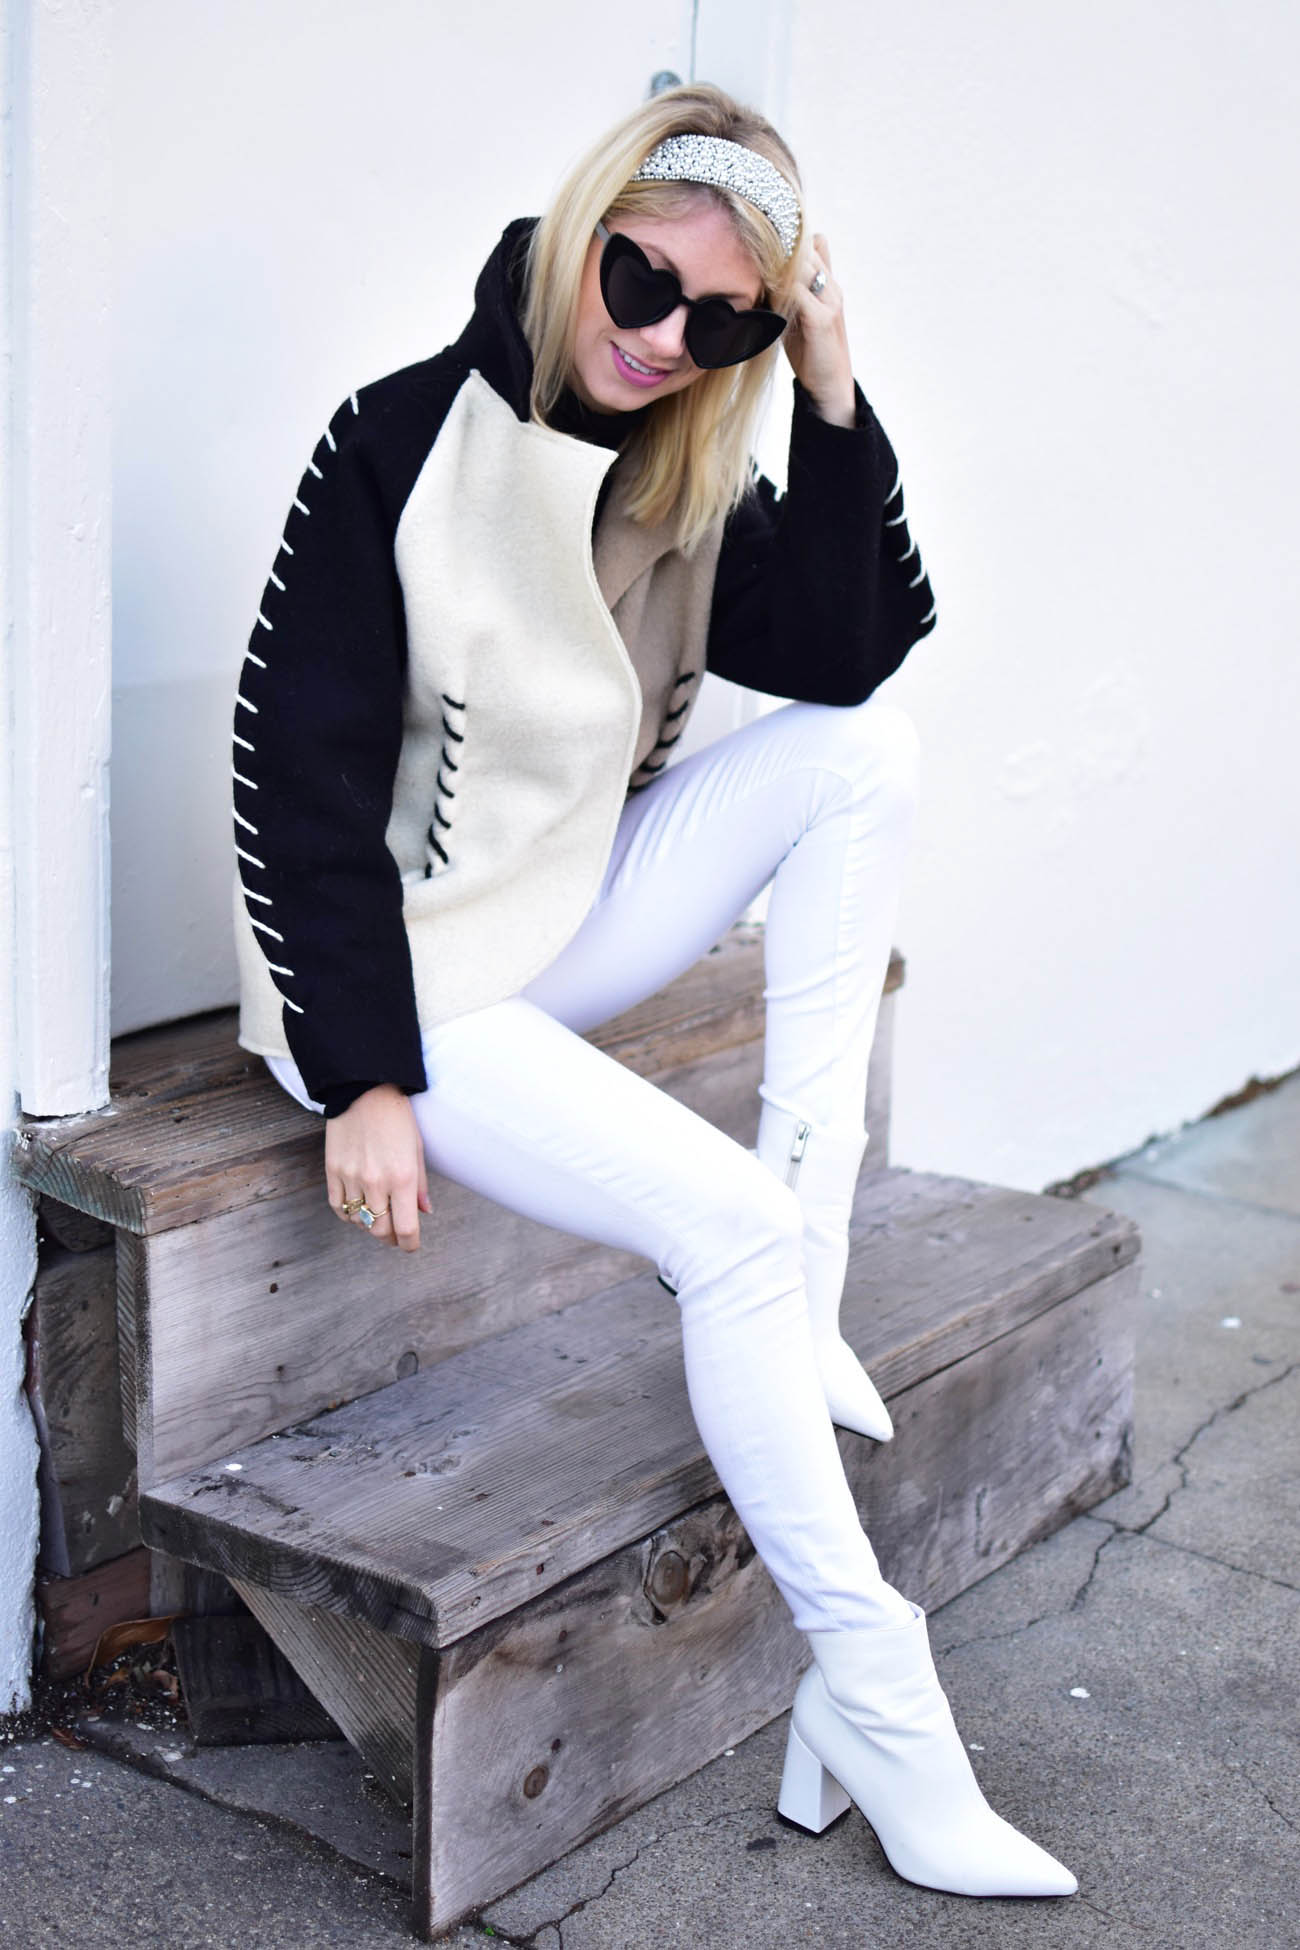
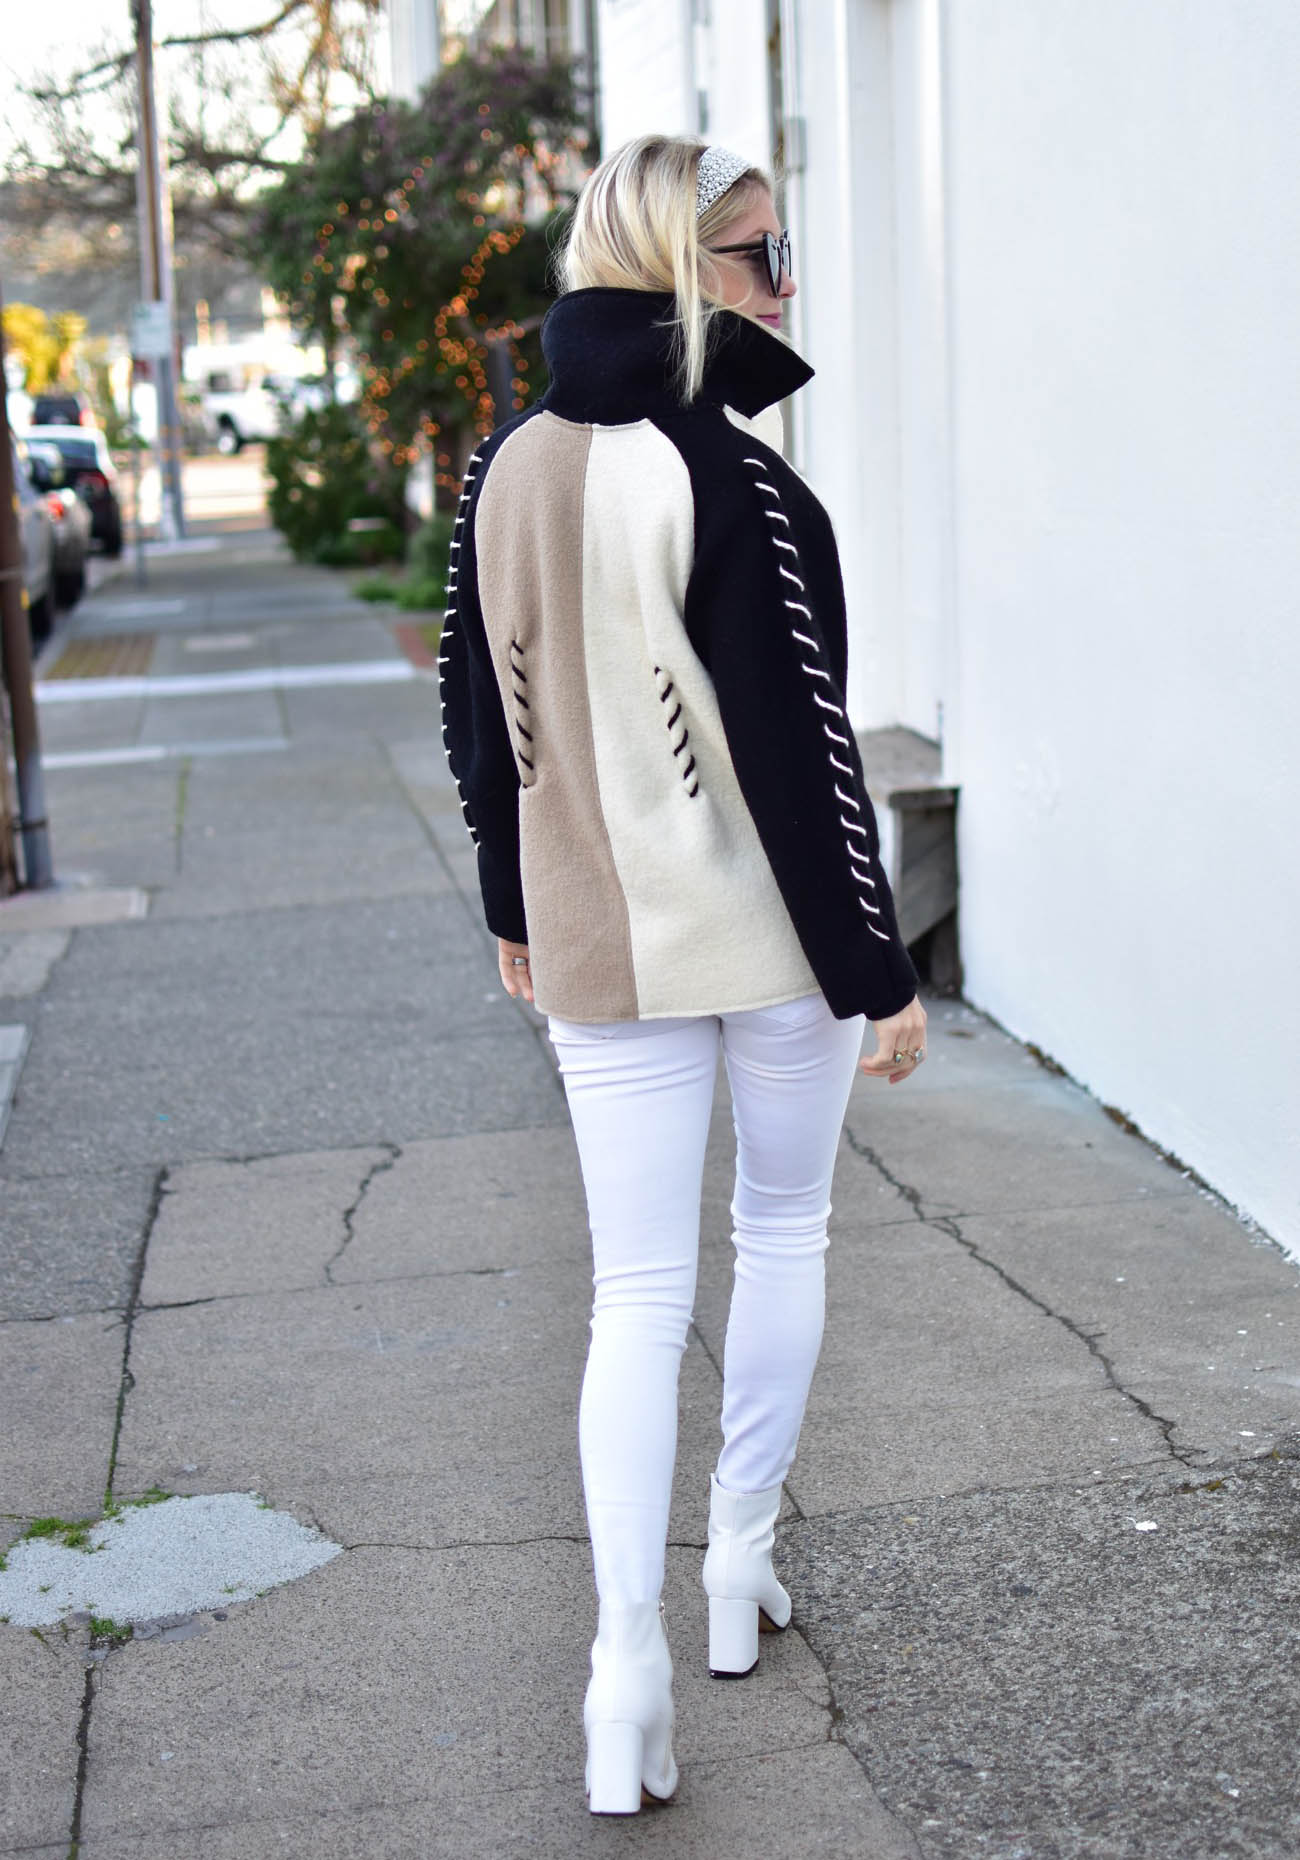
I wore this jacket 2 days ago to a meeting and at the end my clients asked me where I bought my jacket. Needless to say, I am over the moon with the result of this project! What do you think?
