After sewing lots and lots of dresses lately, I decided it was time to finally start getting back to work on our bedroom! This past Saturday was a beautiful sunny clear day outside, perfect for going to the beach or enjoying a BBQ on our patio. Naturally, I roped Mr. R into helping me with a DIY project instead (much to his dismay) and we worked together to create this fabric covered headboard! I am very happy with the way it came out, but my excitement can’t be compared to Mr. R’s. Every time he walks into the bedroom he exclaims “wow! That really does look good!” which is all the approval I need. However, I do think he’s mostly proud of his own handiwork as he reallllllyyyy enjoyed using the staple gun!

What you need:
1. Depending on your bed size, you will need 1.5 to 2 yards of fabric to go the length of your headboard
2. Staple Gun
3. Scissors
4. 1″ thick compact batting – to cover the length and height of your headboard (available at your local Joanns)
5. Nailheads (optional)
6. Hammer (optional)
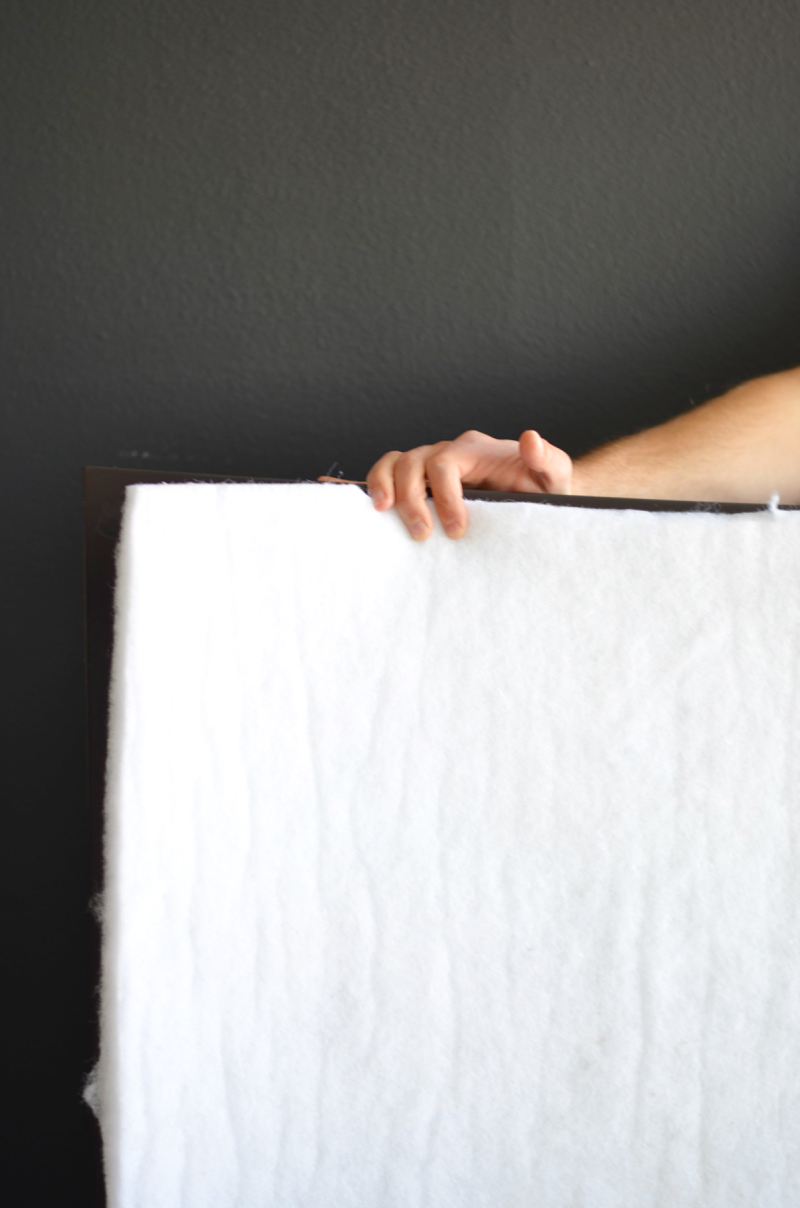
Step 1: Cut the batting to the shape of your existing headboard, making it about 1/2″ smaller all around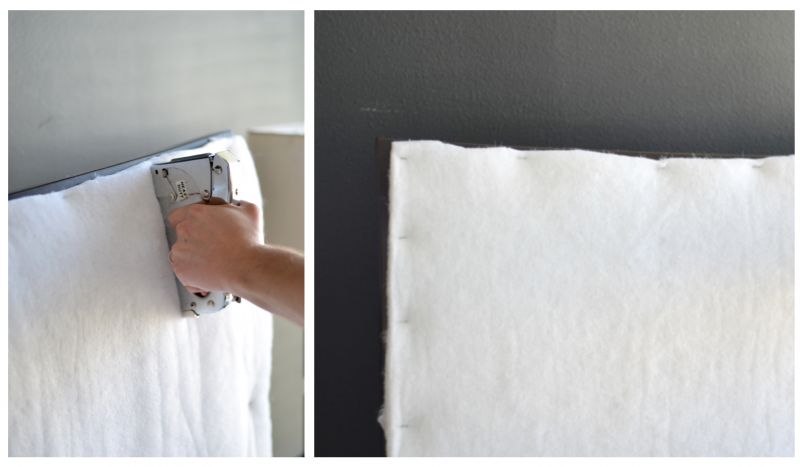
Step 2: Staple gun the batting in place to your headboard, putting a staple in every 8″ or so.

Step 3: Drape your fabric over the headboard and cut around, leaving approximately 6″ on the top and sides to fold over. The bottom will be slightly visible so you can fold the edges under if you prefer or hang the fabric extra low so it will be hidden behind the mattress.
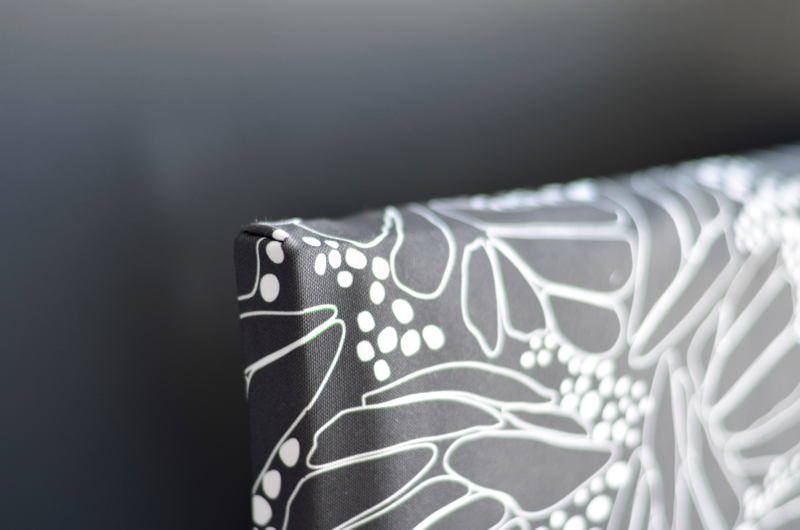
Step 4: Use the staple gun along the back of the headboard to affix the fabric to the board. Pull very tightly and work in sections, making sure the fabric does not stretch out or bubble as you work. Fold over the corners neatly and secure with staples so no loose ends are visible.
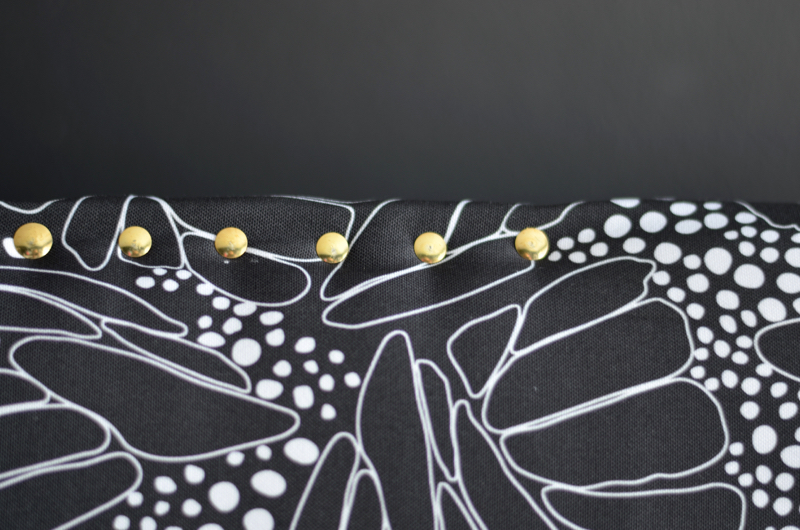
Step 5: Hammer in your nailheads! Truth be known (well, it’s obvious) we did not measure between the nailheads. You can tell in this picture they are a little uneven, but since we wanted to get outside and enjoy some margaritas, they came out like this!

That’s it! Thats the full tutorial which is quite easy. The most time consuming part is definitely putting in the nailheads, and even though they are optional, I really recommend it as they really make the piece look finished. Also, I recommend having a friend or partner help you with this project. It is extremely difficult to make sure you are pulling the fabric tight and staple gunning at the same time, so invite someone over for a quick 45 minutes and you can whip this baby out!

What do you think of the fabric? I’m sure you recognize it as my Monarch Butterfly print– not just on the headboard but repeated in the orange pillows in the original color way. I like the repetition of using the same pattern in a different color, as it is pleasing to the eye but in a less obvious way. And did you realize it is the same print as this dress?
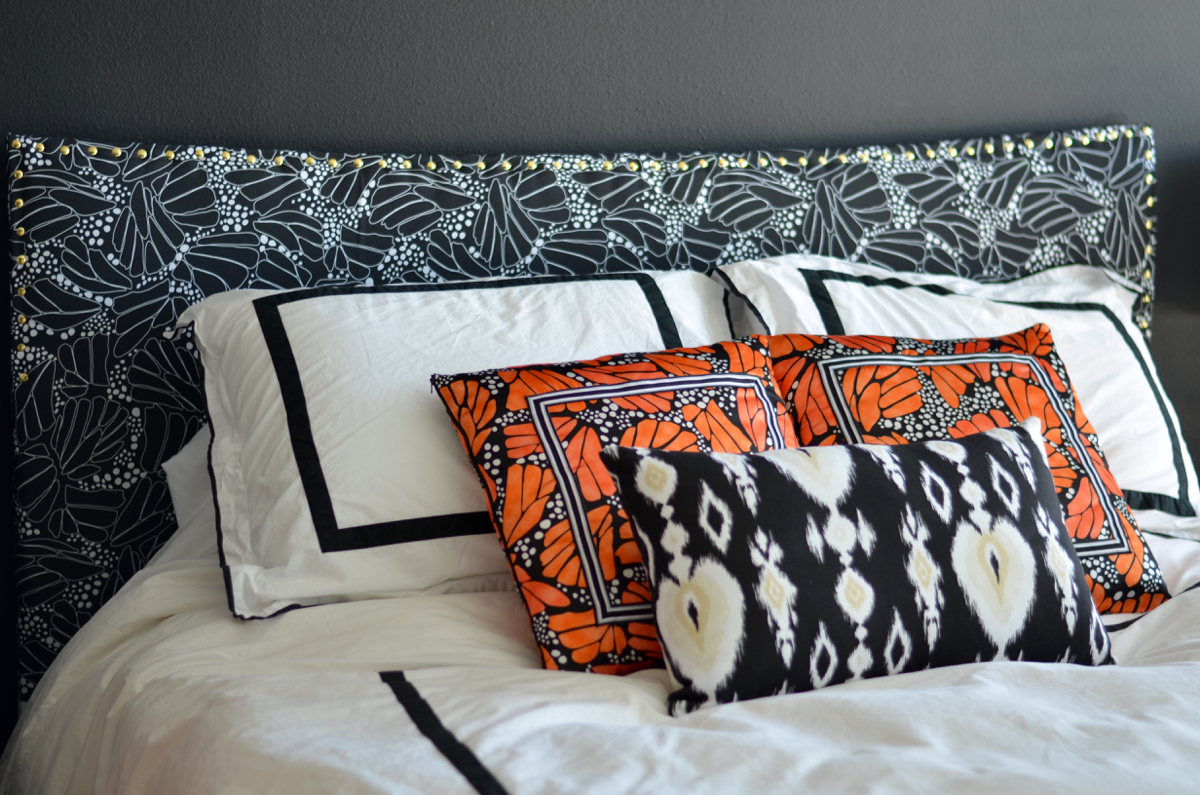
Finally, will someone tell me how to shoot a bedroom? I don’t know how these other people get the sheets and pillows to lie so flat and even. Shooting this was a nightmare because the pillows never seem to want to do what I want them to! Any advice is appreciated!
