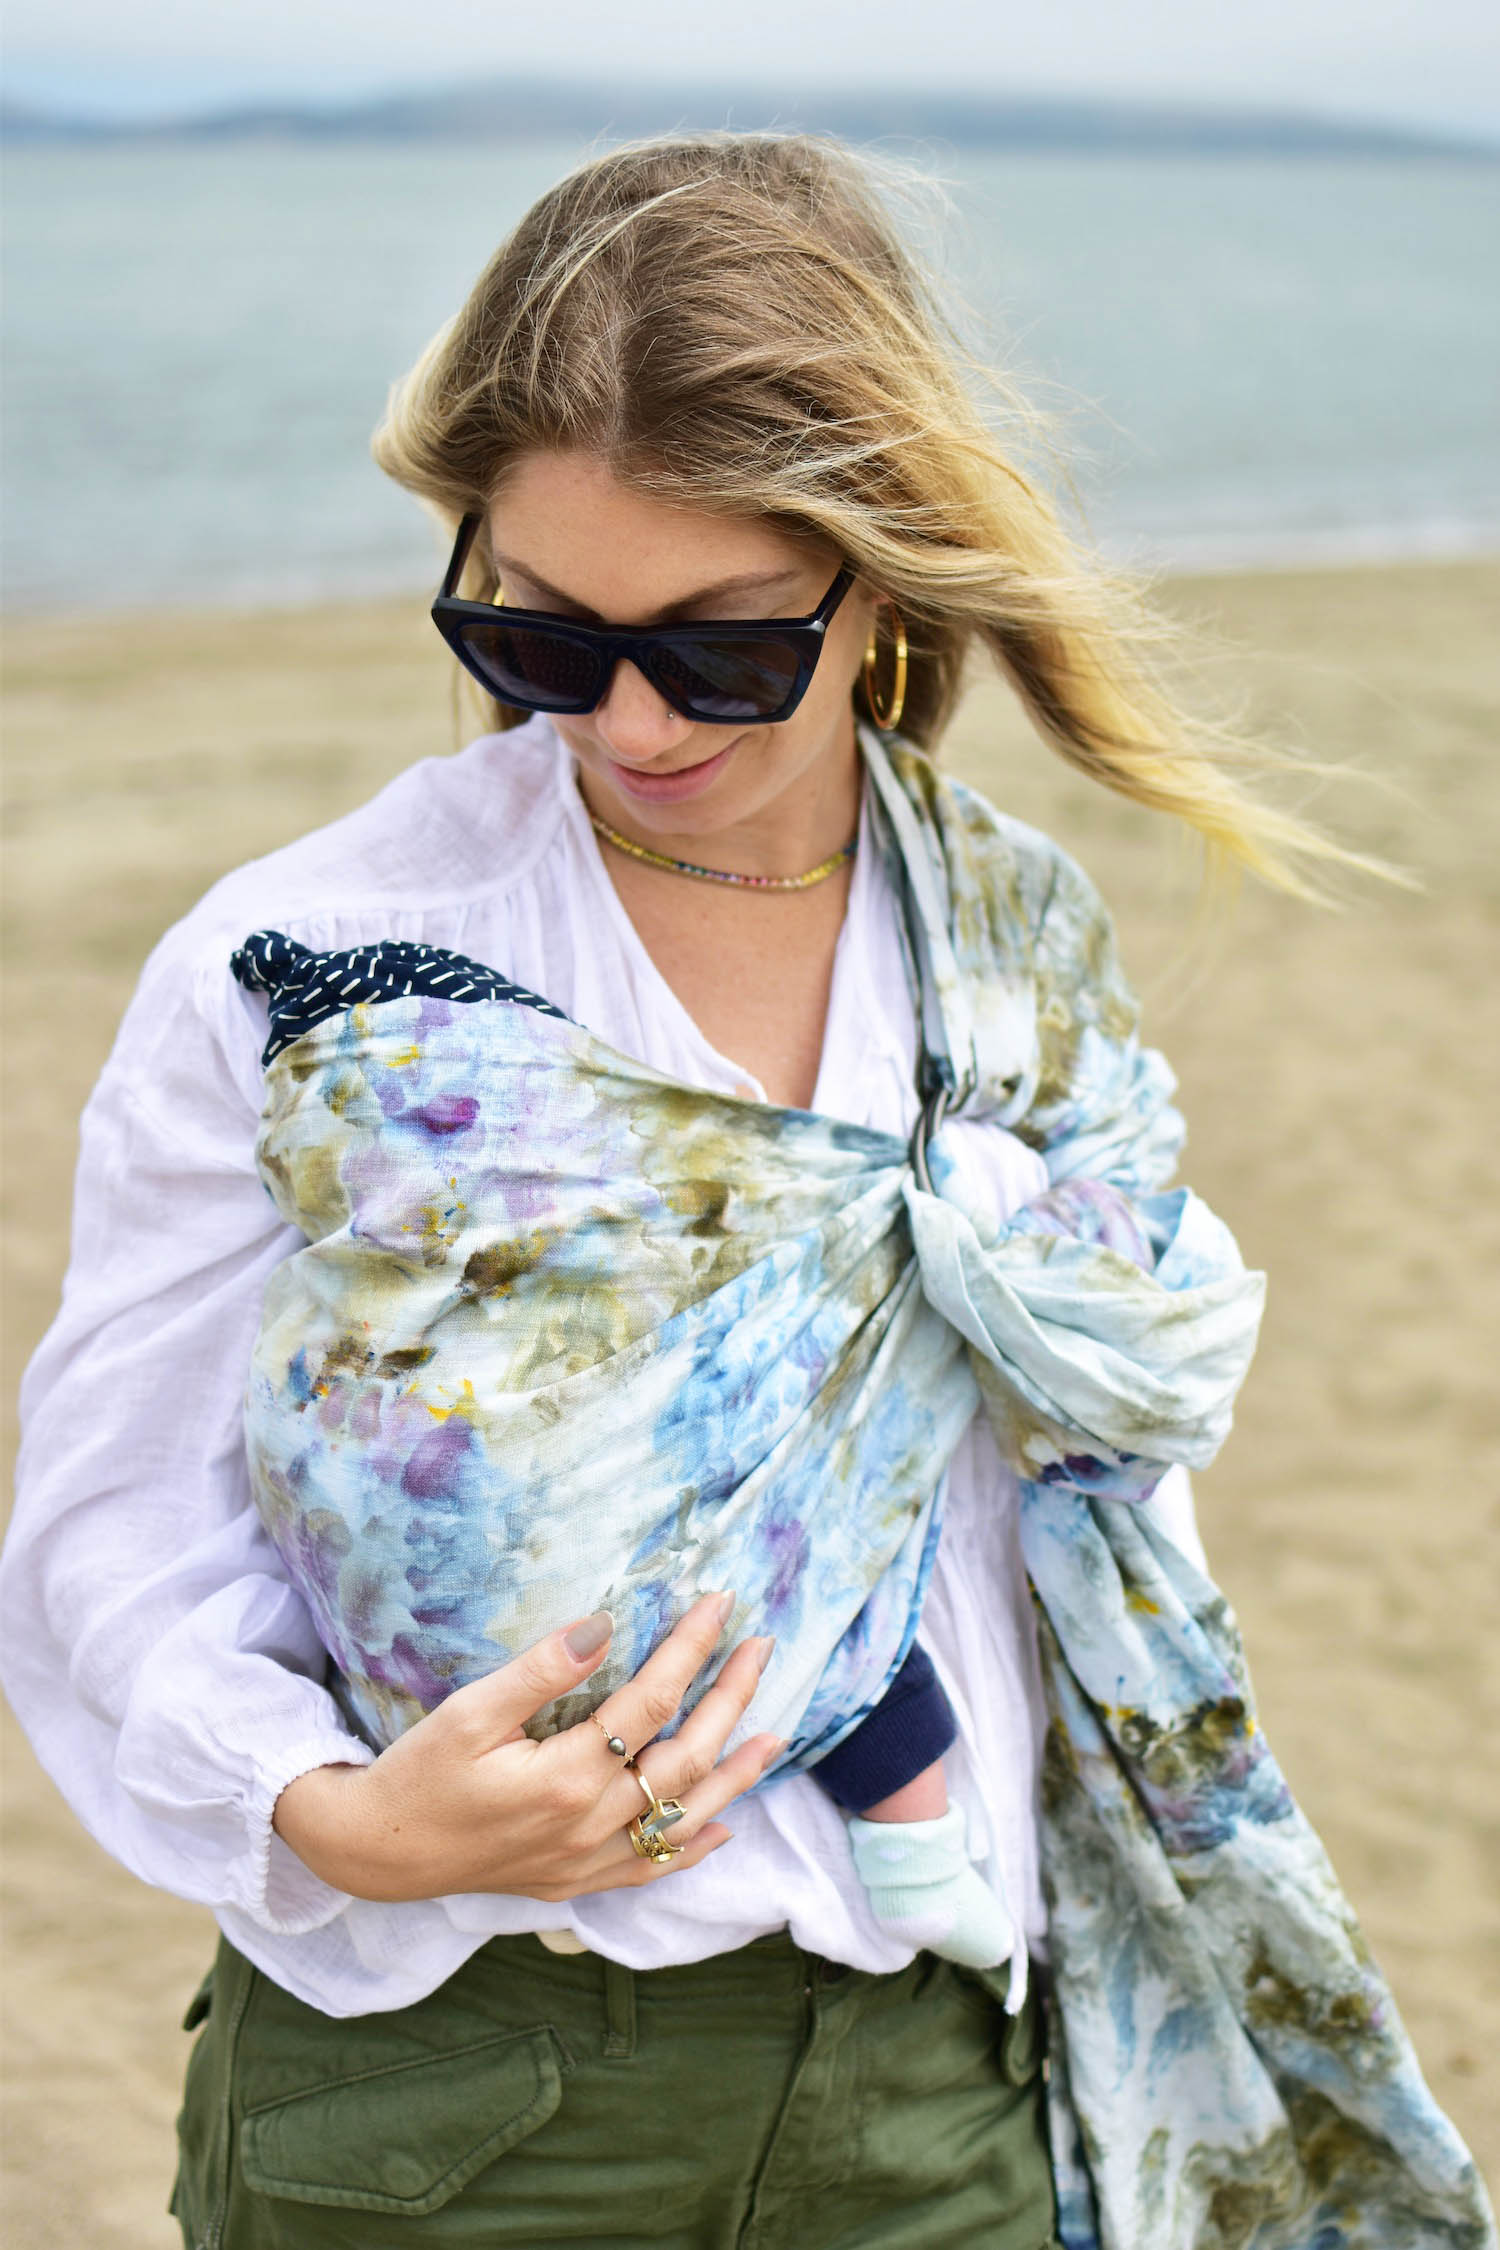
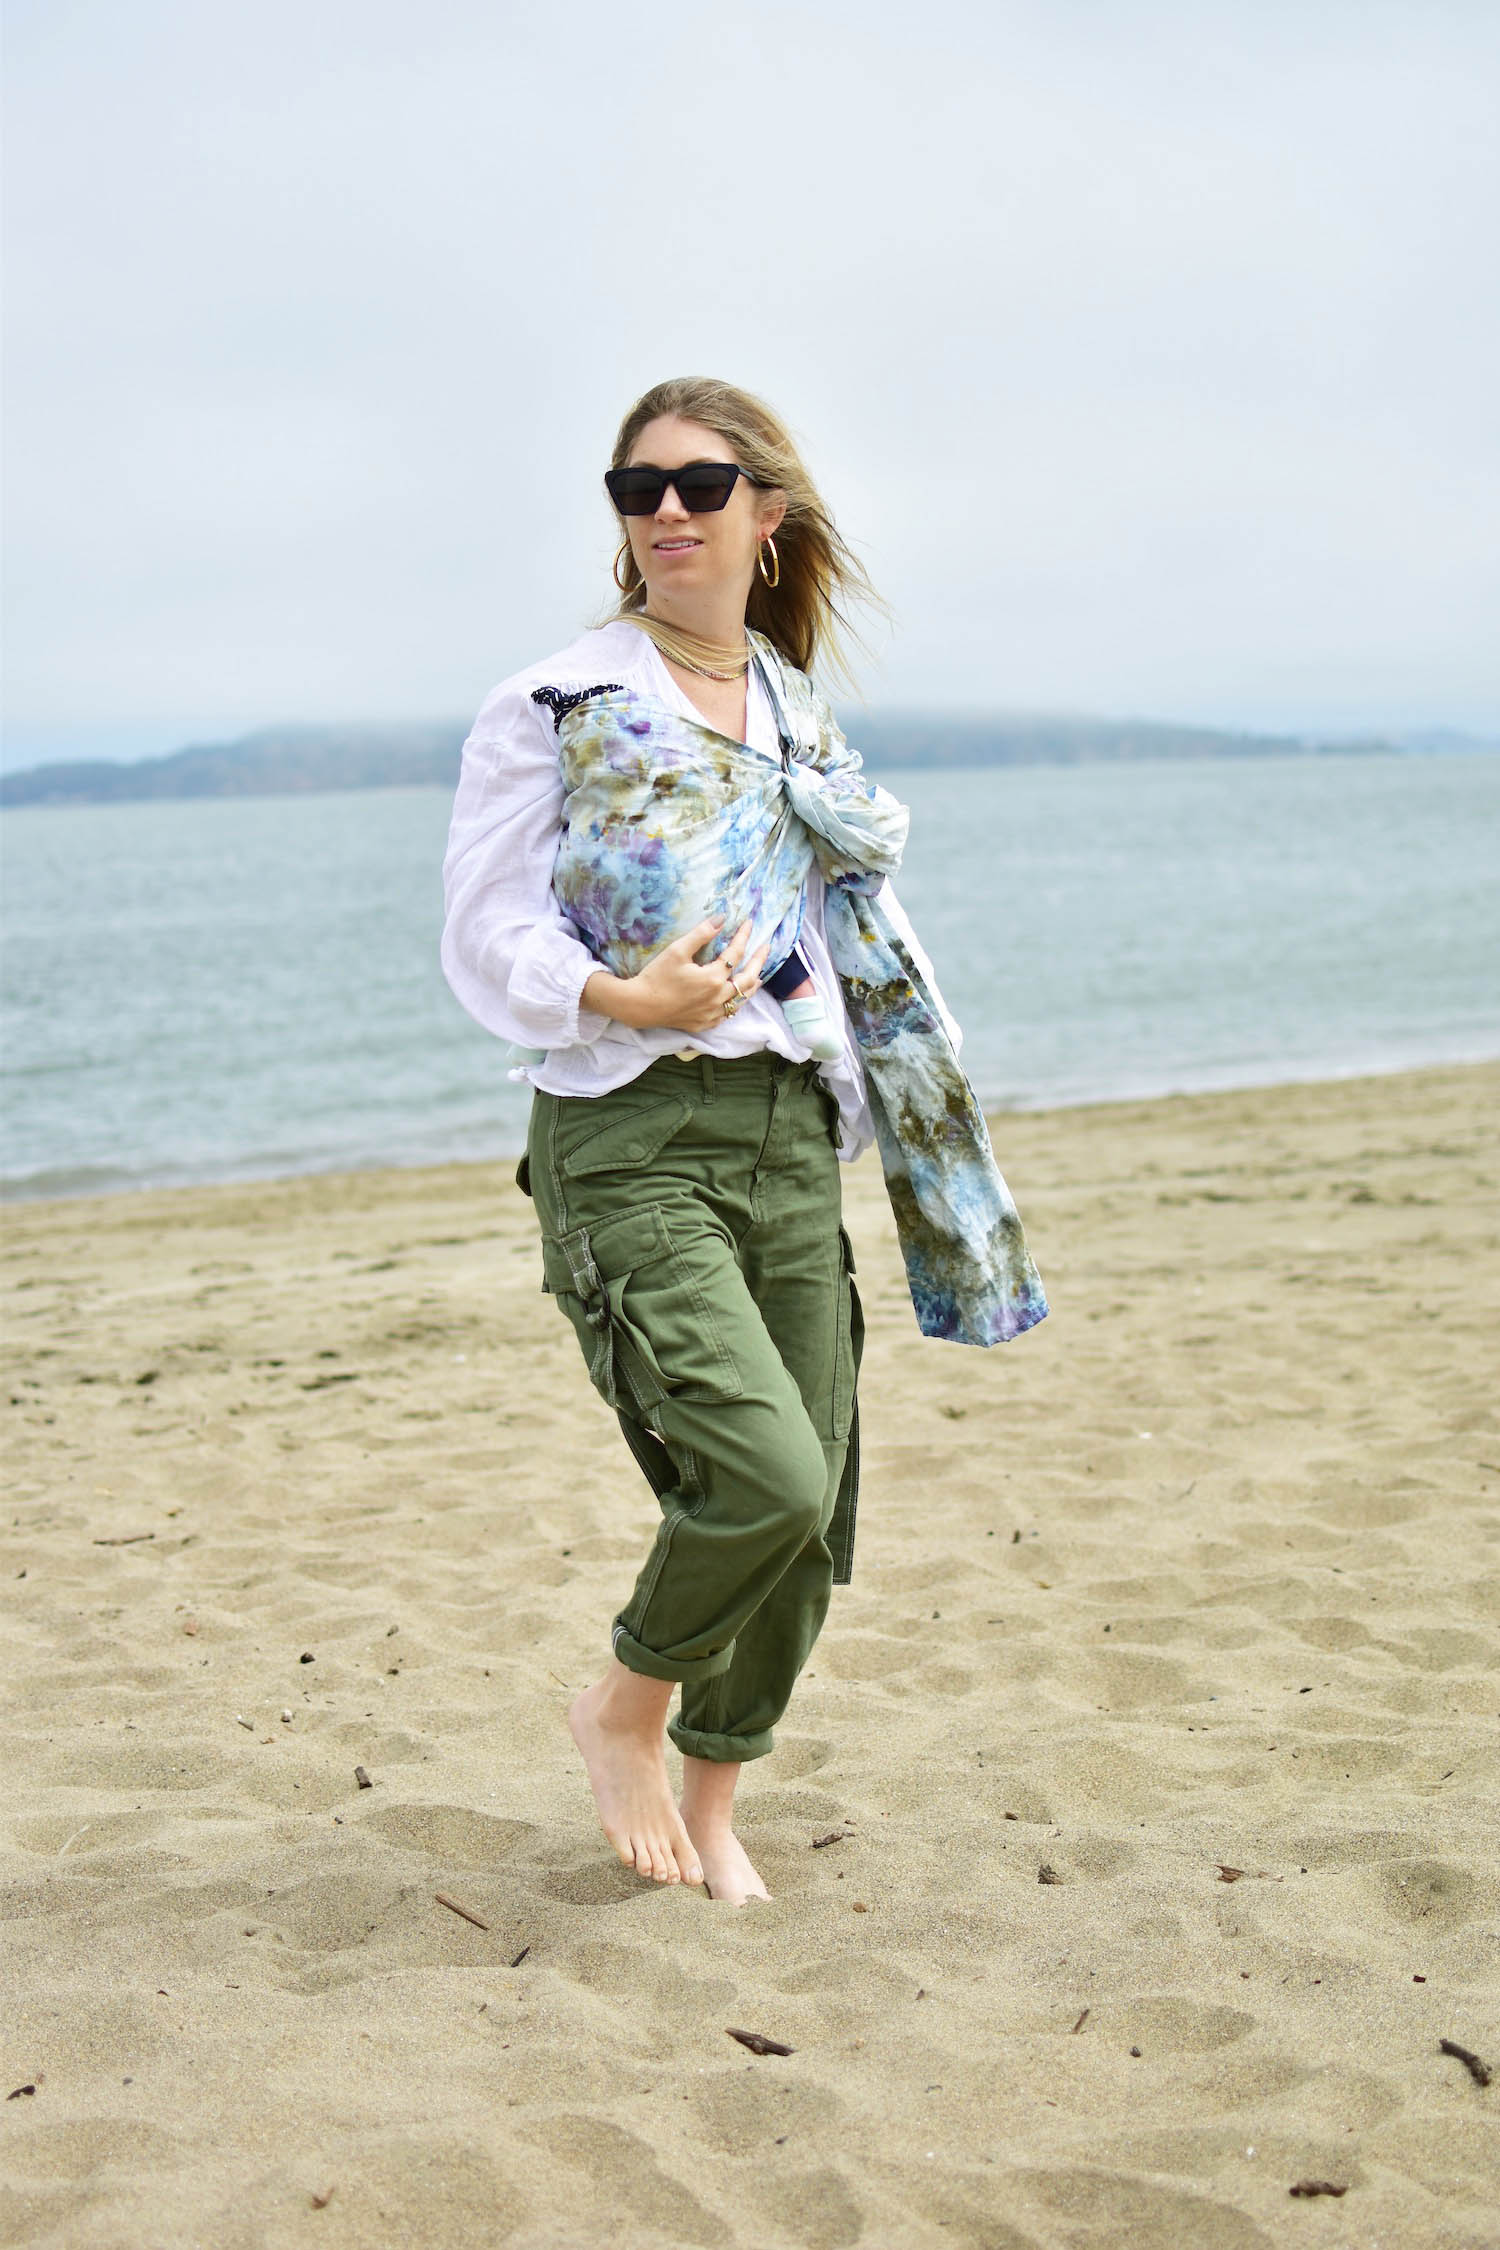
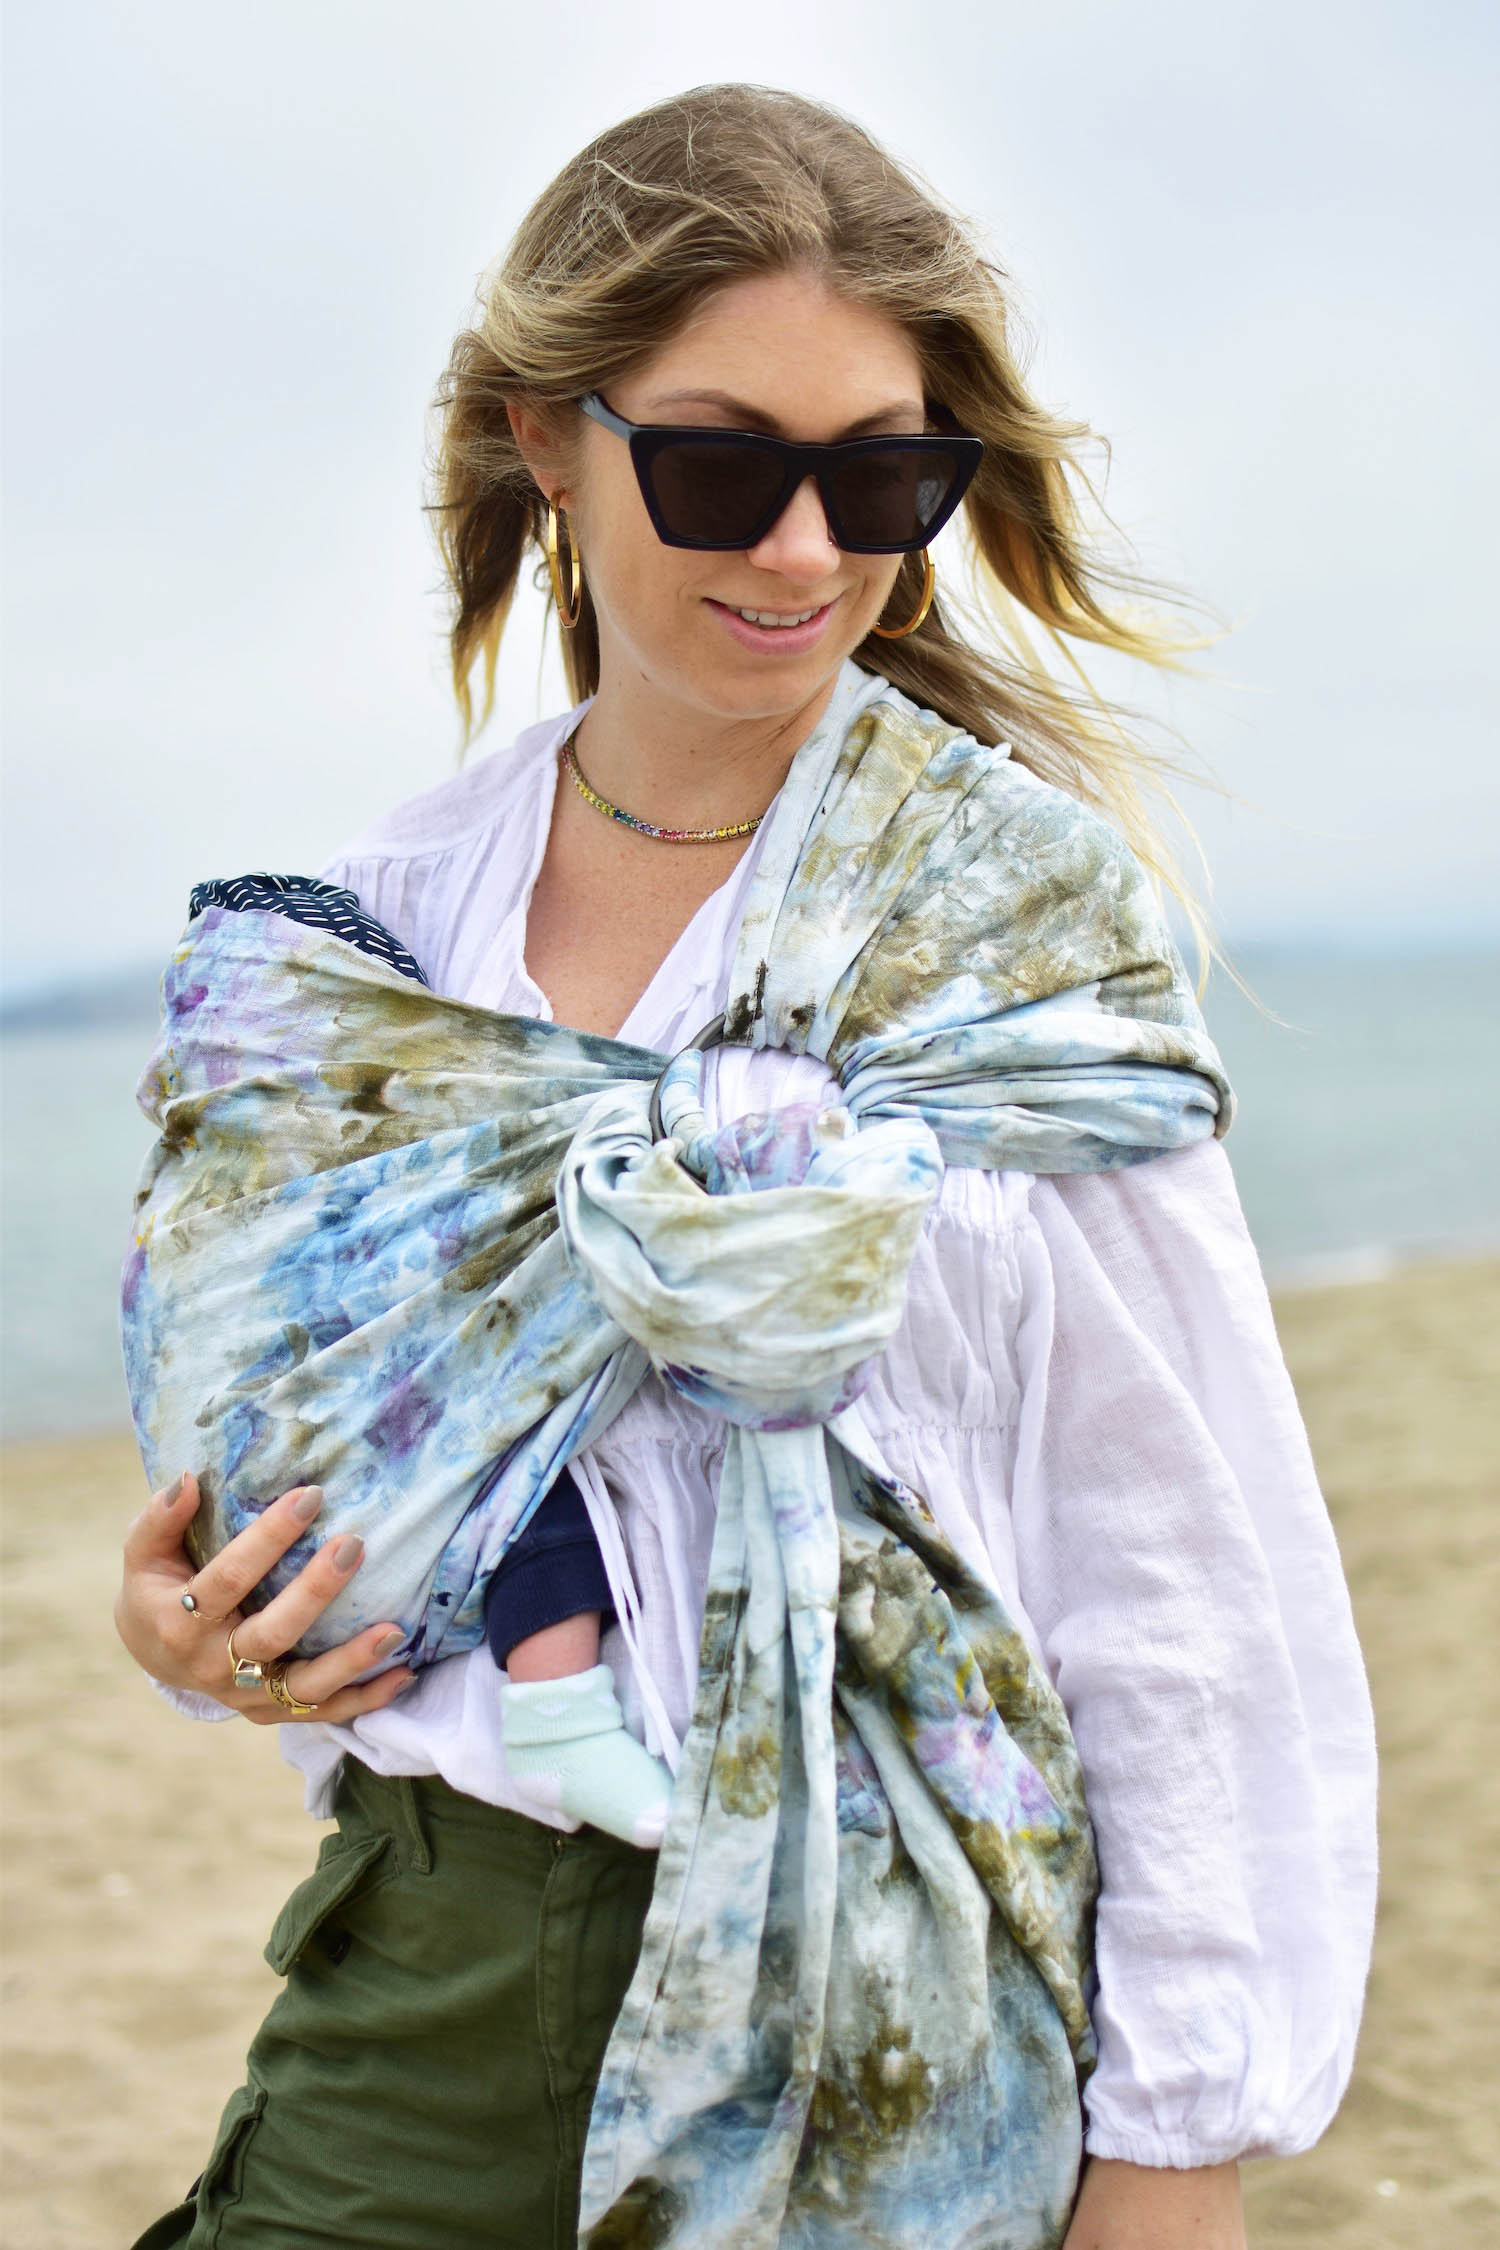
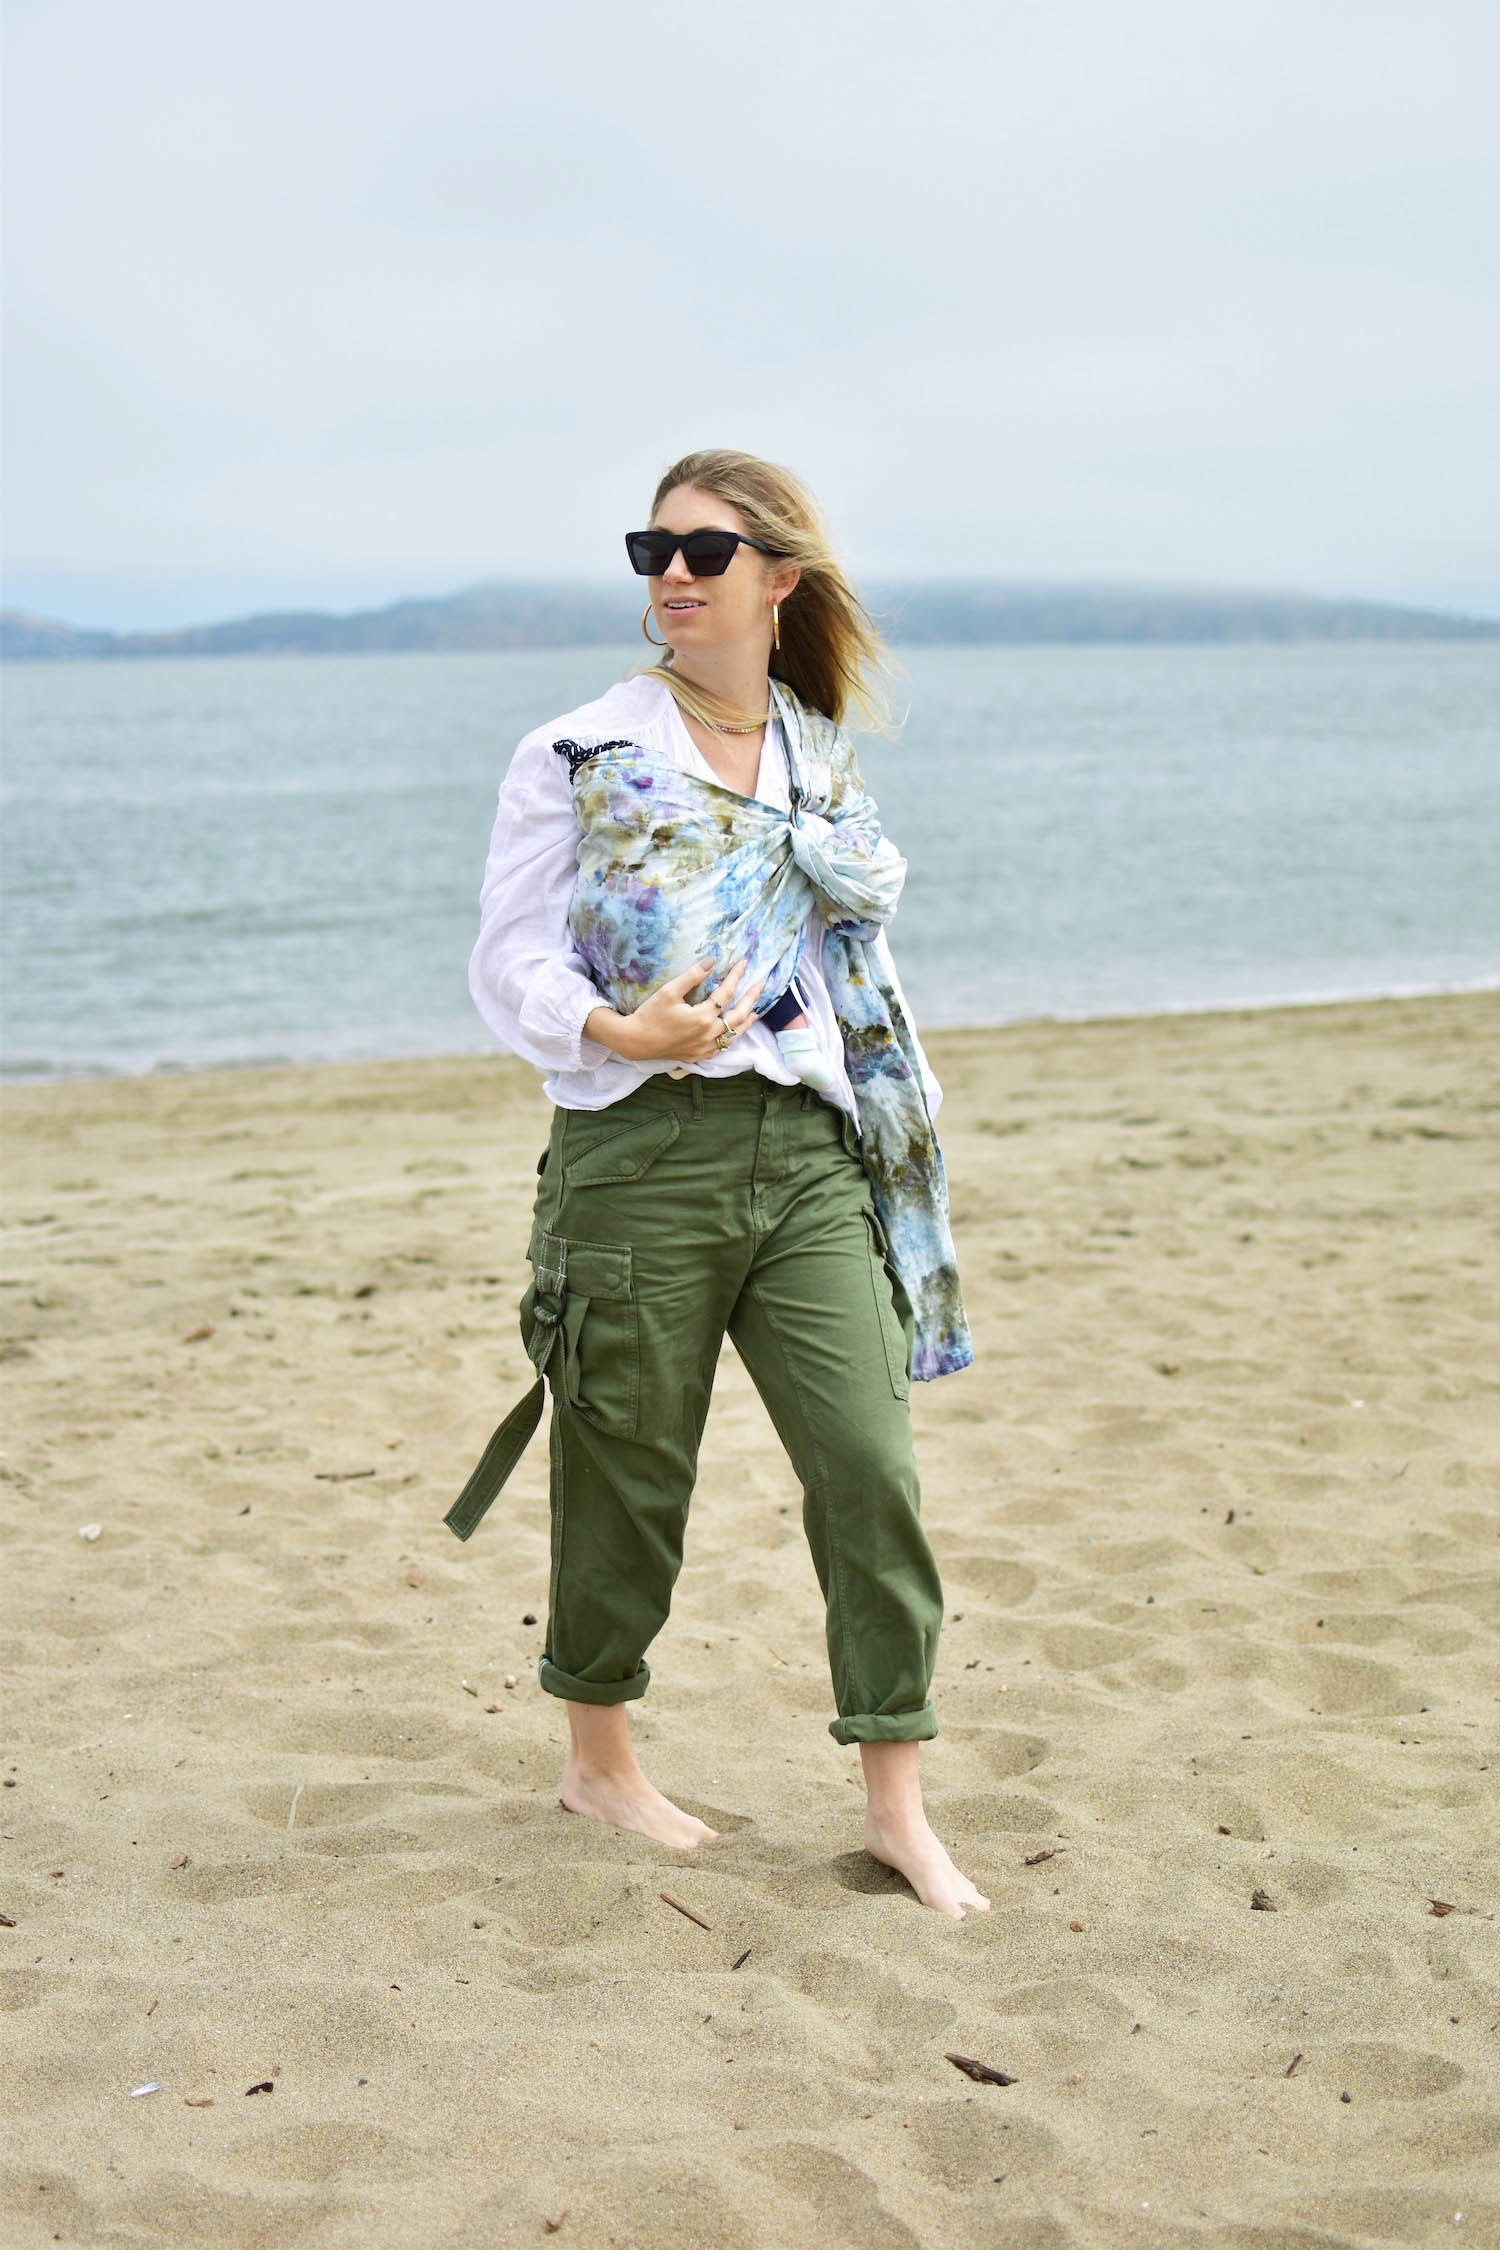
It’s been a long time since I’ve had time to make and share a DIY with you, so I’m especially excited to share with you this DIY Ice Dye Ring Sling tutorial!
Since the quarantine started, people everywhere have taken to crafting and home projects, and one of the most popular projects has been tie-dying, since it’s simple, fun and basically impossible to mess up. I wanted to try my own hand at tie-dying, but take it up a level with a slightly different technique, known as ice-dying.
I love ice dying because it’s even more unpredictable than regular tie dye, because you essentially scrunch up your fabric into a pile and cover it with ice, and then powdered dye. Wherever the ice melts, the dye spreads, and the slow process of the ice melting allows the colors to really blend together in unexpected ways. There is almost no way of planning out how your dyed fabric will look, and therefore I think it takes particularly well to a project like this DIY ring sling, since the finished look is so marbleized and organic.
In order to make your own DIY ice dye ring sling, you will need powdered dye. You can use traditional craft store brands like RIT, but I used professional reactive dyes (sold here) which are more colorfast and saturated than craft dyes. It only requires one more step than the RIT or Tulip dyes, so I recommend trying it if you’re up to it! Now, let’s get started:
DIY Ice Dye Ring Sling
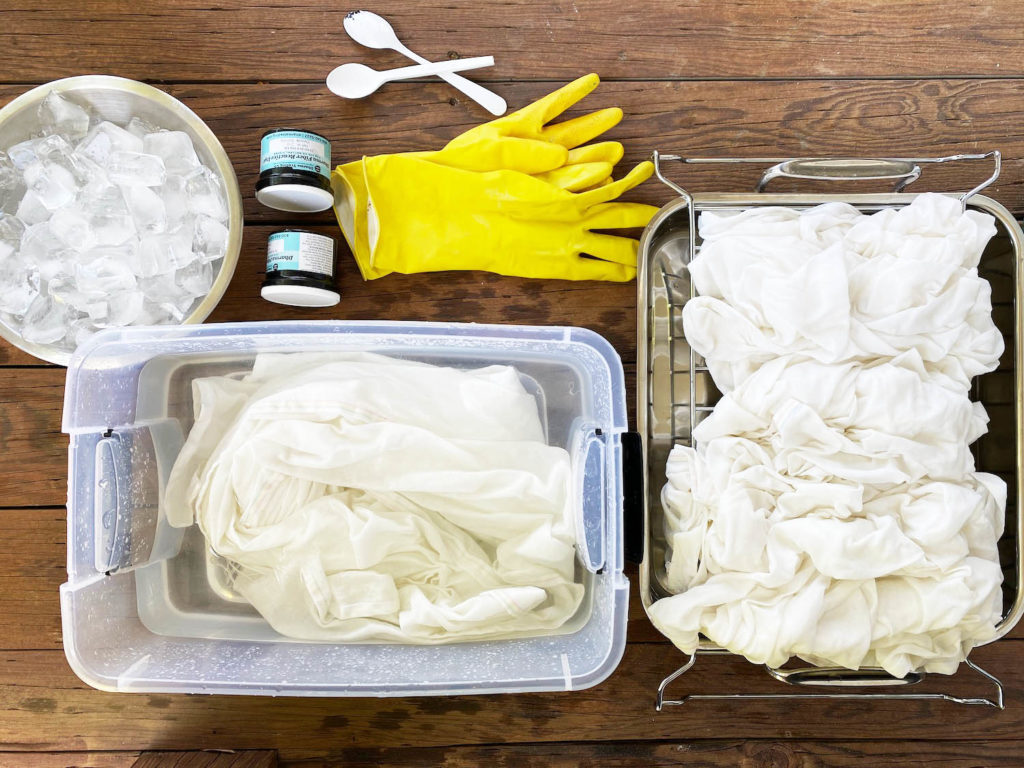
What You Need:
- 2.5 yards of natural fiber fabric. I chose 100% white linen from Joann fabrics. Cotton will also work although I prefer linen because the texture and breathability makes it ideal for a ring sling
- 2-3 powder Procion reactive Dyes, buy here
- 1 bag of soda ash (this acts as a fixative for the powder dyes. You can buy here or easily find on Amazon (not pictured)
- Ring Sling rings (not pictured)
- Plastic Bucket
- Some kind of cookie drying rack or grill pan insert; basically anything where water can leak through
- Rubber gloves
- tons of ice
- Sewing Machine
Step 1: Wash your fabric to pre-shrink it. I also threw in some bleach which combined with detergent helps to break down any finish on the fabric that may hinder the dye process.
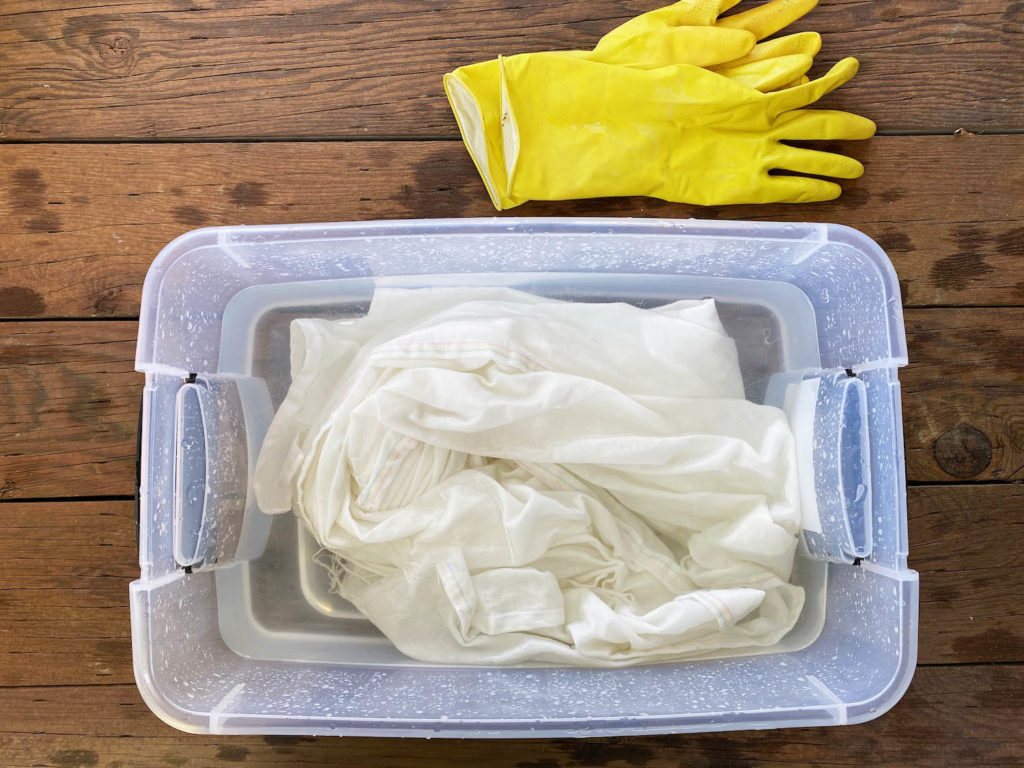
Step 2: Add 1 lb of Soda Ash to 2 gallons of water (estimate) mix up, making sure to wear rubber gloves. Soak your wet fabric in the mixture for 15 minutes. I actually left mine in for an hour, but a minimum of 15 minutes is required. If you are dying multiple pieces of fabric you can reuse the soda ash water as many times as you need for other fabric pieces.
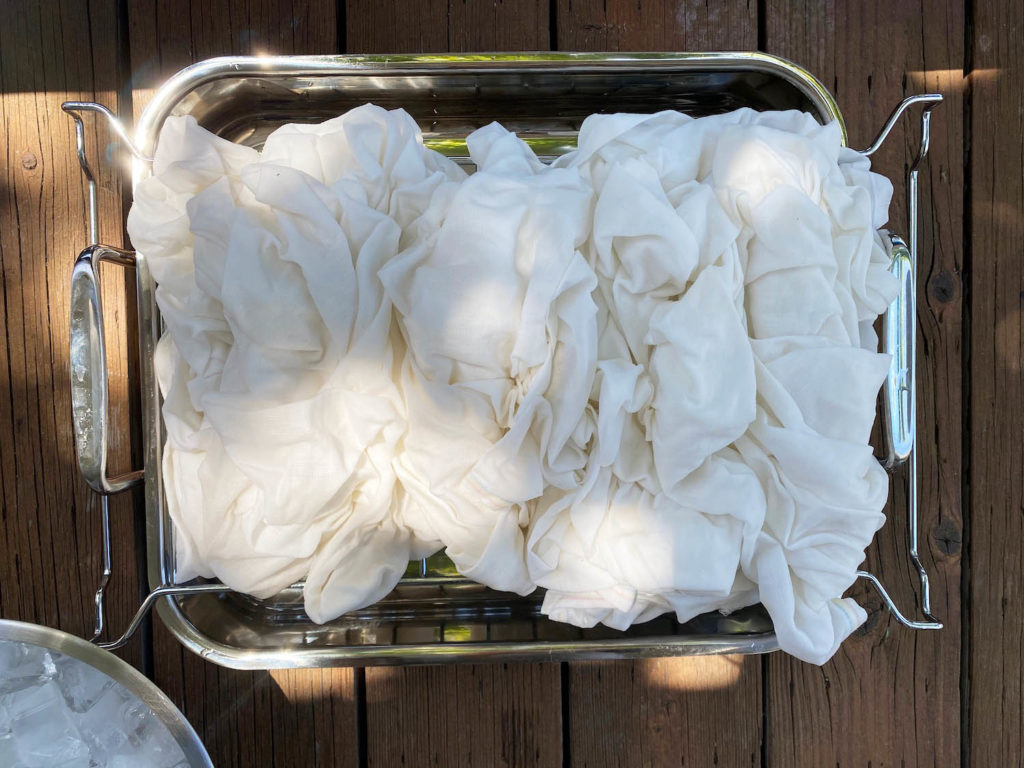
Step 3: Wring out your fabric and scrunch up randomly. Put on the grill pan/drying rack over a bucket or tray. This image shows the entire 2.5 yard linen piece of fabric randomly scrunched up tightly and put on the rack.
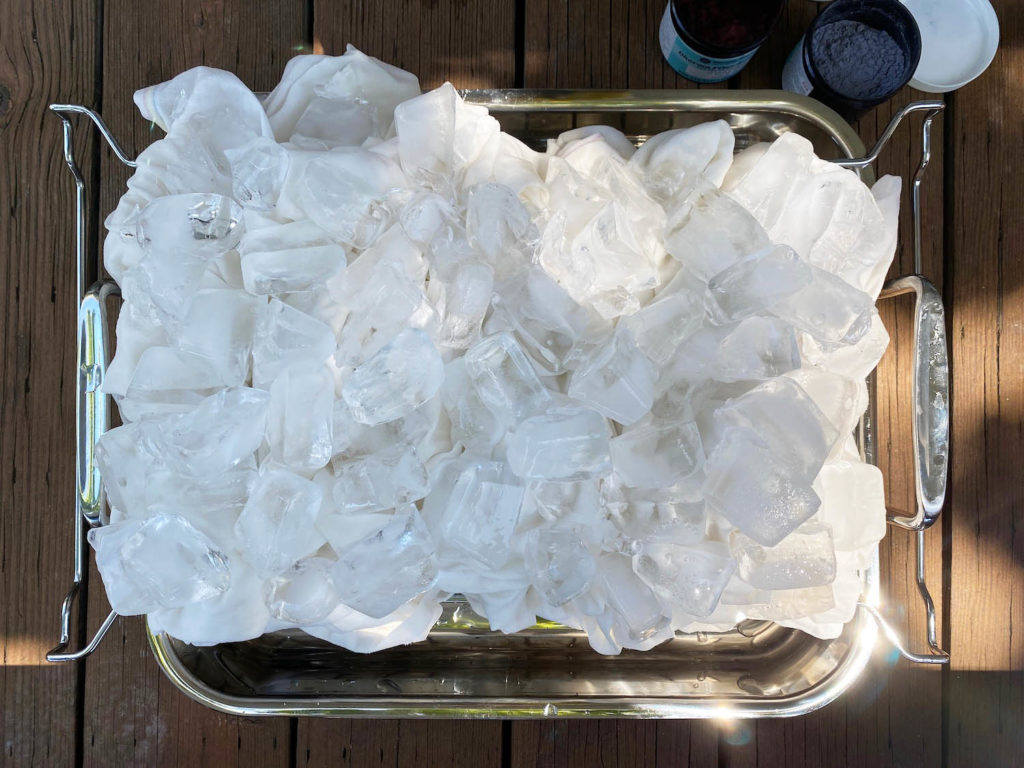
Step 4: Cover your wet fabric with ice. Places that are not covered with ice will remain white or lighter in color, and places with more ice will be more saturated.
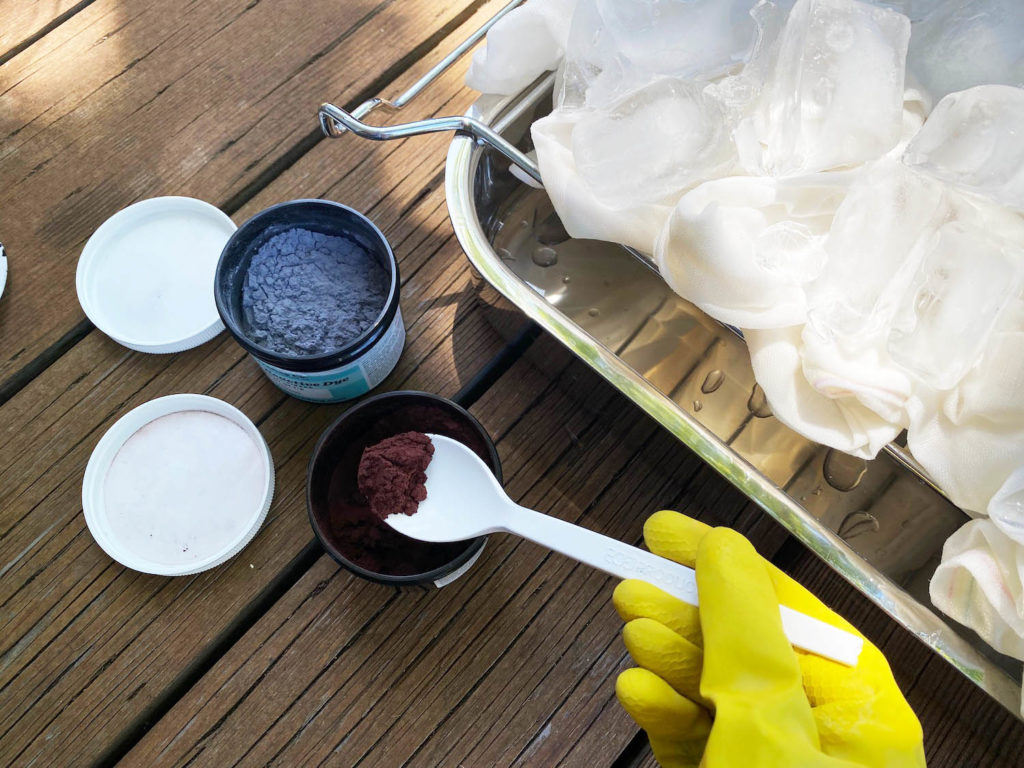
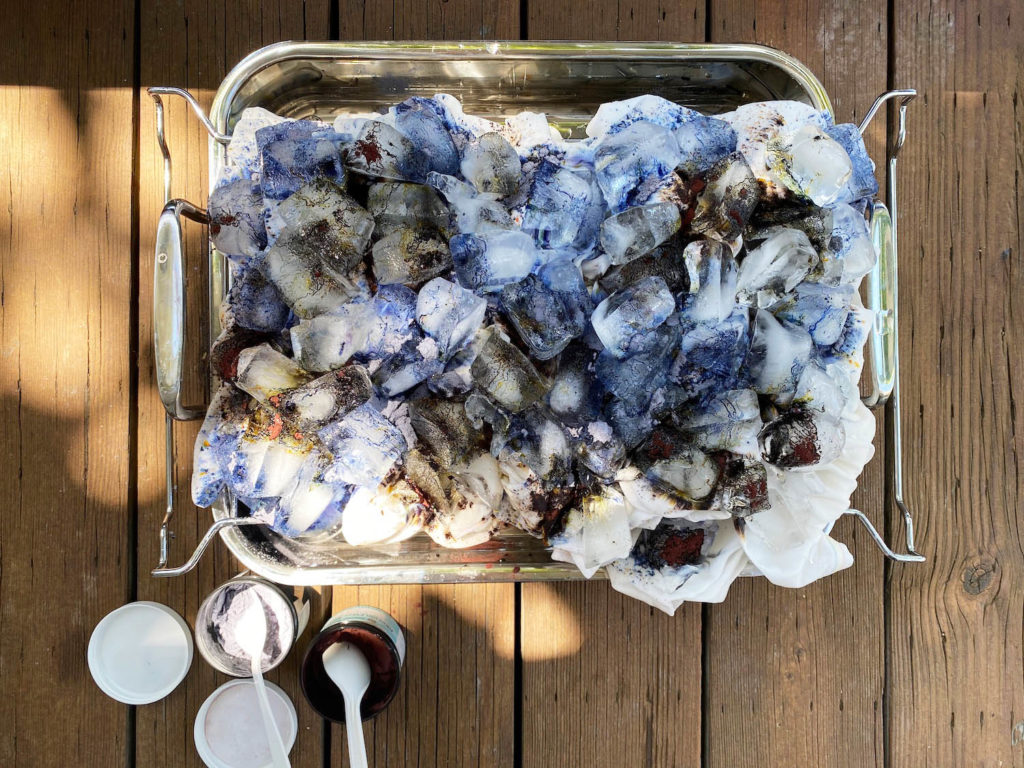
Step 5: Use spoons to randomly dust the powder dye on the ice. There is no rhyme or reason to how to place the dye, just go with what feels right to you! Allow the ice to melt completely and drain into the pan/tray/bucket.
Step 6: Once the ice is completely melted, rinse your fabric in cold water in the sink and wring out any remaining dye. Rinse until water runs clear.
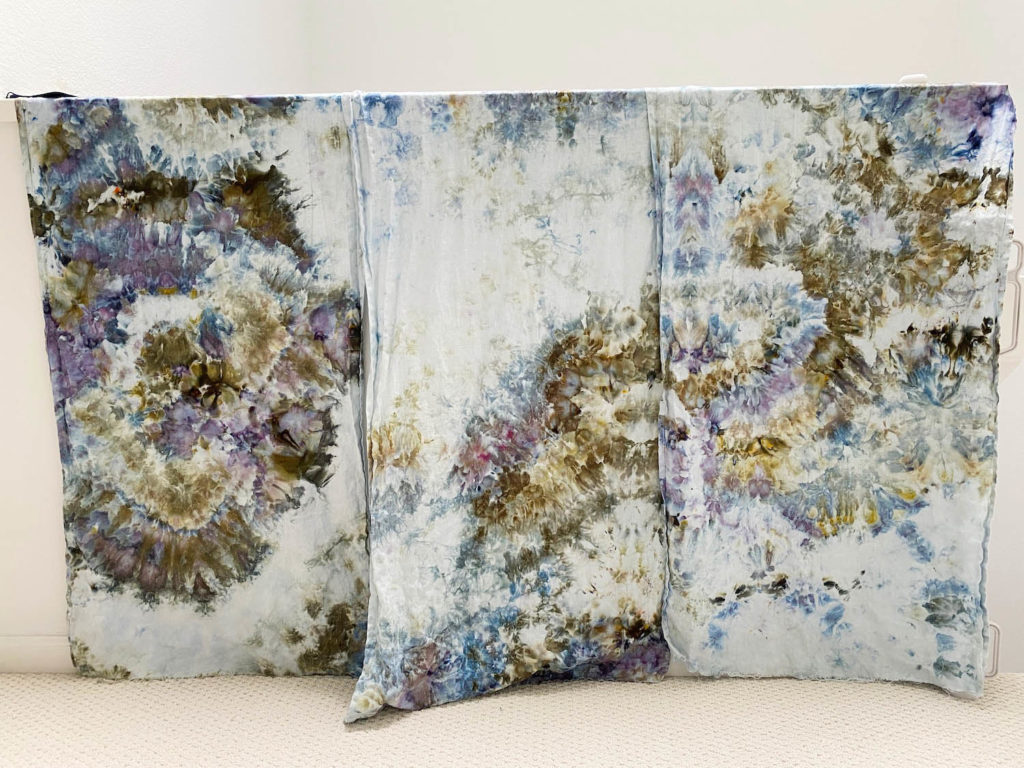
Step 7: You are welcome to throw this fabric in the wash right away since you used professional dyes and soda ash. If not, I would let dry outside for 2 days before washing to allow the dyes time to set. Either way, you can wash your fabric when you are ready, and then follow up with another *empty* cycle afterwards to ensure the washing machine is completely clean before washing your next load of dirty clothing. Dry.
Step 8: Sew into a ring sling! I followed this blogger’s simple tutorial to get the basic dimensions for the ring sling, and used my sewing machine to hem the fabric all the way around and attach the gunmetal rings. Voila! All done!
What do you think? I chose more ‘boy’ colors for this ring sling to carry Liam in, but any mix of colors will look great!
