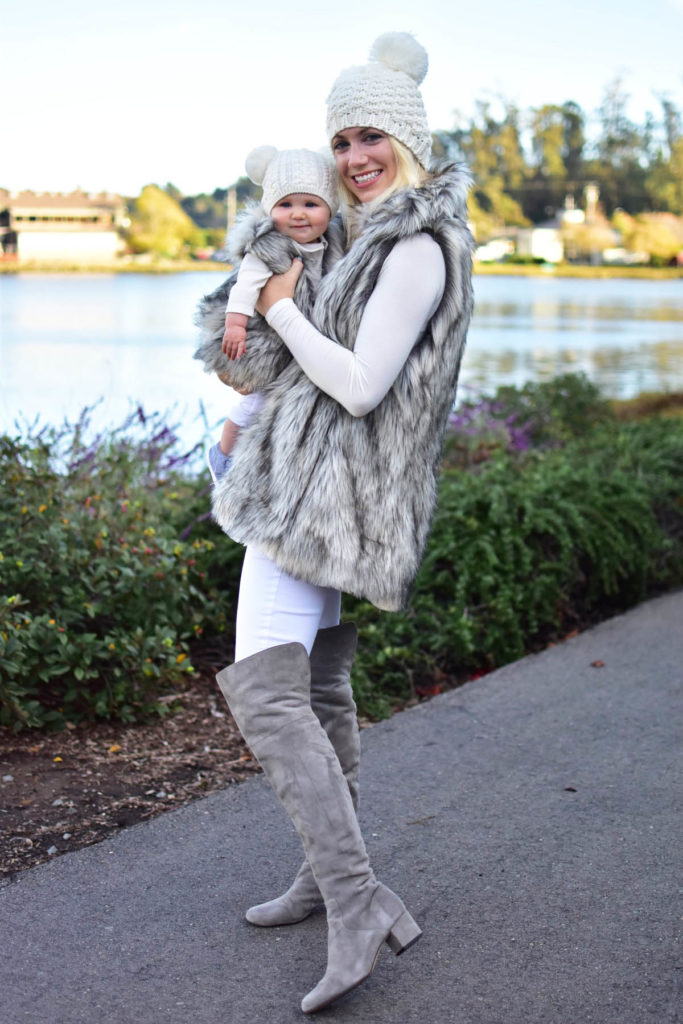
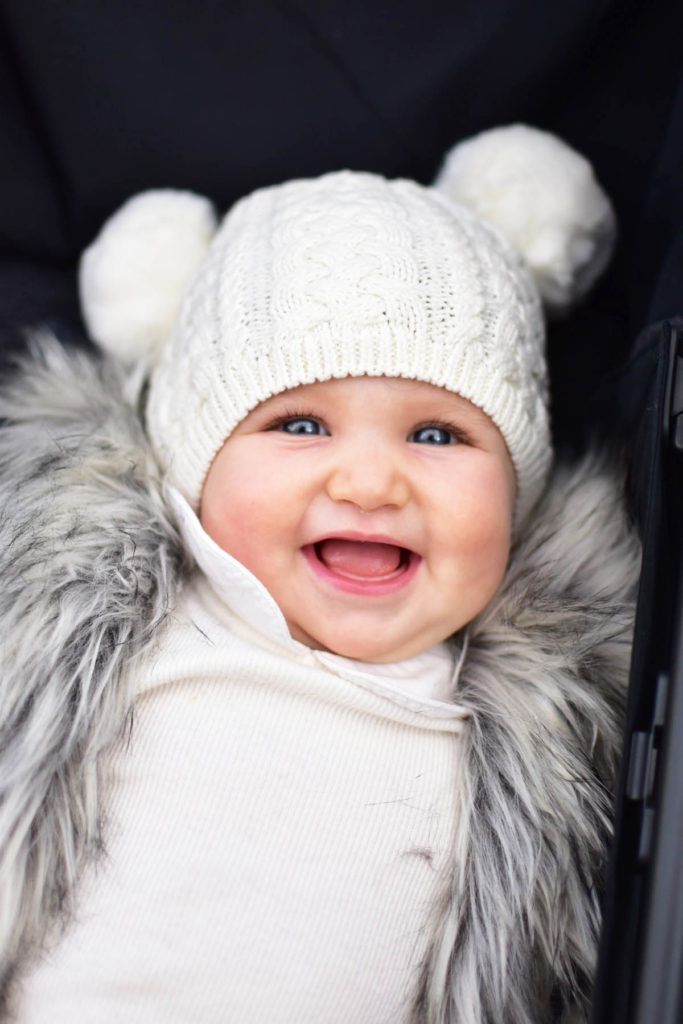
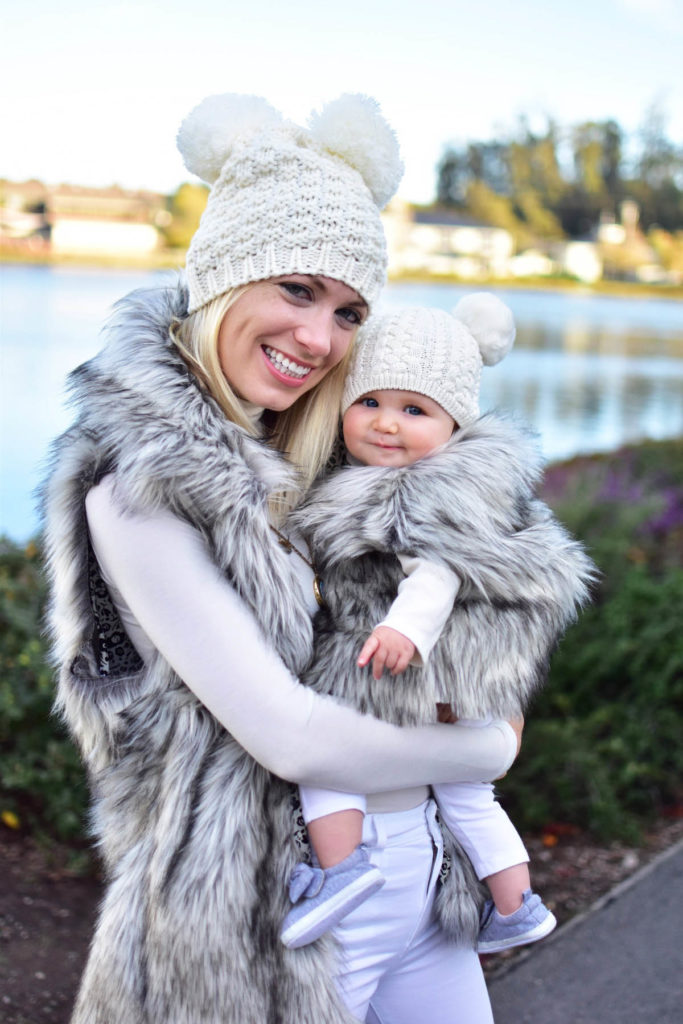
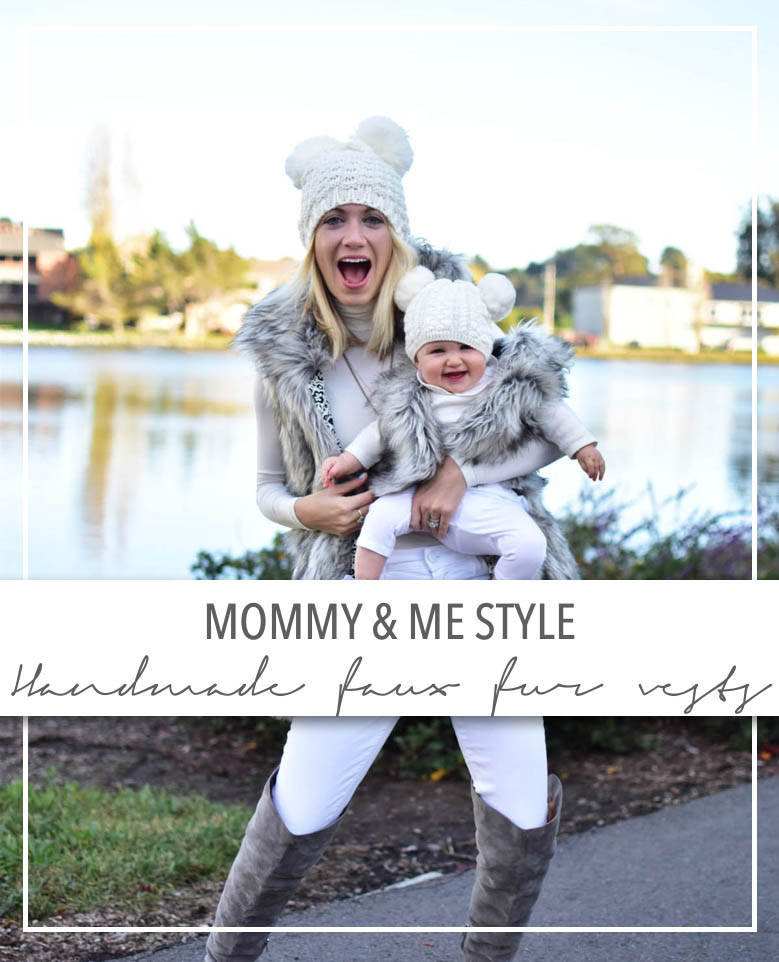
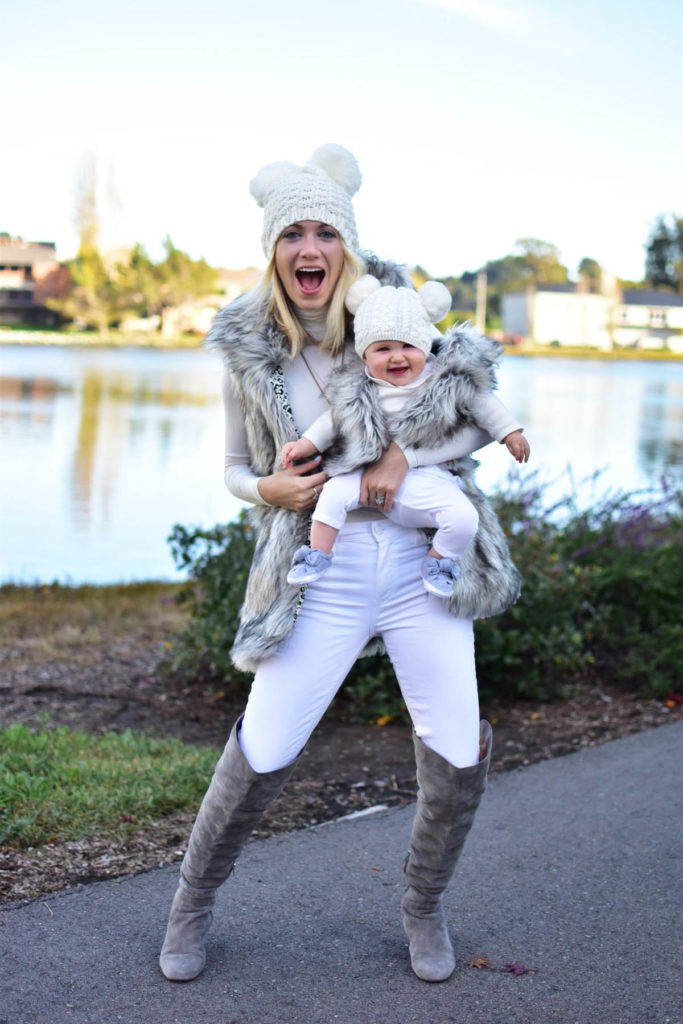
Another project in the books and this time I picked something super simple (or so I thought!) that Marina and I could match in, and wear over and over again. When I was shopping at the fabric store I didn’t have a particular plan in mind, but when I stumbled on faux furs left over from Halloween, I thought making us a set of matching vests would be easy and pattern-free!
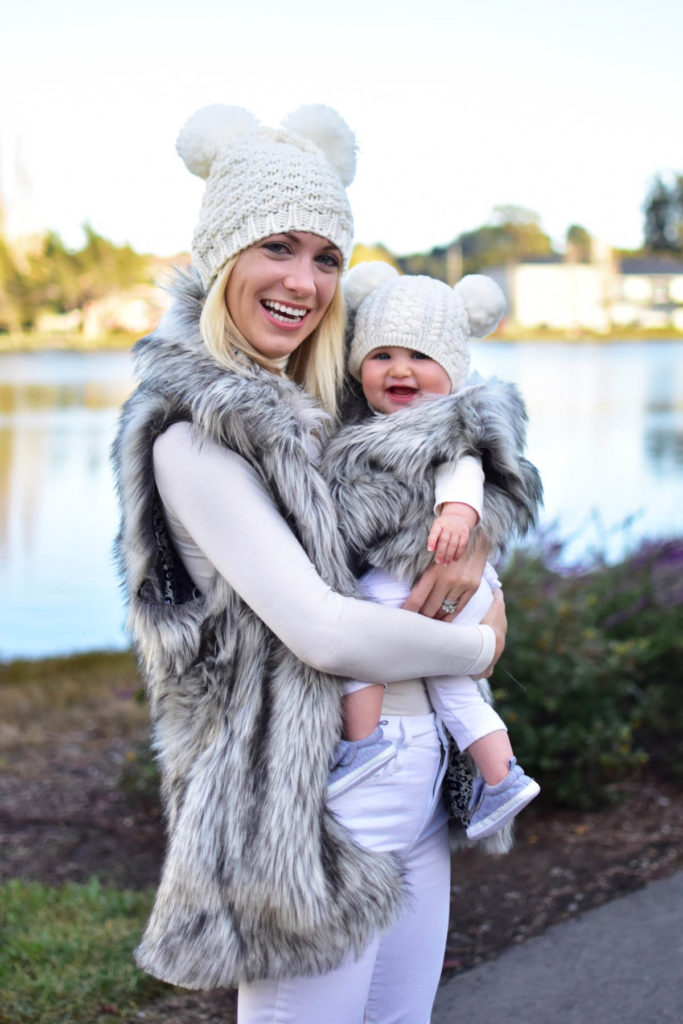
Matching Marina is basically my favorite past-time, so even if you don’t sew, I have included links below to mommy and me vests and hat combinations so that you can recreate this look easily!
Things to Note when Sewing Faux Fur:
- Faux fur has a nap, which means it prefers to lie in one direction. So when you are cutting and sewing faux fur, it is best to make sure the ‘top’ of all pieces are lying toward the top of the fabric, so that you can easily brush the fur down with your hands when you are wearing it. Also, when sewing, it’s best to also sew from top to bottom, to avoid the fur curling back and under.
- I traced an existing faux fur vest I had for the shape of my vest, and traced an oversize jacket for Marina’s, while curving the edges more. I figured that making hers a little big would give us at least 6 months to wear our vests together, if not another year. I made ‘tracing’ my vests easier by measuring key points like the underarm width, the waist width, and the hem width on each panel, so that I could be sure I was tracing correctly.
- Marina’s vest is not lined, instead secured on the inside with 2 tight rows of stitching and trimming very close to the stitch line.
- My vest is trimmed with scrap fabric that I had lying around. The issue I ran into was finishing the arm holes, as I found it really difficult to turn the faux fur under and hand stitch securely. Instead, I cheated by simply nicely trim the faux fur of the armhole (since it won’t unravel) and folding under the lining only, securing with hand stitching. That way it looks clean on the inside but the armholes aren’t exactly finished correctly.
- I cut both Marina’s and my vest with 1″ seams because I didn’t know how easy it would be to sew anything smaller. I definitely recommend this, but be prepared to trim again once the seams are sewn to make it easier to turn inside out. Any extra fabric provides a LOT of bulk in this case, so it’s best to trim as best as possible
- The last step in making my vest look finished was pulling out all of the hairs that were stuck in the seams, especially at the hem. Before I did this, the hem looked very thick and rolled up, but after pulling them out the seams lied more flat.
