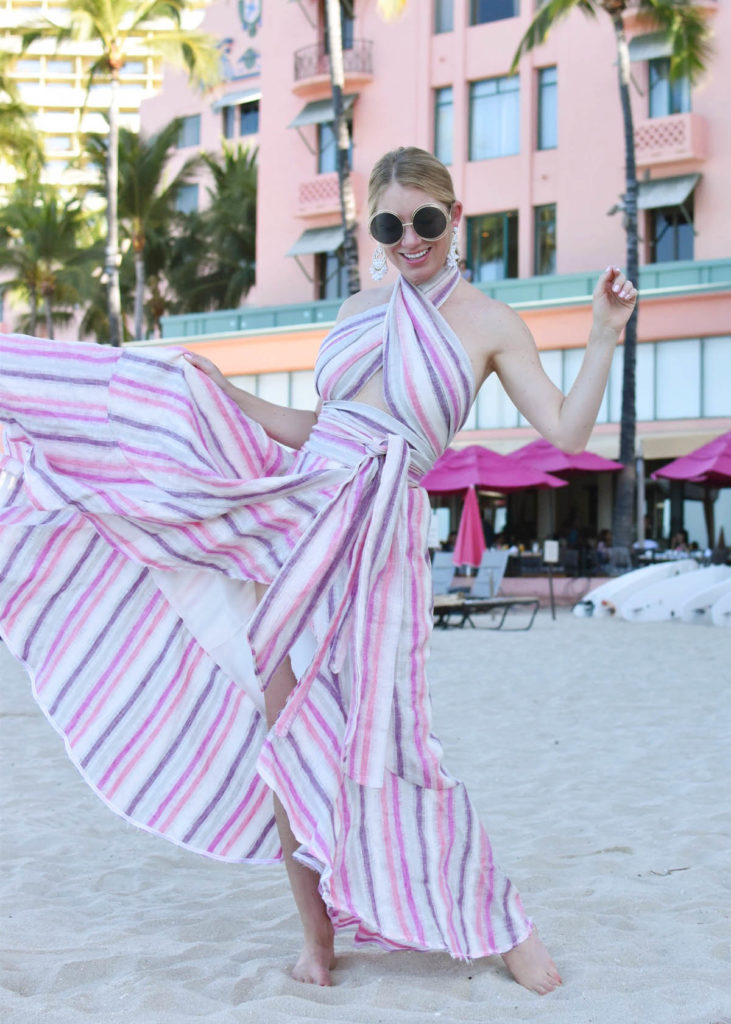
Many of you saw this ruffle stripe two piece set come to fruition through my instagram stories, but it’s finally time to share the finished product!
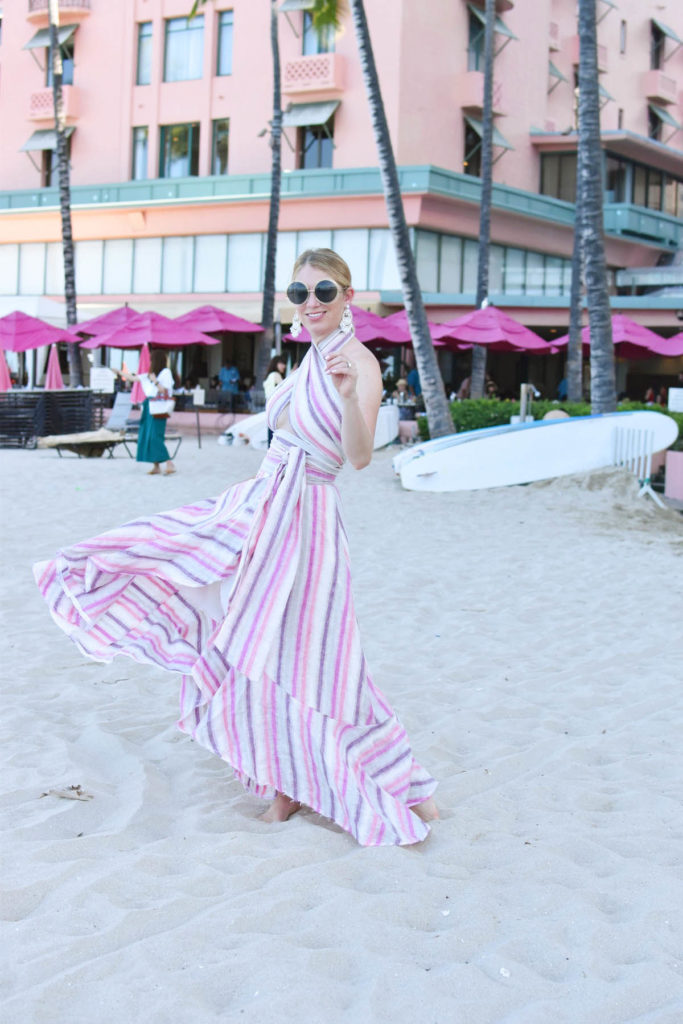
Sometimes I design a project first, other times I find fabrics I love and then design a project around them. This project was more of the latter, where I saw this beautiful striped linen in Joann’s and new I wanted to make something beautiful out of it. I didn’t reinvent the wheel with a pattern here, instead I used Simplicity 8606 for the skirt pattern, and drafted the top (essentially a long strip of fabric with some pleats) to make an easy set.
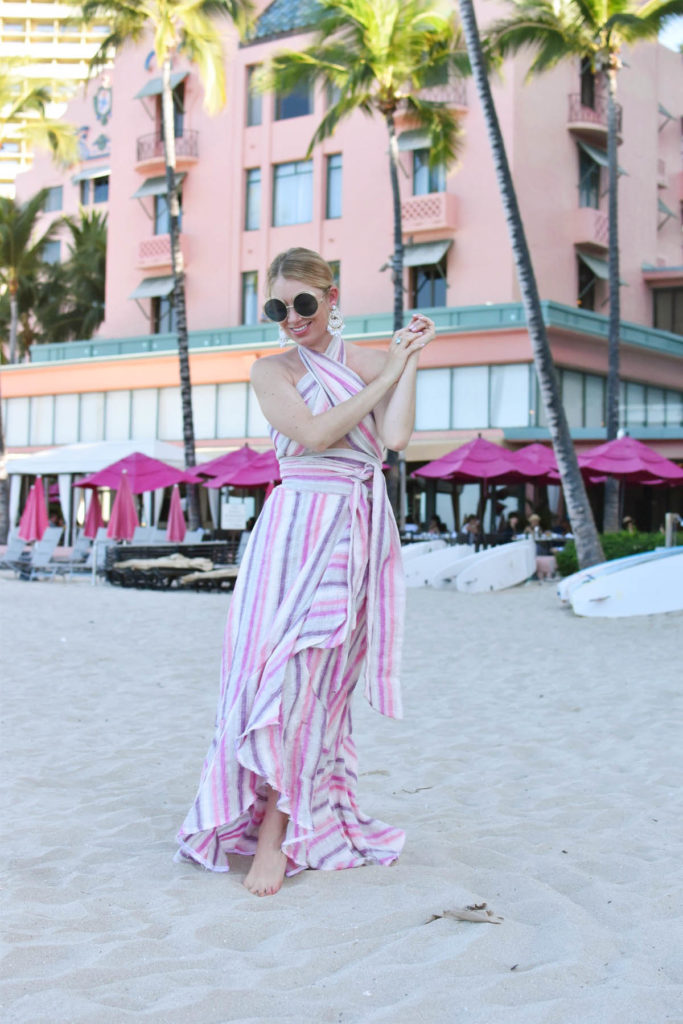
The pattern making of it proved to be the easy part… as the fabric itself caused all the issues. The fabric had a few key issues that I looked over when I purchased it, which made sewing this type of piece quite difficult:
- It is quite sheer, which meant I had to line it… not the original intention!
- It is a relatively open weave, which means many straight stitches will not hold a seam, and I don’t have a serger to bind the edges properly
- The open weave causes a LOT of fraying
- It’s a heavy fabric, so with all the lining, the waistband and tie needed to be seriously reinforced
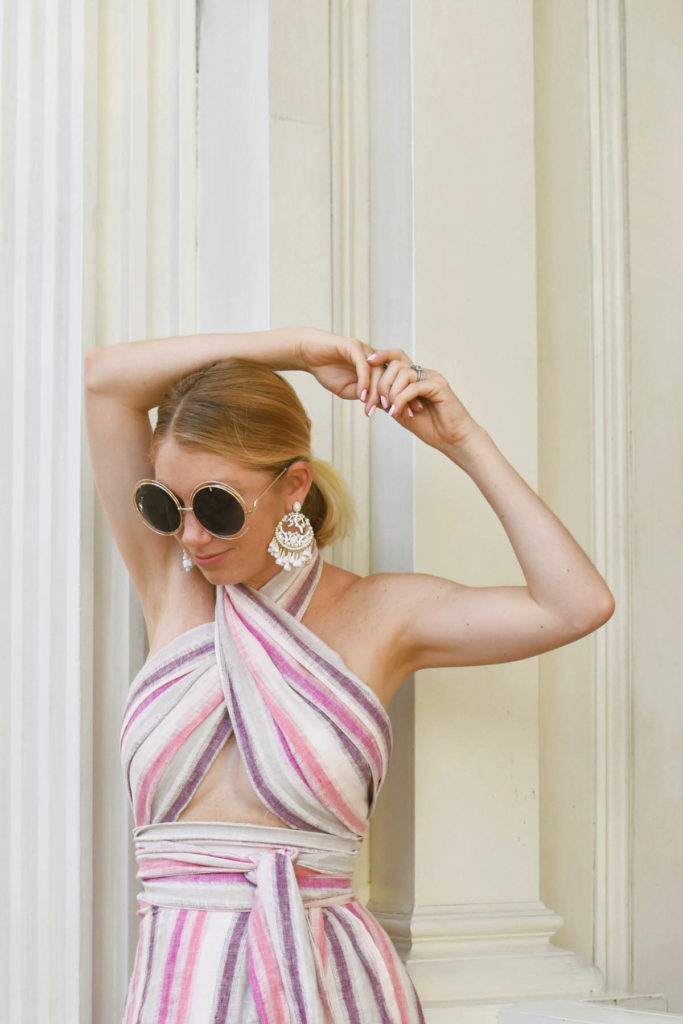
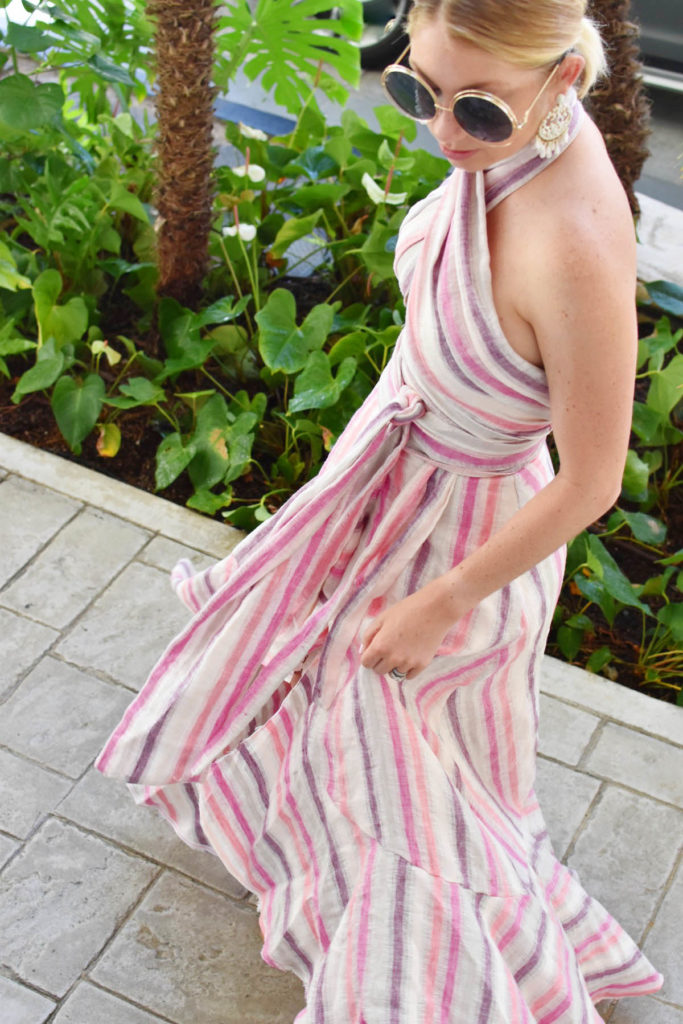
If you were making home decor items with straight lines, like curtains, pillows etc., this fabric would be perfect because it has weight and texture. However, sewing for fashion was much trickier. The curved edges of the ruffle hem were an absolute conundrum, so much so that I thought of just throwing in the towel and giving up. Instead, I chose to reinforce the hem with a bias tape along the back, then used a binding stitch to hold it together. I chose to embrace the frayed edges, because folding this type of fabric over on a curved hem wouldn’t have worked!
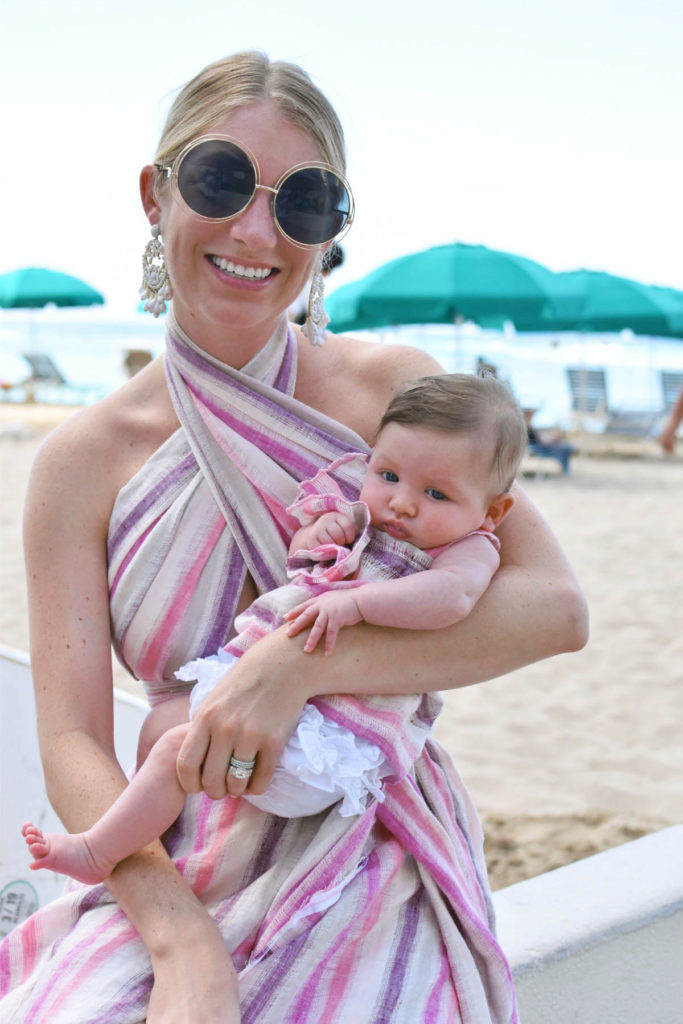
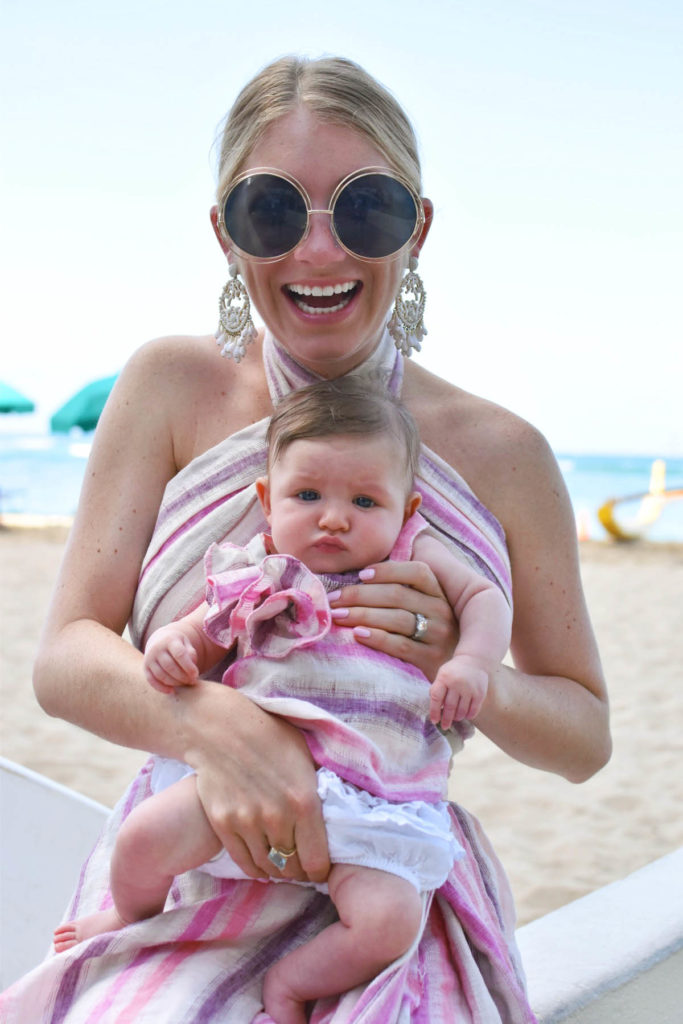
When I made Marina a matching top, I chose to create a little ruffled rosette, and I had to use the same binding stitch on one side of the fabric to finish it. If you look close, you can see it’s a little wonky, and that’s because the fabric stripes are thicker than the tan open weave portions, which means the binding stitch is inconsistent. In the end, it’s fine because it’s a serious learning process! I learned a lot when making this project, and I am proud of myself for sticking with it, even though I think I may have done a disservice to this beautiful fabric. If I could use the fabric again, I would only make things with straight seams and hems (which really limits design capabilities), or stick to home projects.
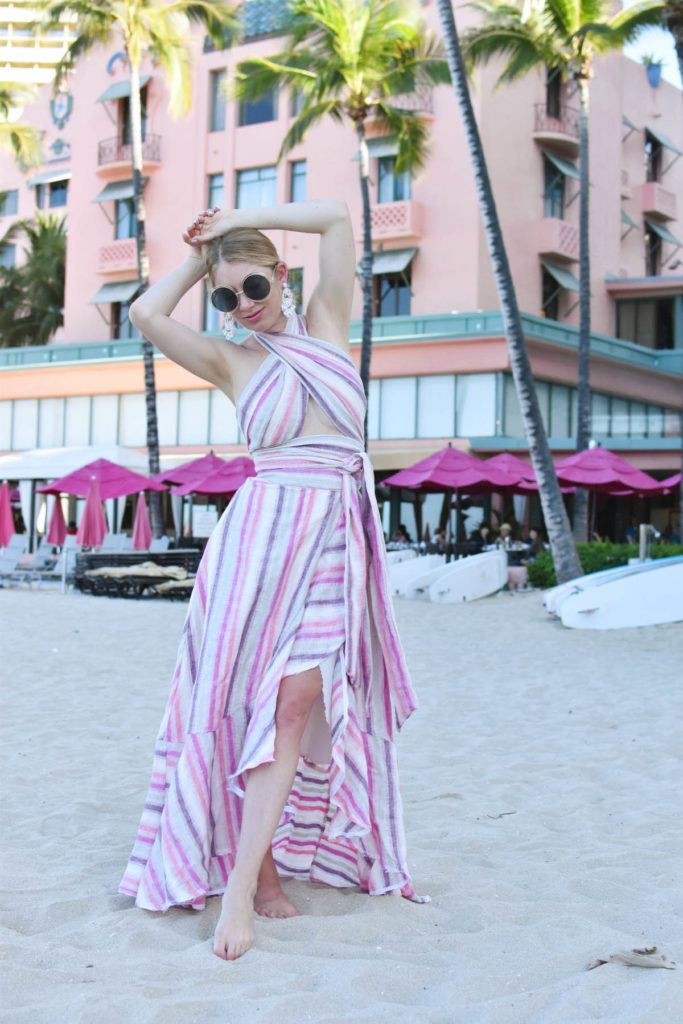
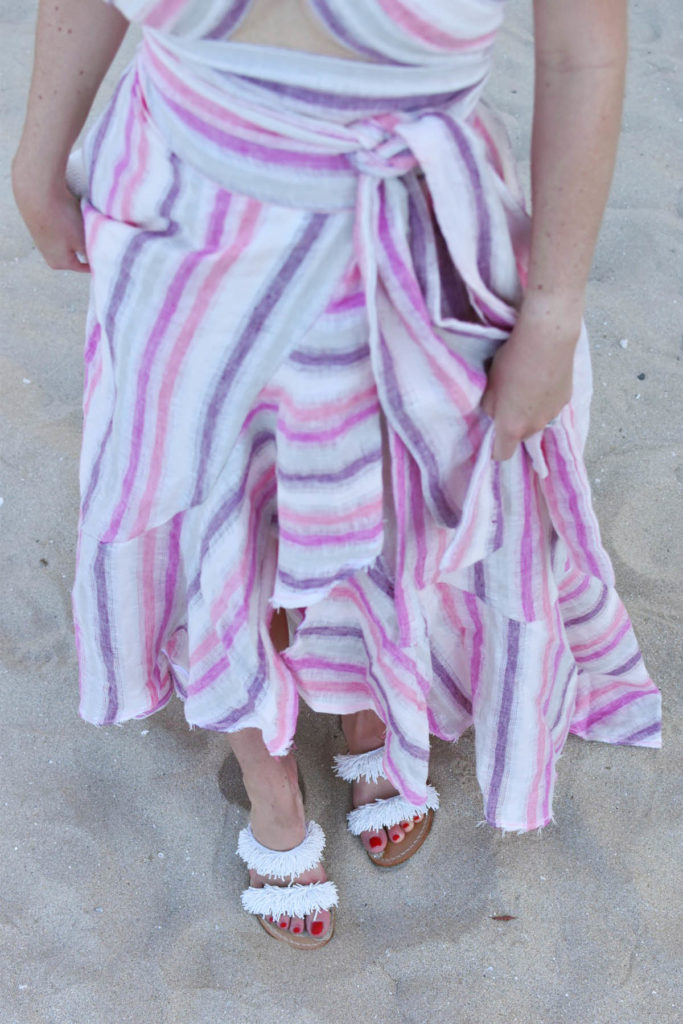
However, I do love the end result of the look, even if there is a little underboob action. I would definitely recreate this look in a striped cotton poplin or shirting, as it would be so much more lightweight but still have enough structure for the ruffle to have volume. Plus, you wouldn’t have to line it!
I would like to point out that this fabric from Joann’s original price is $29.99 (now on sale for $7.99- a steal!) but I used a coupon and paid $19.99/yard. I ended up buying 4 yards (including Marina’s look, but with a little left over). Plus the lining, and your looking at almost $100 for the materials to make this look. I’m not complaining, because that’s a whole lot better than what you would pay for a similar outfit of similar quality fabric, but when you think about the time it took me to make the look and what my time is worth, the cost gets up there. I say this not to determine anyone from making their own clothing, but I say it so that when you see a beautiful piece in the store and wonder why it’s $500, you understand. Sometimes you can get a fairly similar thing for cheaper (tee shirts, athleisure, some knitwear), but when you start looking at the fabric and work that goes into a beautiful outfit, I hope you are able to understand the cost break down!
