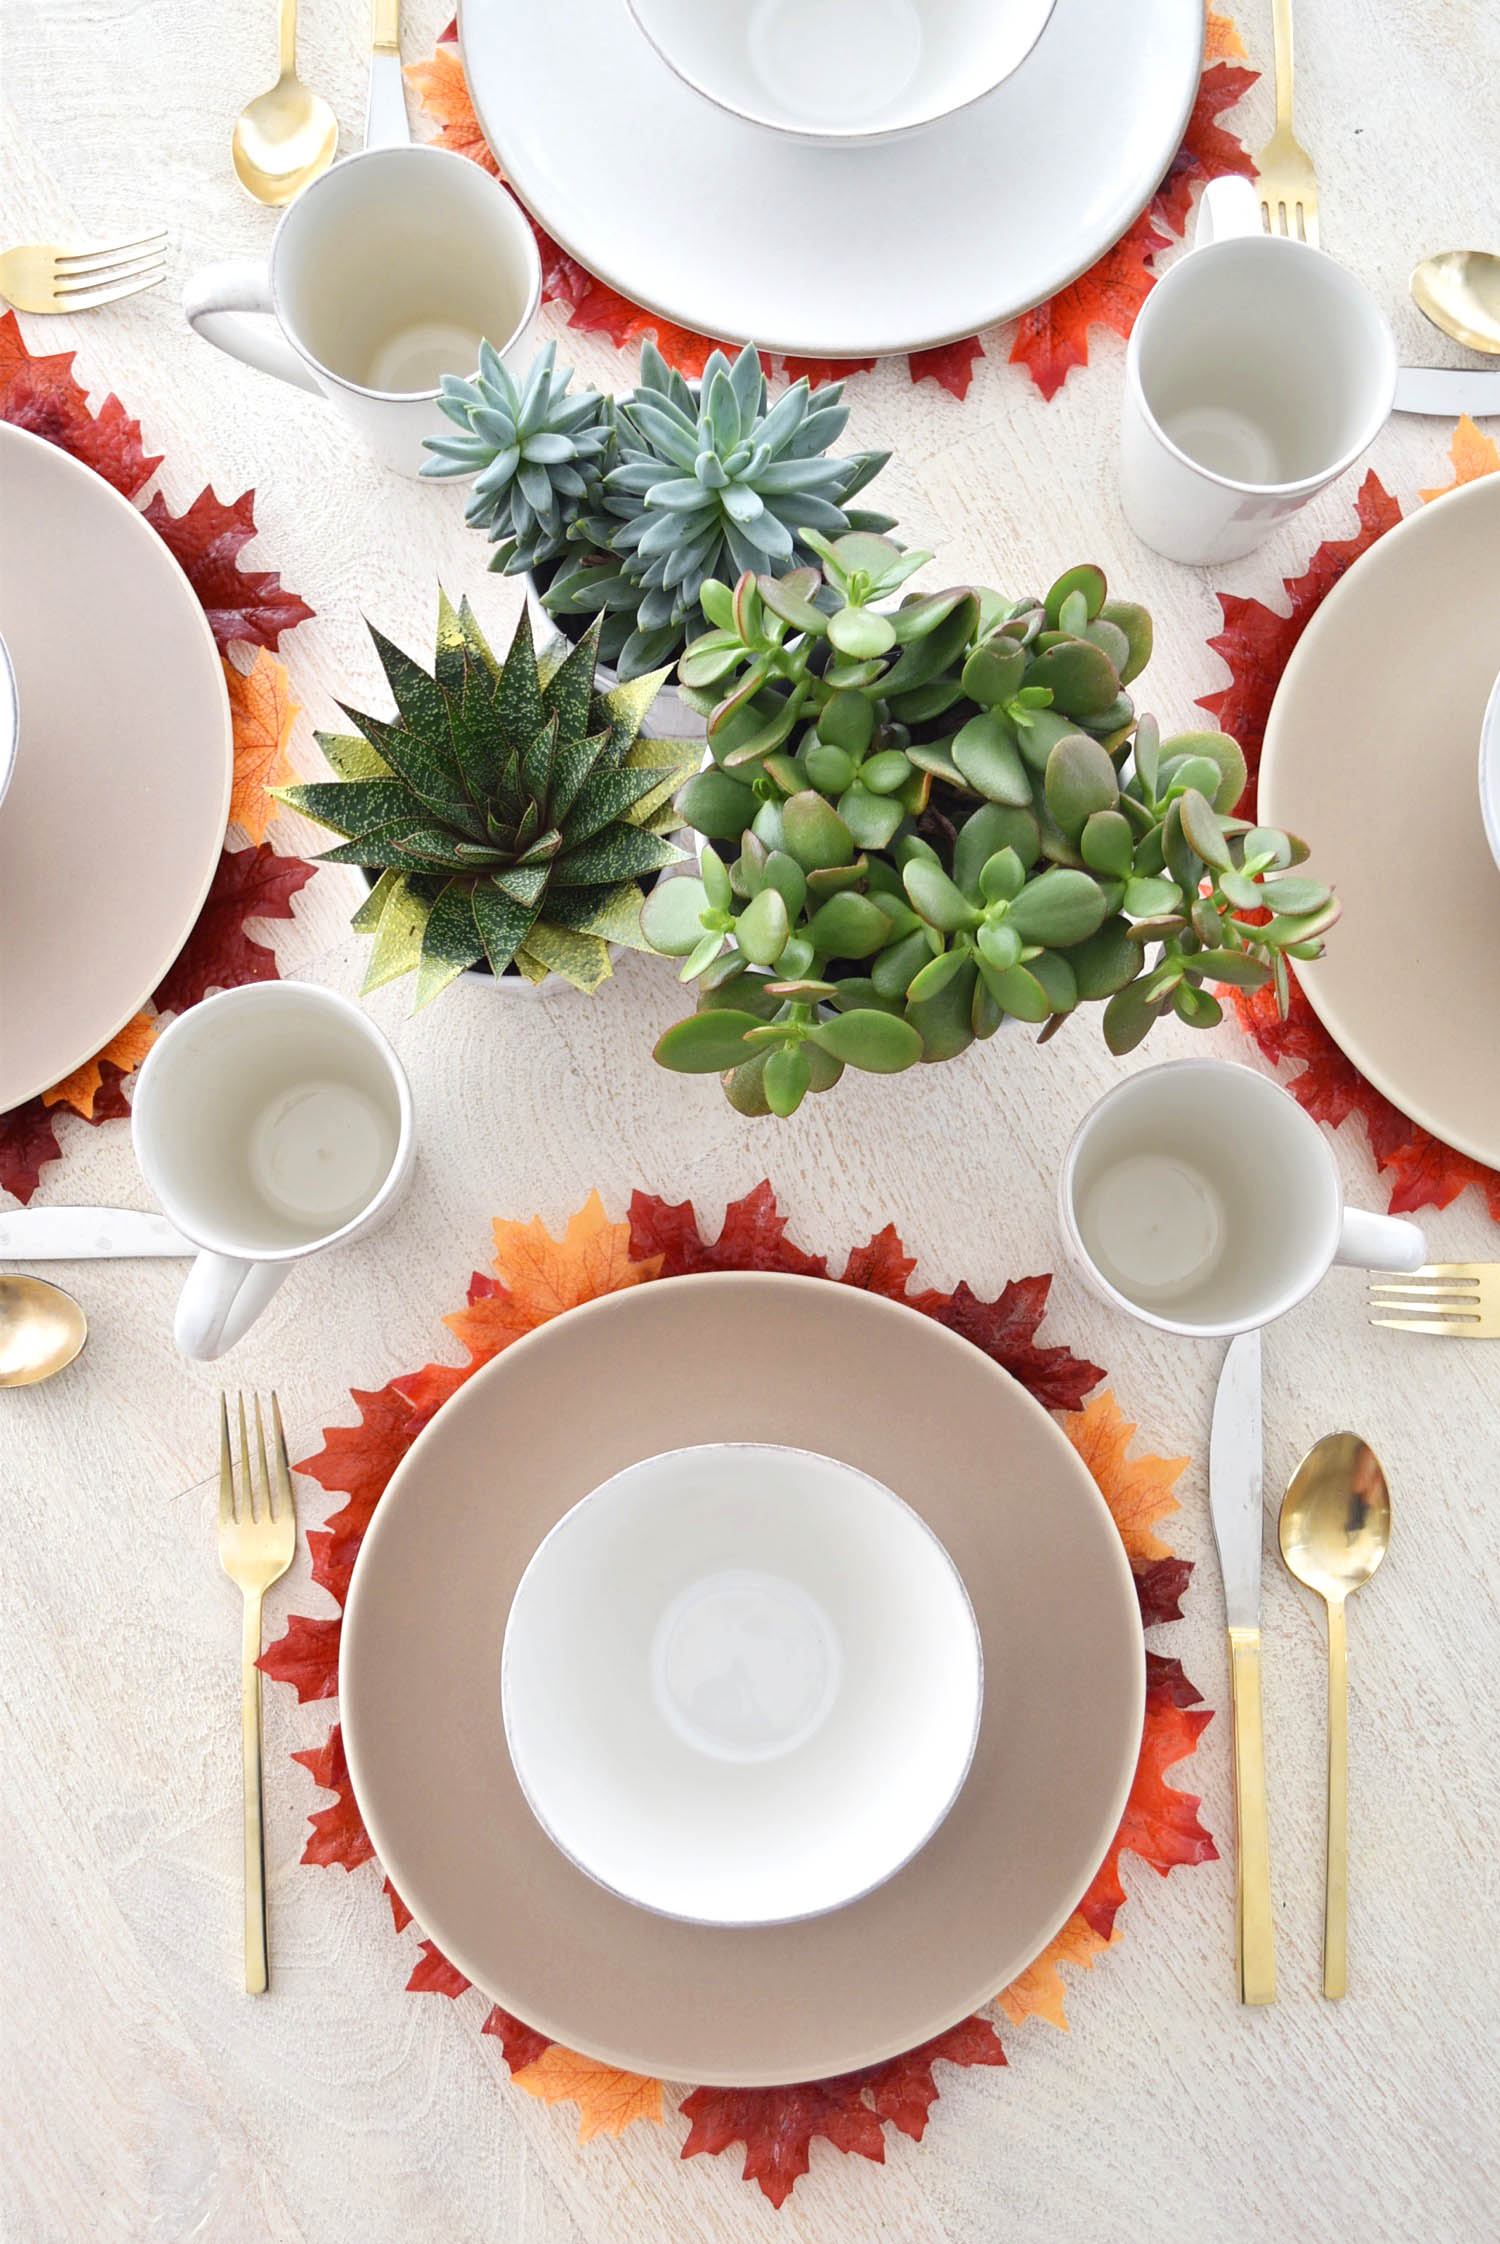
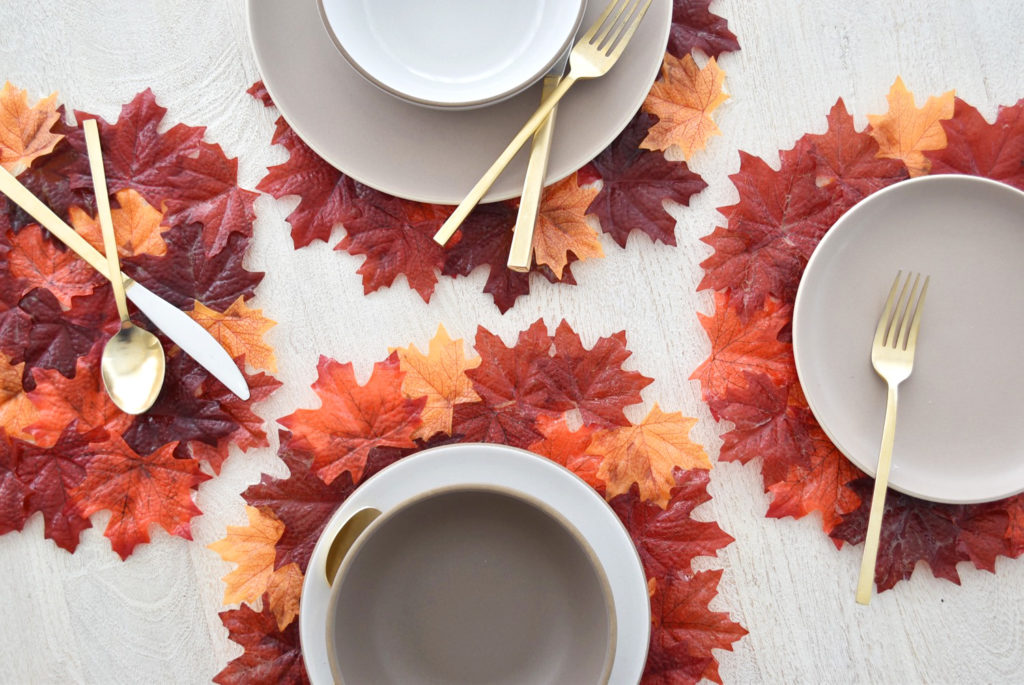
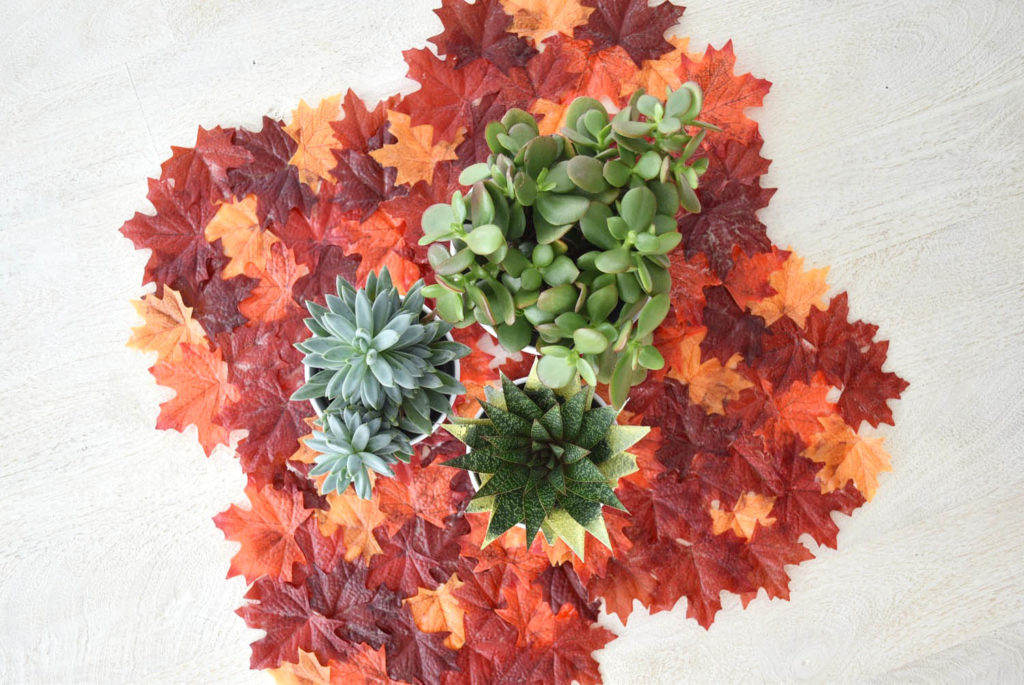
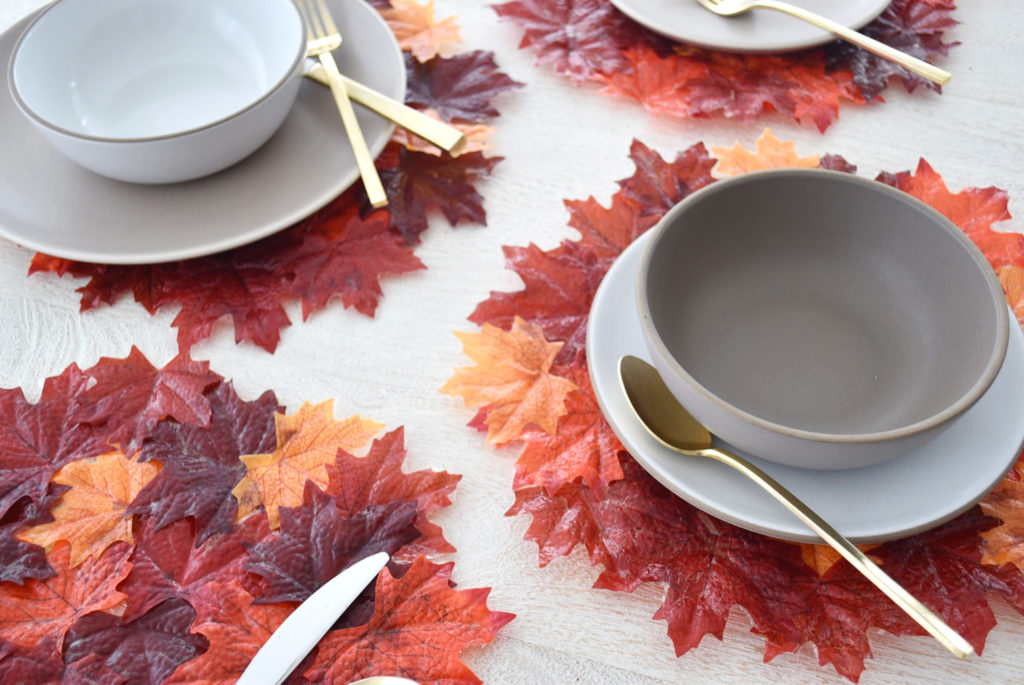
If you’re hosting anything from a full Thanksgiving or a Friendsgiving this year, and have one hour to spare, these easy DIY Thanksgiving Leaf Placemats are for you!
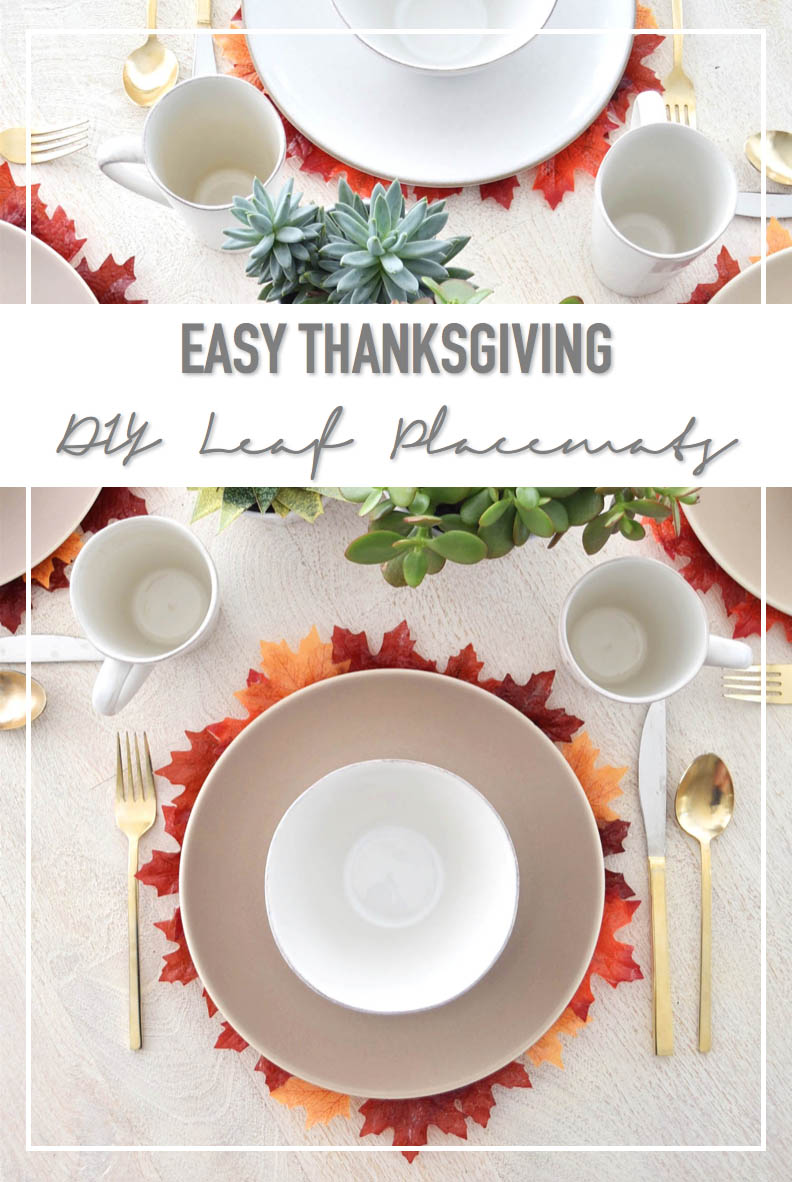
Now typically I have photos of the step by step process… but I made all four of these placemats without realizing that there was no memory card in my camera… so all those step by steps never saved. Awesome!
Anyway, I can easily describe the steps to you as they are pretty easy. Outlined below are what you need as well as each step, and feel free to comment below, email me at Stefanie@thestylesafari.com or dm me on instagram @thestylesafari with questions!
Notes: Each placemat takes no more than 15 minutes to make, but does require an overnight to dry. The total cost of 4 placemats is around $12, but if you have modpodge already then it will be a little cheaper. Also, you can make a runner instead if placemats aren’t your thing! That is what I had originally intended but I have a round dining table so I figured placemats were more suitable for my table. Ready? Let’s DIY!
DIY Thanksiving Leaf Placemats
What you Need
1. Artificial Leaves. My package was 120 leaves and made 4 placemats comfortably. Here is a 210 leaf package and a 500 leaf package if you want to make even more.
2. Modpodge – Unfortunately I spaced out and didn’t realize I was using the gloss finish, but the matte finish would have been even better!
3. Sponge Brush
4. Plastic Wrap
5. Heavy books (or something to flatten the placemats)
6. Plastic cup (for the modpodge)
Steps to Making the Placemats
1. Spread out 2 pieces of plastic wrap to make a square big enough to make a circle placemat large enough, ideally 12-14″
2. Using the sponge brush, spread modpodge on to the plastic wrap, into a circle big enough to get started. You can always add more podpodge to the circle (or square, whatever shape you decide) as you work.
3. Press your first artificial leaf into the modpodge. You can dab at it instead of brushing to make it easier. Cover the entire leaf before layering on the next one. Don’t worry about the leaves being perfectly flat- they will continue to curl and move until the modpodge soaks in and dries.
4. Continue layering leaves and dabbing modpodge on as you work. Remember: there is no way to make it perfect!
5. After finishing creating your desired shape with the leaves, cover with another layer of plastic wrap and flatten with a large book.
6. After about 2 hours, remove the book and gently remove the top layer of plastic wrap. The modpodge will still be wet and the leaves might move around still, but that’s ok. At this point, they should be much flatter and be able to adhere to each other.
7. Let dry completely. I found they dried faster in a warm area so I placed them on my heated floors to dry. Before they were almost completely dry, I slowly removed the back layer of plastic wrap and flipped the placemats over to continue to dry.
8. After they are completely dry, you should be able to remove any plastic wrap that is sticking to the leaves, and pull off any bits of modpodge that are hanging off of the leaves.
9. Decorate your simple table and enjoy all of the compliments coming your way!

