It’s here! It’s here! Finally after what feels like months (because I guess, well, it has been) I get to share with you my powder room renovation! There is so much that I want to say I can’t type fast enough, so let’s dive right in, shall we?
First you must remember the before pictures of my powder room and the post about my inspiration here:
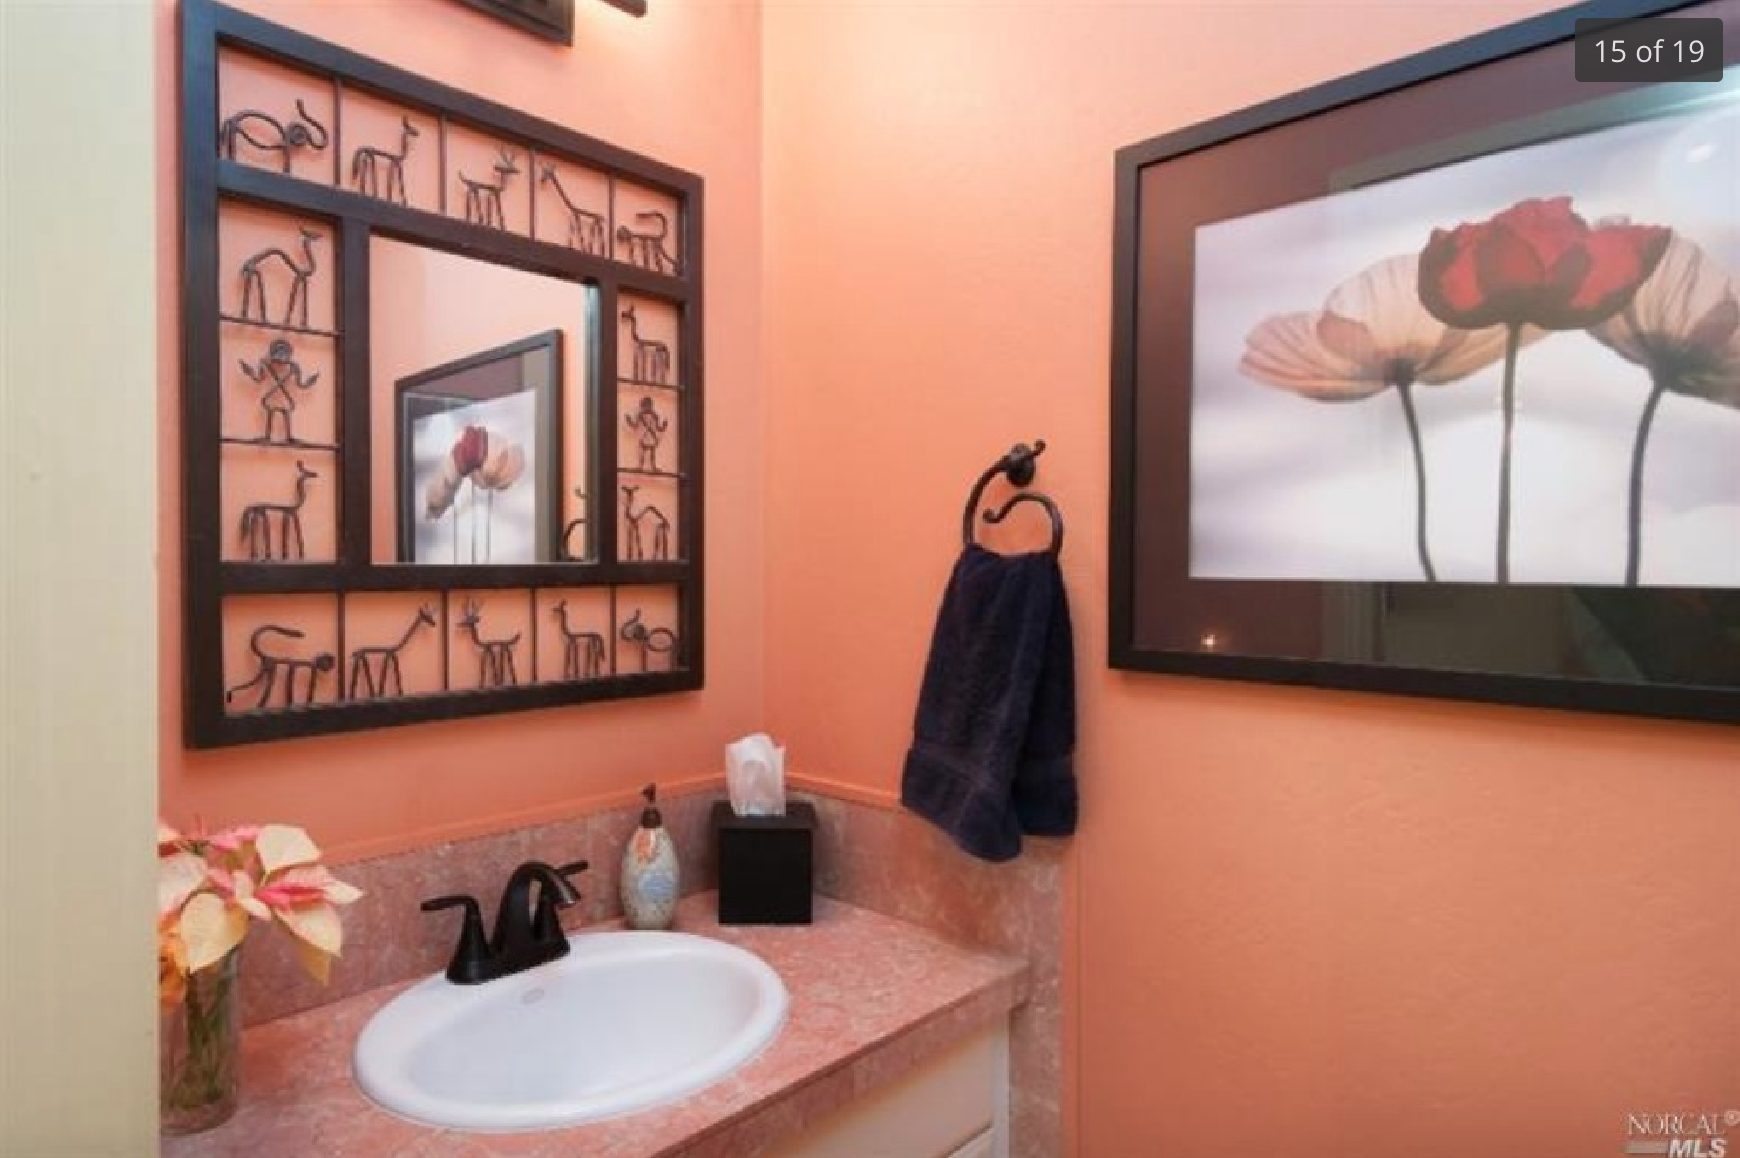
Well after mulling about and researching pinterest for hours, I decided that no matter how much I hate the pink countertops, we can’t afford a new one, so I was going to have to live with it. But just because I live with it, doesn’t mean I have to have ALL of it. That’s right, the first thing I did was take a hammer to the back and side splashes, and the extra pink panel that ran down the side of the vanity. The less of the pink quartz (or whatever it is) the better, in my opinion. Although hammertime got a little out of control, I managed to only make 3 giant holes in the wall, which I then learned how to repair with metal mesh and drywall (so much easier than it sounds).
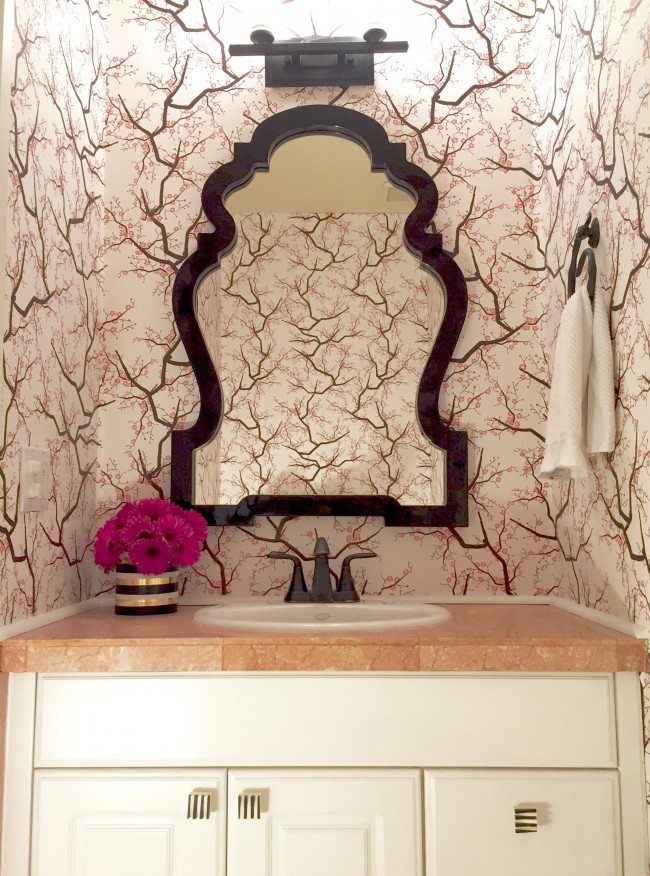
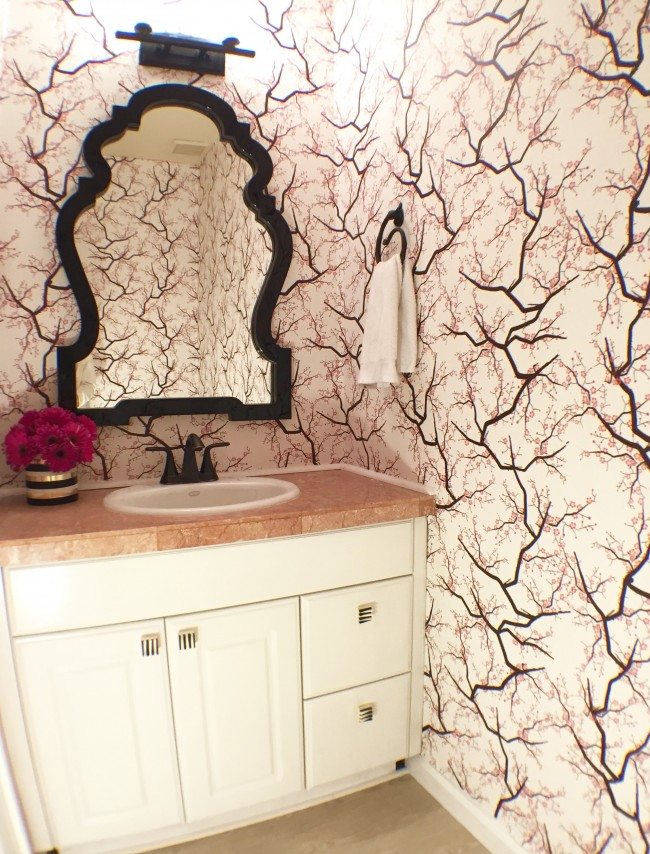
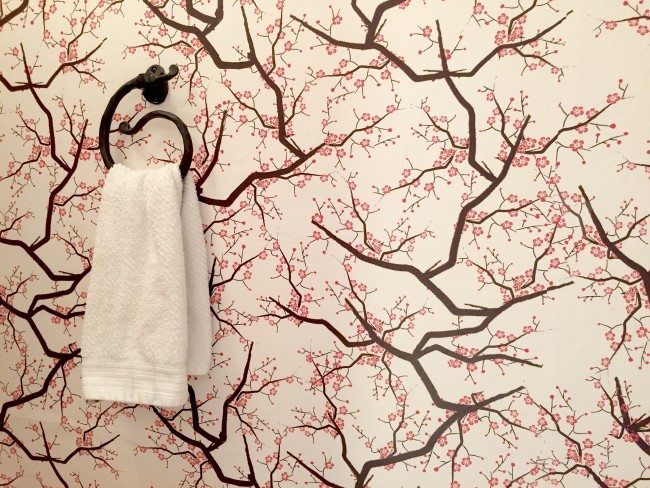
Then, as you know I wanted to liven up the space with some wallpaper. I decided to go the chinoiserie route, because with a few bold choices I could totally revamp the look of the bathroom without having to change all of the main hardware. As you can tell- I left the bathroom light, faucet and towel ring the same. Disclaimer: I wanted a new towel ring, but actually couldn’t find anything that unique so I figured I would stick with this one while I continue my search. As you know, I designed the cherry blossom wallpaper and now it is available for sale in my Spoonflower shop, so ch-ch-check it out!
After hammering out the excess pink tile, I primed the pink walls white. Although it wasn’t absolutely necessary for the wallpaper, I was worried the pink would tint through the white wallpaper, and we were on a mission for LESS PINK. You are probably clear on that by now though.
The directions for putting up the wallpaper say in large bold font “PUTTING UP WALLPAPER IS A TWO PERSON JOB”. But this is not Mr. R’s favorite weekend activity and you can bet everyone else was ‘busy’ when I asked. Not that I mind- I was finally able to listen to the second season of Serial on my Sonos as I worked- it kept me wanting to work and not take a break, although with my seriously wallpaper-sticky hands there wasn’t much else I could do anyway. Anyway, despite some hiccups in my exacto-knife skills when cutting the excess wallpaper off, applying the wallpaper was easy and definitely can be done by yourself. and Serial of course.
The last step in finishing the wall was batting my eyes at the lumber yard so that the nice men would cut my quarter round piece of wood to the exact dimensions I needed to border the countertop. At 30 years old I was still proud I could successfully flirt in my worn sweatpants, tennis shoes and topknot, but then after I left I realized this particular place cuts the wood for everyone free of charge. So proud one moment, so deflated the next.
After painting the quarter round white, I nailed it into the wall and applied some caulk to the edges so that it would sit flush to the wall.
All that work only cost me $28 plus the cost of wallpaper (and my self respect), so I highly suggest everyone do this themselves in the future!
Drywall: $8
Metal mesh wall hole covers: 3 x $5
Drywall sander: $3
Quarter Round wood (and cutting!): $2
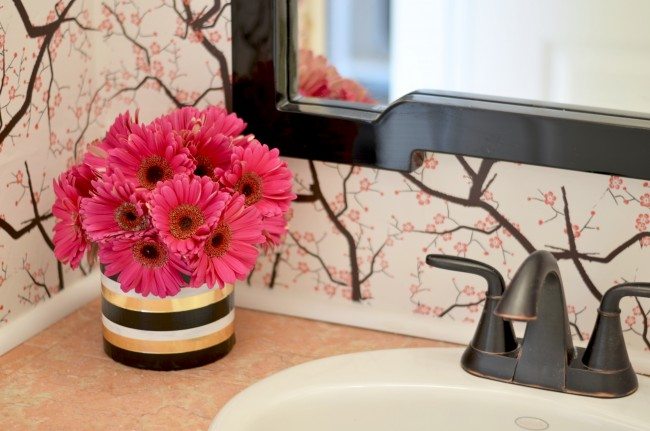
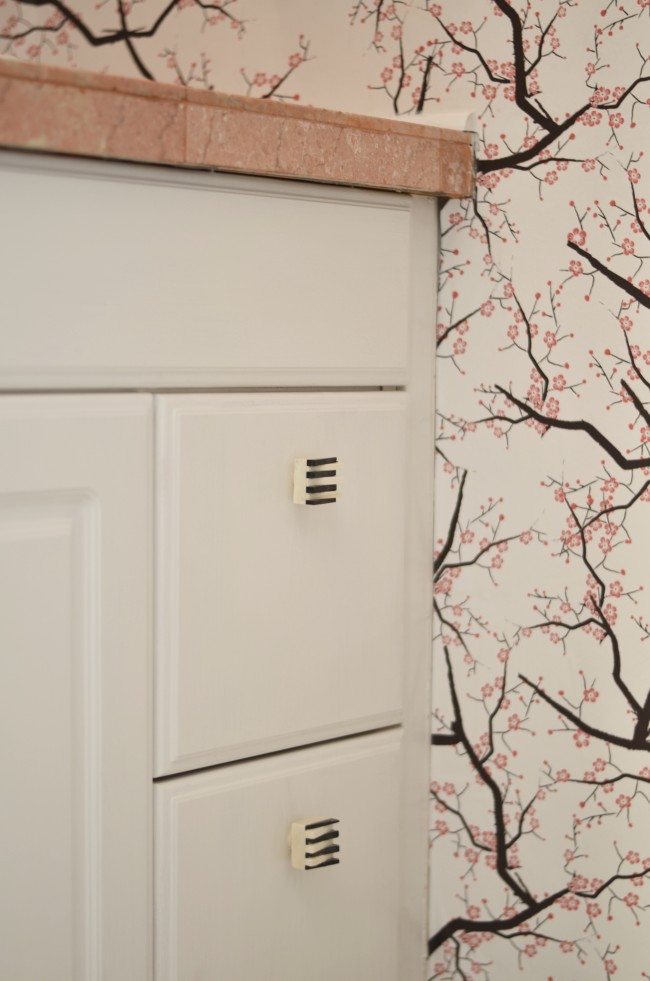
The last piece was making it pretty, which is of course the easiest part. I fell in love with this Cooper Classics mirror, which I think had the Asian vibe but in a black lacquer finish it felt more modern than traditional. I am OBSESSED with the handles- I scored them at my local Homegoods and they are from Cynthia Rowley. I can’t find anything like them online but run, don’t walk to your local Homegoods to see if you can find some for a major style upgrade. Overall, I love the global feel of the space now and feel like it is the perfect place for guests to freshen up, as well as show off the hostess’ personality. I can’t wait to hear what you think!
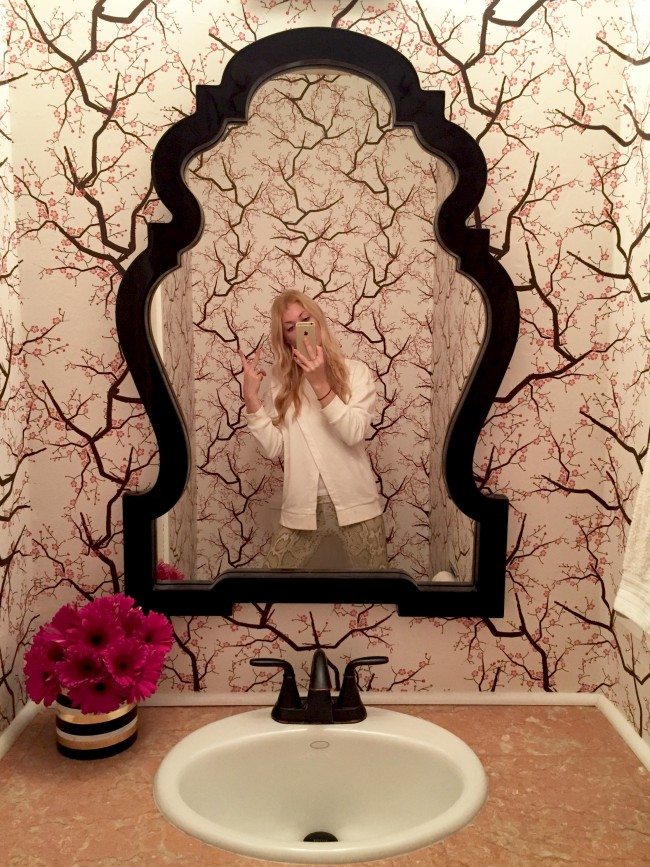
One last thing- how do people professionally photograph teensy tiny bathrooms? I hate the yellow tinge from the light but otherwise it would have been pitch black in there! And can we please address how hard it is to take a photo in there and not be in the mirror reflection? My head is literally in the toilet in order to take these photos. Clearly the professionals keep some secrets to themselves….
Anyway, WHAT DO YOU THINK??
Get the Look:
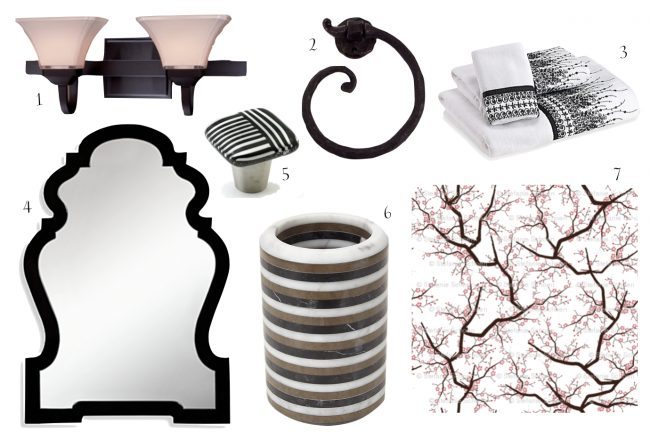
1 // 2 // 3 // 4 // 5 // 6 // 7 (cherry blossom wallpaper designed by me!)
