In Marina’s first 6 months of life, she will have been to 6 different states and 4 US time zones. I was pretty adamant that having a baby would not hold me back from traveling, and while it hasn’t, we have certainly had to plan for things differently. No longer do I pack a simple carry-on and rush off the plane to my waiting Uber. These days I have to be more strategic about what I pack and more patient as I wait for checked baggage, but you quickly learn the groove that works for you, and slowly tweak as you go.
While every stage of life is different, I definitely think we have the traveling with ‘baby’ stage down, as we have already been on multiple road trips and 3 airplane trips (with 2 more coming in the next month). I learned so much after that first trip that I am eager to share with you all, notable tips to help other new parents feel less confined to their homes, and more confident traveling with baby. From what gear we love to what to pack, I have covered everything that actually makes a difference when traveling with baby, and I hope it will help you too!
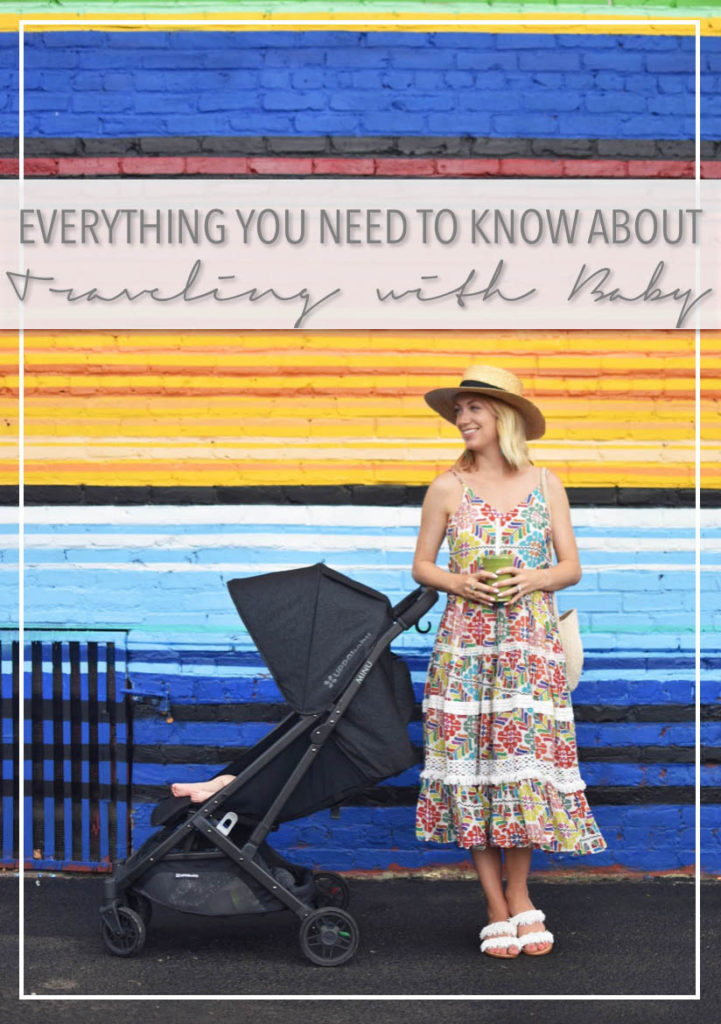
Everything you wanted to know about Traveling with Baby
Tip #1: Get Over it, Just Do it
I don’t want to hear excuses. If you like and want to travel, you will still like and want to do it with a baby. Sure, it’s more difficult. Sure, you have to pack more. But just do it. Just once. After you get that first trip out of the way, the first plane ride with a fussy baby (or if you’re lucky, a sleeping one) and you’ll realize it’s NOT THAT BAD. I hear more and more excuses from people talking about having to pack bottles for them, about germs, about diaper explosions, about car seat adapters. All of this stuff is weighing you down! If you are nervous, my recommendation is to start with a road trip somewhere at least 4 hours away. That way, you HAVE to stop somewhere and feed them on the way, and you’ll see how easy that is. You’ll have to pack extra bottles and diapers and blankets and clothing. Once you get the road trip done, you will see how much you overpacked, which will make you feel more comfortable when packing for a flight. And remember, most places have a Target close enough should some disaster happen!
Tip #2: Check the Car Seat Right When you get to the Airport
We have checked our UPPAbaby MESA car seat at the gate, and at check-in, and I can tell you that getting rid of it right away is far easier. Some people like to stuff it with diapers and extra stuff since you don’t have to pay to check in a car seat, but frankly I find that a pain, since most likely you had to use the car seat to get to the airport, so then bringing another bag of things to stuff it with right at check-in seems hectic. Instead, buy one of these ginormous gate check-in bags (or use the one that fits your car seat) and gate check it right away. Then you can use your lightweight fold up stroller for the rest of the airport experience (more on that next!). We leave the car seat base at home and use the seat belt strap method for securing the car seat into Ubers and rental cars to get around.
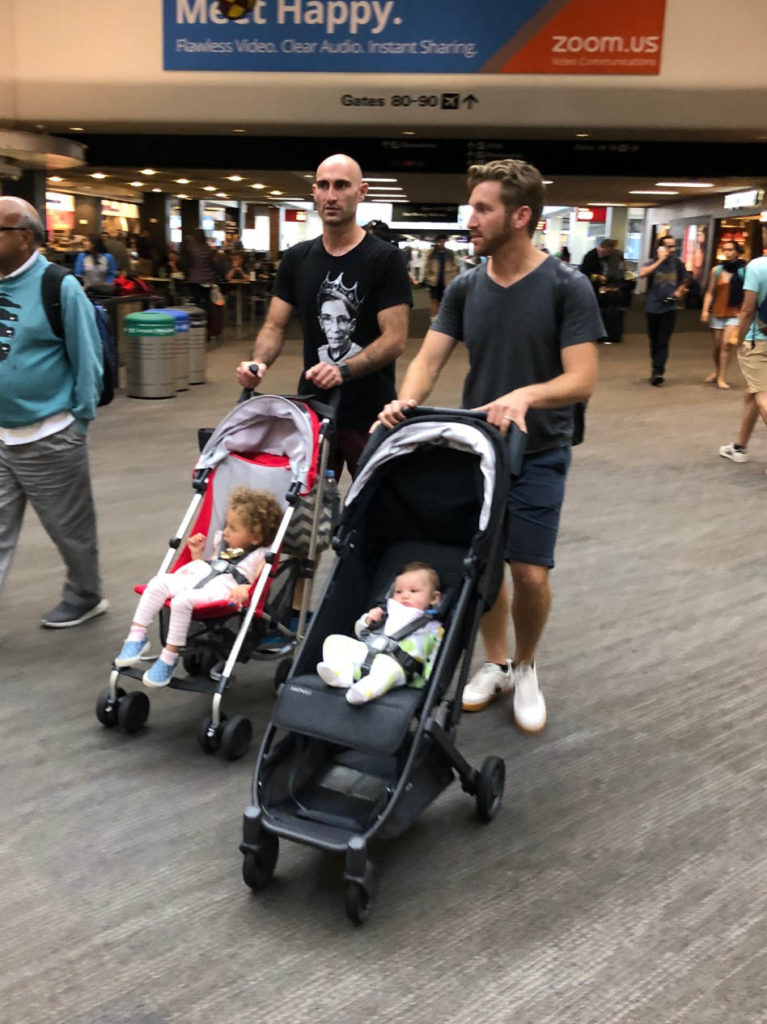
{Side by side comparison of the UPPAbaby G-LITE and our MINU at SFO}
Tip #3: Invest in a great travel stroller, like the Uppababy MINU
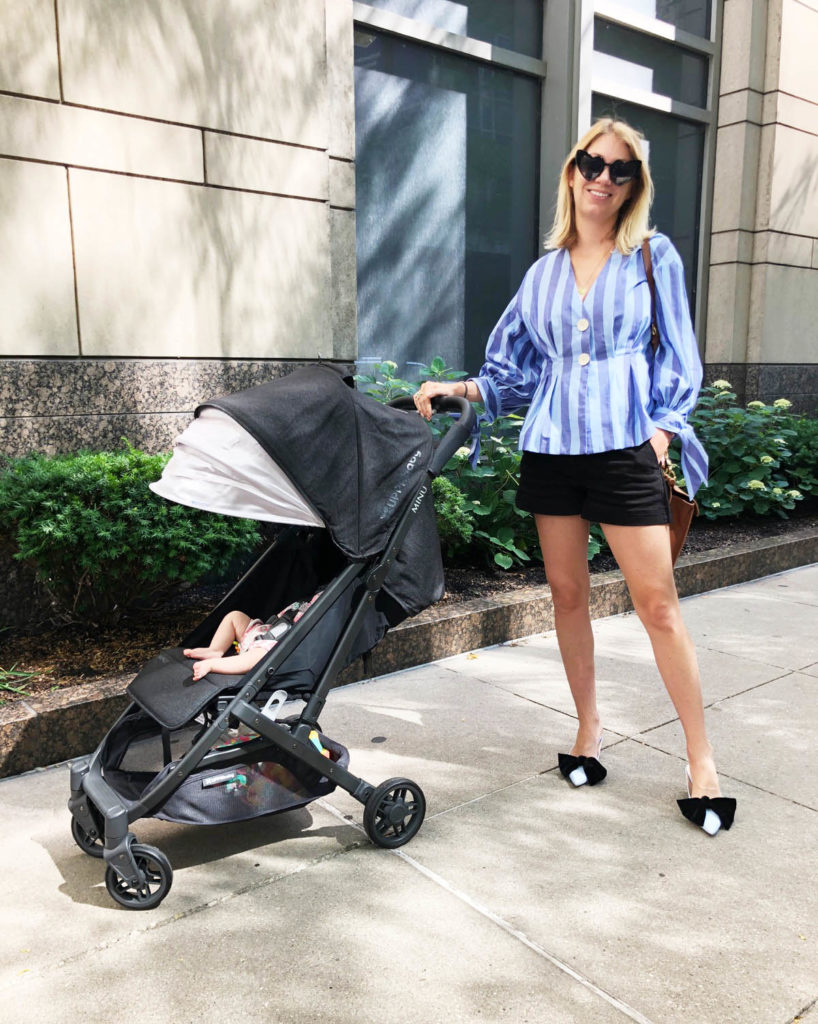
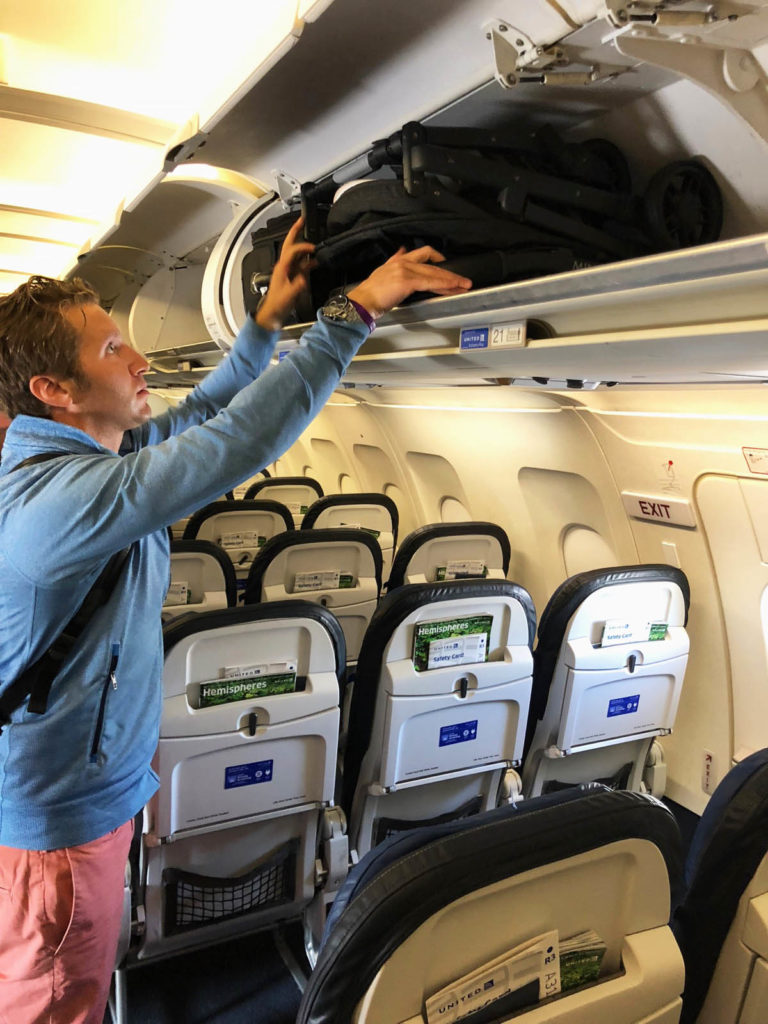
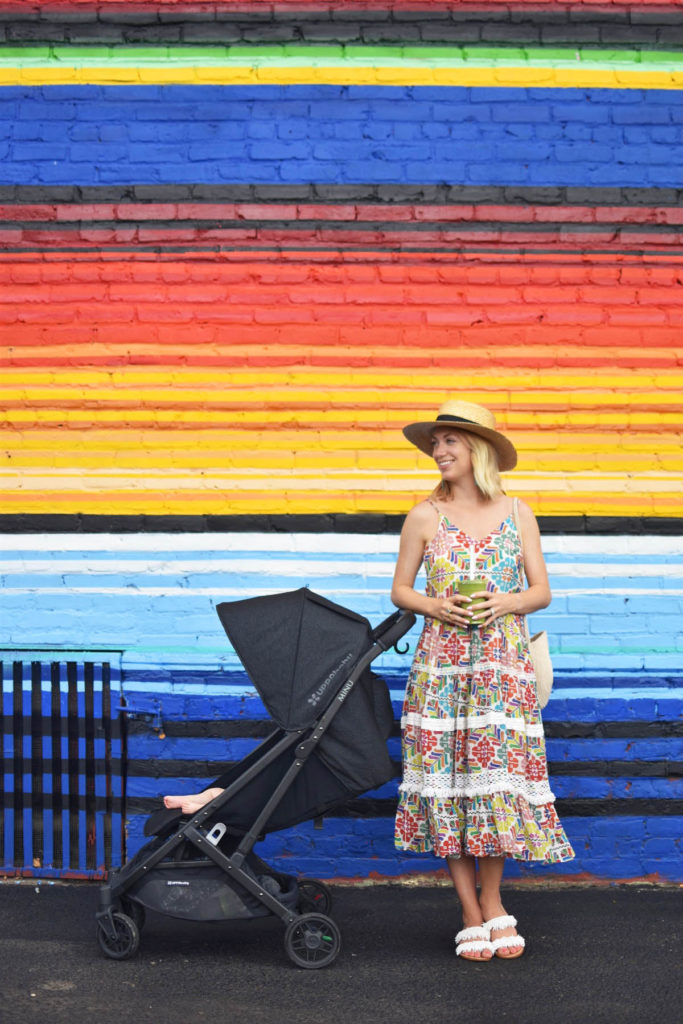
Yes, UPPAbaby sponsored this post. But I can honestly say that the MINU would have been our first choice for a baby stroller regardless of the partnership. Mr. R and I did our research long before Marina was born, and we knew we were going to buy an UPPAbaby CRUZ stroller and MESA carseat, so we were thrilled when the opportunity to try out the brand new MINU arose. It’s everything you look for in a travel stroller: light weight, still has storage, reclines, UV sunshade, one-handed fold AND the holy grail of all necessities: the ability to fit into some of the overhead bins. Since each plane and carry-on policy is different, UPPAbaby recommends you test the MINU before boarding, and gate check if it’s not able to fit. We love how easily it navigates with one hand, as now I often use it as my main shopping stroller. The one-handed fold is so easy I often get stopped in the airport by people wanting to know more about it, and I take Marina out to demonstrate!
After we check our car seat at check-in, we use this stroller all the way to boarding, where we take Marina out right before stepping on the plane, quickly fold it up, and put it into the overhead bin. There is an extra strap if you need to carry it over your shoulder as well. We have been using it since Marina was 3 months old, and even though she didn’t have perfect head control then, she was still able to sit in the seat when it was fully reclined. Now we can have her sit up in it (at 5 months) which she loves because it’s so much easer for her to look around.
Tip #4: Pack 1 rolling check-in bag for your and Baby’s things
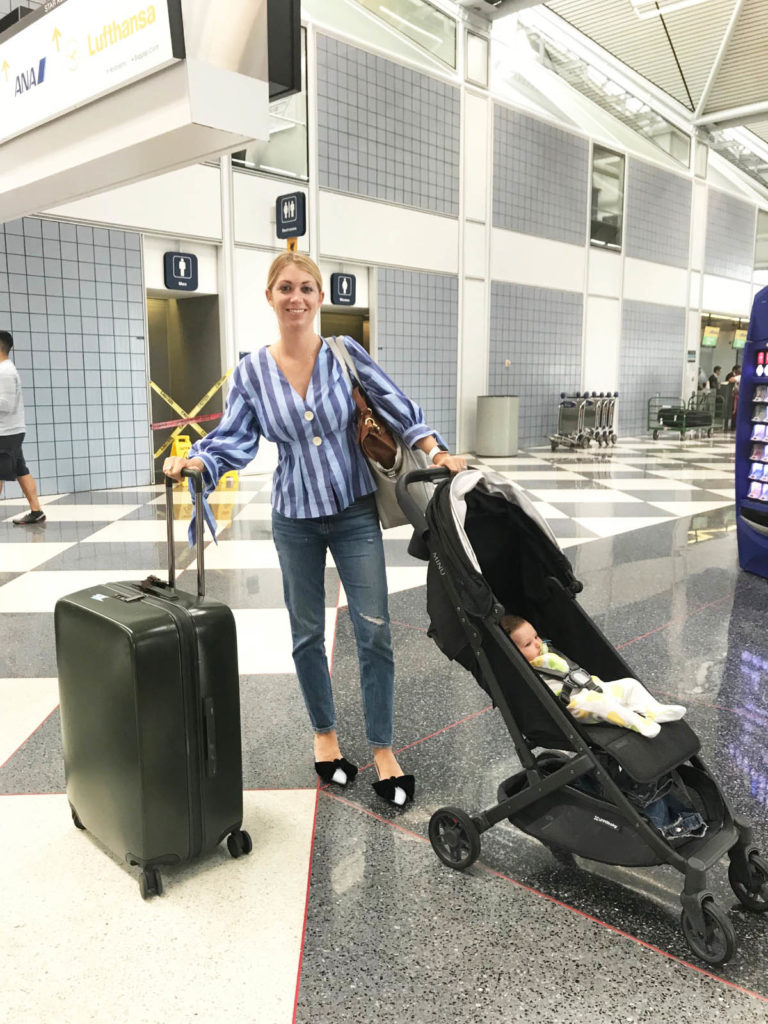
Remember my 10 item or less packing lists (New York, London ) and 3 Shoe Rule! You don’t need much, so a regular rolling check in bag should be more than large enough to carry your and baby’s clothing, diapers, shoes, toys, blankets, a pump and bottles and books. Most of the time I had extra room in my bag, which still allowed me to do a little shopping wherever I went! I also like to use a 4 wheel suitcase because its easier to roll with one hand while pushing the MINU in the other.
Tip #5: Your Diaper Bag or Backpack is your only Carry-on
Technically, I carry a small crossbody bag as well, but it literally just fits my sunglasses, wallet and iPhone. I pack my magazines/snacks/book in her diaper bag or backpack, because let’s be honest… how much do I really need on the plane? Also in my diaper bag/backpack: a few plastic or wood toys that can be easily disinfected if dropped, one bottle of breastmilk/formula, a few burp cloths, extra pacifiers, wipes and diapers. A few crucial items that I stand behind that will make your travel experience much better (and more sanitary):
Pacifier Clip: If your baby takes a pacifier, this is a must-have item for roaming the airport. The last thing you want is to have to disinfect a dropped pacifier, or worse yet, lose one. Clip it onto their shirt or bib so it’s always there. Plus, if takeoff or landing doesn’t coincide with feeding times (sucking helps with ear popping) then having them suck on a pacifier works too!
Patemm Changing Pad: This item was recommended by a friend of mine for my baby registry must-haves, and its a life saver. Why? because it’s large enough to provide comfort and cushion but still folds up easily. And it has handy-dandy pockets on the inside so when you unroll it, you can already have your wipes and diapers tucked in. This is crucial for when you have one hand and you need to locate all of your changing supplies!
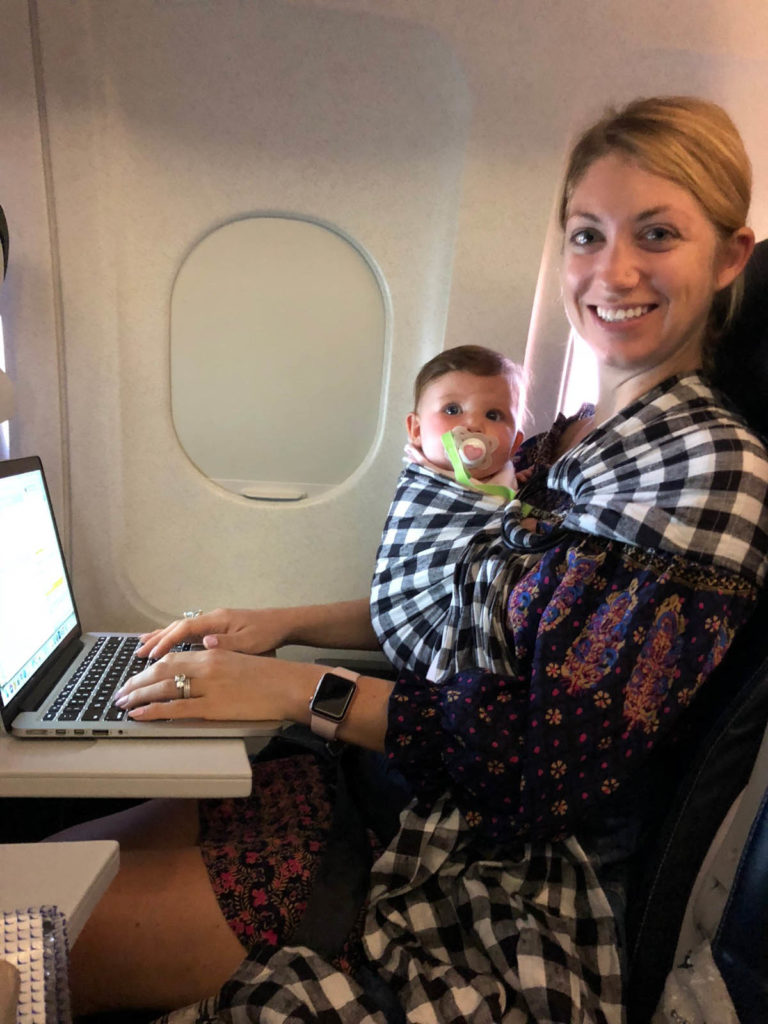
Wildbird ring sling wrap: If you actually want to be able to use your hands on the flight, or just get the baby to fall asleep easier, then wearing them is the way to go. I don’t want to wear one of those huge padded baby carriers when sitting on a long flight, so a simple fabric ring sling is the way to go!
Tip #6: Buy TSA Pre-check or Global Entry
Both are good for 5 years, and will make a huge difference when traveling with baby. Since security is by far the most stressful part of traveling, pay the $85 for Pre-Check or $99 for Global Entry once, and never have to take off your shoes, take out your laptop, take off your jacket or (sometimes) wait in long lines again! It’s a game changer.
Tip #7: Book an aisle seat!
I typically prefer the window so I can easily sleep, and I never need to use the restroom. But those days are long gone. Now, I’m the one getting up often to change the baby or use the restroom, and I don’t want to disturb anyone. Plus, if you have a significant other or someone nice sitting next to you, you can just stand in the aisle and change the baby in your seat with your Patemm changing pad instead of heading to the bathroom. I don’t recommend doing this if you have a messy blowout, but a little wet diaper takes 1 minute to change and isn’t gross!
Things to consider:
Call the hotel ahead of time to reserve a crib. We screwed this up on our recent trip and had to go crib-less one night. Marina slept on a blanket on the hotel room floor, scaring us every hour or so with her constant wiggling.
Download a sound app for white noise. There are a ton of options out there and we use one that only has a ‘vacuum’ sound for free, but hey, it works!
Have the baby wear an easy footie for airplane travel. I don’t want to search for missing socks or worry about her limbs touching nasty tray tables, so we cover her up completely. I prefer ones with zippers or magnets, like our favorite Magnetic Me onesies!
Special thank you to UPPAbaby for partnering with me on this post!
This is a sponsored conversation written by me on behalf of UPPAbaby. The opinions and text are all mine.
