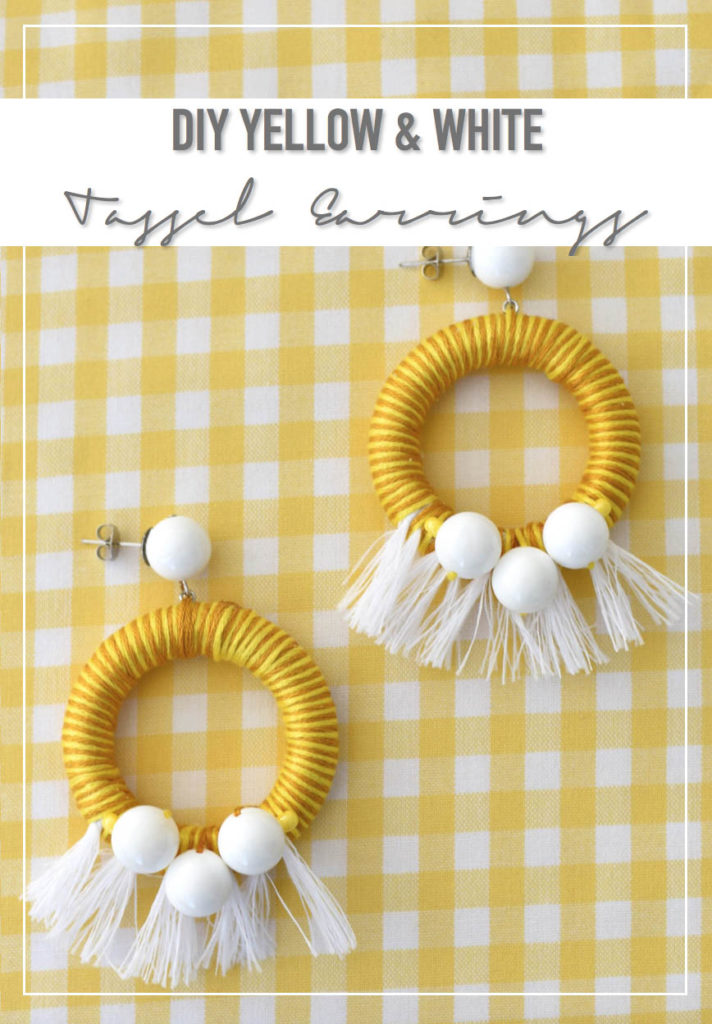
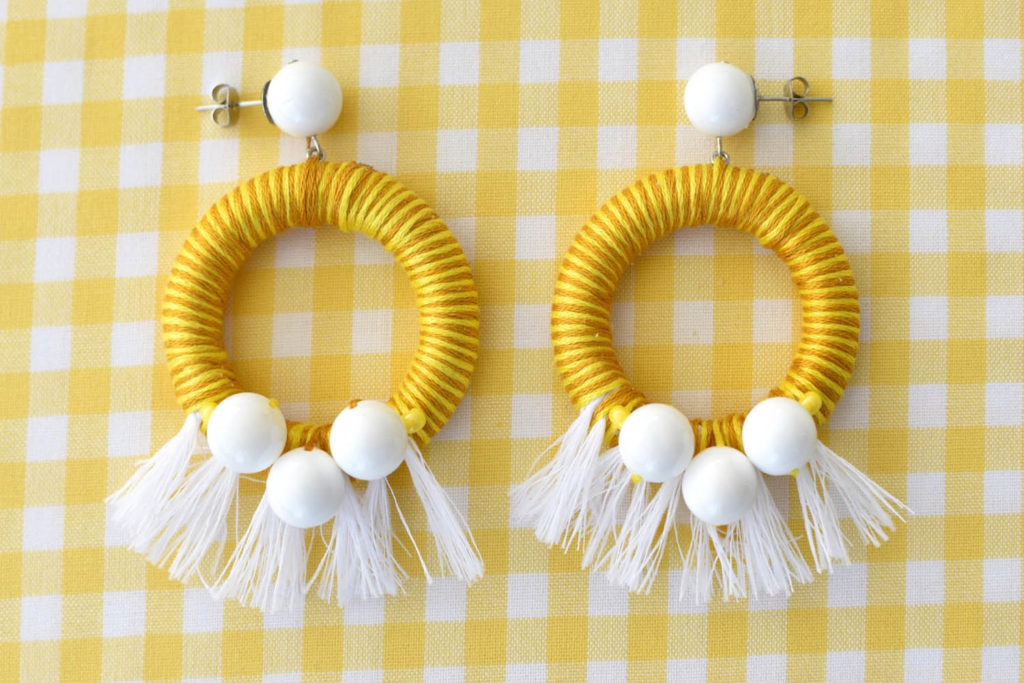
I’m so excited to start doing more DIY projects and this pair of DIY tassel earrings is going to suck you in so fast you’ll be at Michael’s before the end of the post!

Tassel earrings are so on trend right now, but I thought I would add in my version using beads and embroidery floss so that you can make a pair of earrings with a little more individuality to them. The whole DIY will take you 3 hours or less depending on your skill level, but even a newbie can get ‘er done!
The full step-by-step is below but please feel free to save down and pin the below tutorial image so that you can have all the steps in one handy dandy pic! Let’s get started!

What you will Need
- Scissors
- Needle nose Pliars
- Wire cutters
- Wooden Cabone Rings
- Embroidery thread. I used about half a roll of 2 colors, but if you just use one color you can get by with one roll.
- Decorative beads. Anything will work, but ideally you have at least one larger bead for the earring post
- 6″ of fringe tassel trim
- E6000 glue. If you don’t have it yet I don’t know what you’re waiting for!
- 2 Eye pins or small jump rings
- 2 head pins
- Round earring post backs (or if you can’t find, no worries! Make your own like me with 2 more head pins and round bead caps)

How to DIY Tassel Earrings
Step 1: Make the post backs (if you don’t have them). Insert 2 head pins into the bead caps and place a little E6000 to secure. Then apply glue to the side of the large bead, ensuring that the hole still runs from top to bottom.
Step 2: Press the bead into the bead cap and hold tightly with your hands for 2 minutes to secure. Insert another head pin through each bead and let dry for 2 hours.
Step 3: Cut your fringe according to how much you would like on the earrings. I did about 1.5″ or 5 tassels
Step 4: Using the glue, secure the fringe to the wooden rings.
Step 5: Apply a small amount of glue to the back side of the ring and start wrapping your thread around. Start a little past the top point, so that you can overlap when you finish.
Step 6: After your first few wraps that are secured with glue, slide on a jump ring (or a cut head pin) on to your thread and continue wrapping, adding glue as you go.
Step 7: Overlap the tassel section as you wrap, slowly weaving in beads as you go. This is completely personal! Have fun mixing beads and sized, and secure larger beads with glue as you work.
Step 8: Finish wrapping the wooden ring and secure the end with E6000 glue.
Step 9: Go back to your posts and make sure they are dry. If so, cut the end of the loose head pin to about 1/2″ and use the needle nose pliars to work into a loop. Before closing the loop, slide it onto the jump ring on your wooden earring bottom.
Step 10: Cut the remaining end of your earring post to the desired length. Let the glue set for 24 hours before wearing.
 How fun are these DIY Tassel earrings? So perfect for summer parties and soirees. I can’t wait to see how ya’ll customize them and make them yours!


