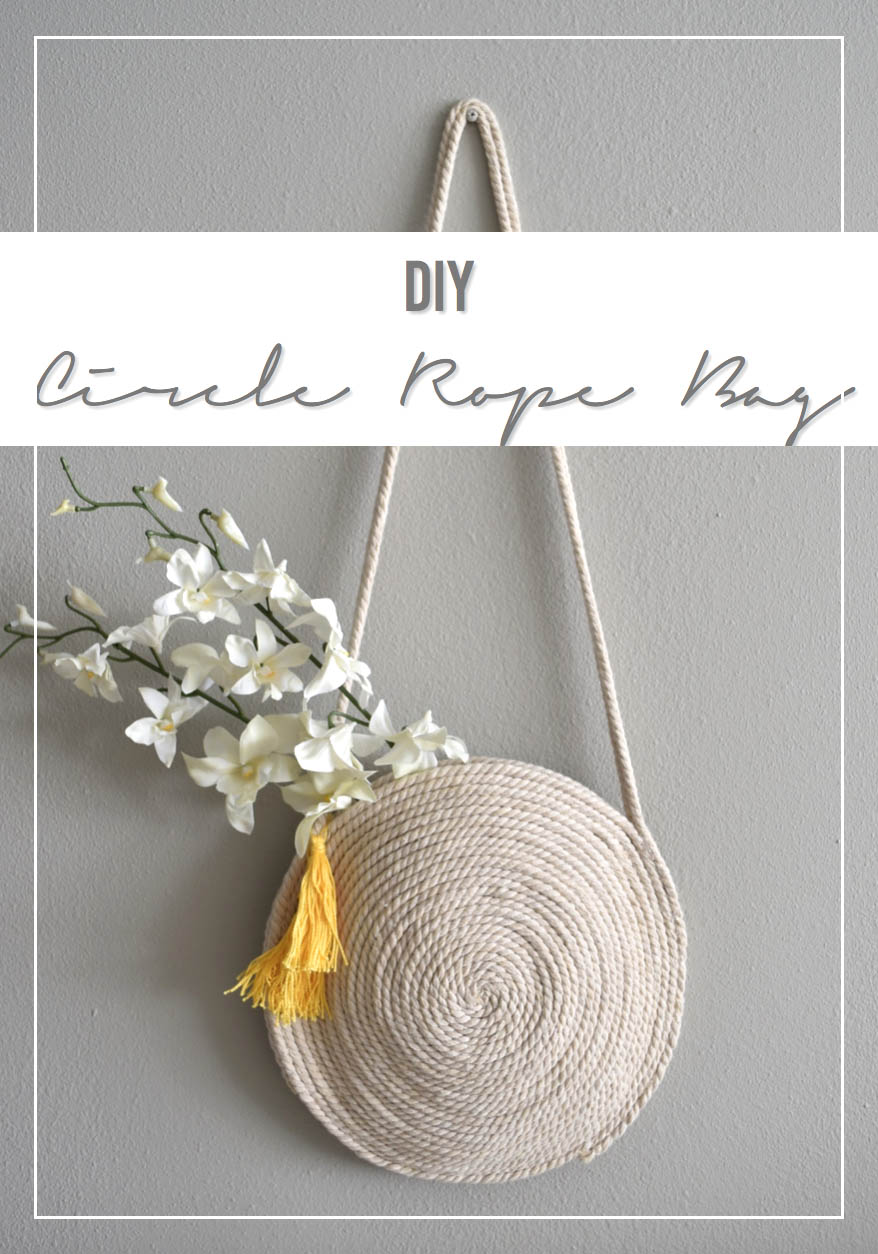
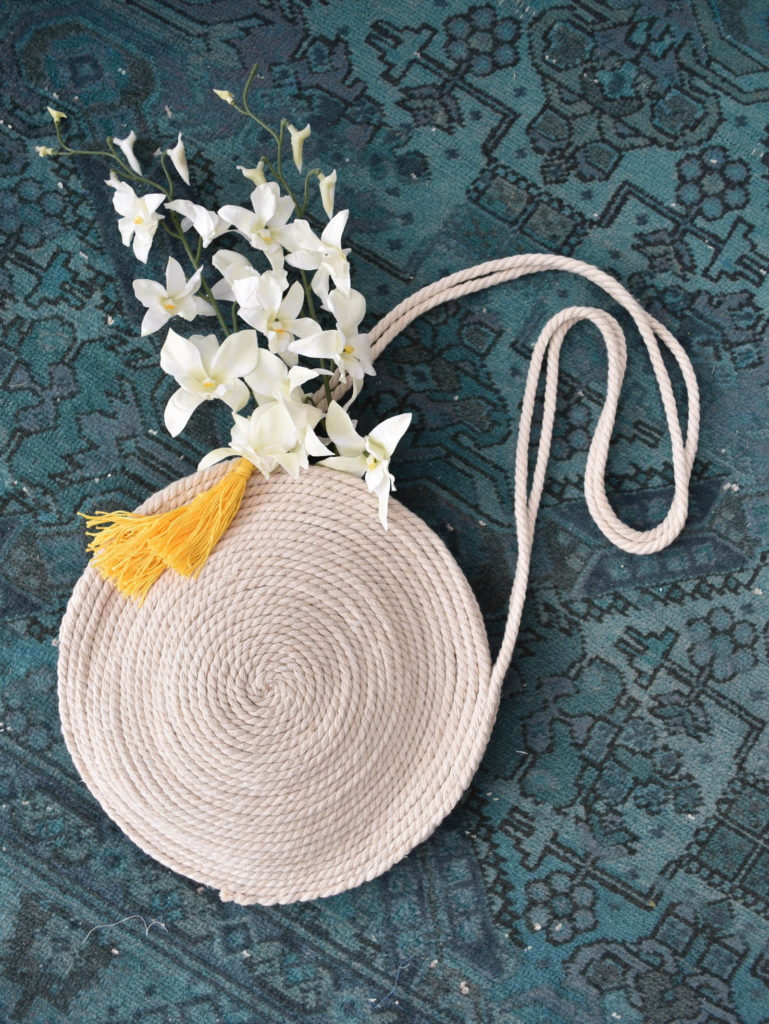
What’s the IT bag of the season? With no comparison, it the circle rope bag. With this easy tutorial you can DIY your own circle rope bag for less than $25 and a few hours. And trust me, this bag carries works! I’ve been carrying it around the past 3 days to test drive it and no only have I had zero issues, but I’ve managed to snag a few compliments as well ;)
I’m making this circle rope bag for my trip to the Amalfi coast in a few weeks, and its the first of many DIYs and projects coming your way! Make sure to follow along on instagram with the hashtag #SewAmalfi !

Ready to try? Let’s DIY!
What You Need
- 20 yards of rope (10 yards for each side)- I bought this rope from Michaels
- Hot glue gun and glue
- Fishing line or clear jewelry cord and large eye needle
- Mugs or plates to act as weights
- Optional thick embroidery floss for tassels

DIY Circle Rope Bag Instructions
Step 1: Cut your cord into 2 equal lengths, ideally at least 10 yards each (but more is even better!)
Step 2: Hot glue the end of one piece of cord onto itself
Step 3: Continue to glue and wind the cord on itself into a circle. Once it gets larger, use a mug and a plate to hold it flat. You can also use the mug and plate to help turn the rope as you glue.
Step 4: Towards the end of winding, determine the length of the strap that you would like. Make sure you have at least 6″-8″ of the rope to glue on the far side of the circle. Repeat steps 1-4 again for the other side of the bag
Step 5: Lay both halves of the bag on top of each other so that the end points are on opposite sides. Hot glue the outside rim together and let dry.
Step 6: Thread the needle with jewelry cord and insert the cord at the bottom of the strap into the second row of rope. Tie a knot to secure the cord.
Step 7: Bind the edge of your bag with jewelry cord by consistently sewing top to bottom, in the second row of rope.
Step 8: Tie with a knot to secure!

DIY Embroidery Floss Tassels
Step 1: Wrap the embroidery floss around your hand 20-30 times
Step 2: Slide off your hand and tie a long piece of floss around the top corner to secure the loops
Step 3: Slide the knot of the tie to the inside of the loops and use the ends to wrap around the top of one loop in opposite directions. Double knot the edges together to finish and trim the edges.
Step 4: Cut the ends open of the loop and trim so they are all even.
Step 5: In order to tie the tassel onto your bag, use the needle to thread the top of the tassel with floss.

Love this DIY? Check out my other accessories DIYs here!
And don’t forget to see how the whole #SewAmalfi series comes together through these posts:
#SewAmalfi Inspiration Board
#SewAmalfi DIY sunglasses inspired by Dolce & Gabbana


