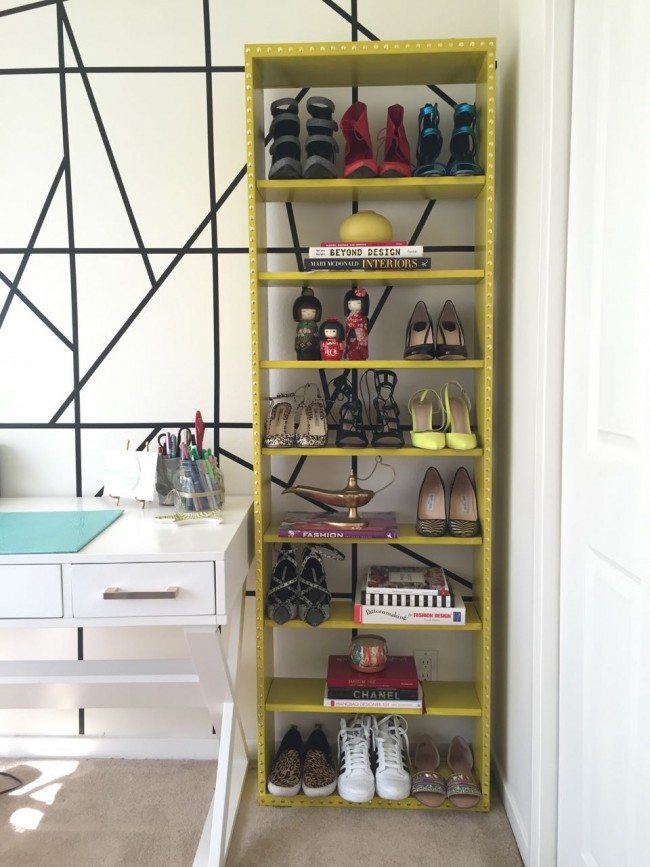
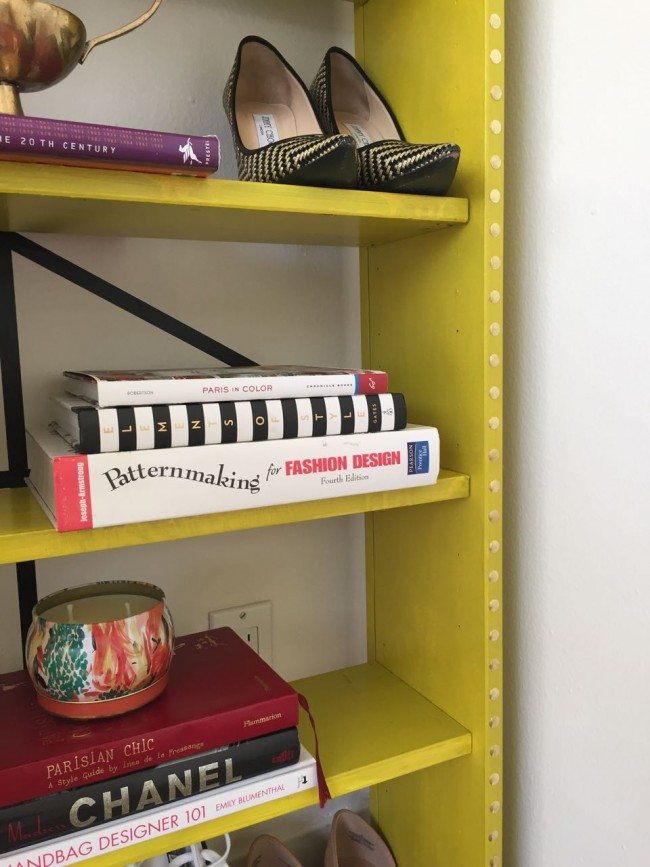
Today’s DIY shows a little sneak peak of my office redesign, but we are just going to focus on the DIY Ikea bookshelf hack for now. When we moved into our new home, the previous owner left 4 Ikea bookshelves in the second bedroom, 2 of which we threw out immediately, and 2 which I thought that at some point I would attempt to re-paint and finish. I figured that even if I messed up and hated them, they weren’t mine to begin with, so all that was at stake was a little time and hopefully a lesson or two learned. Well even though I’m happy with the final result, I can’t deny that I certainly learned a few lessons! Details of the process and the learnings below for this relatively easy DIY project!
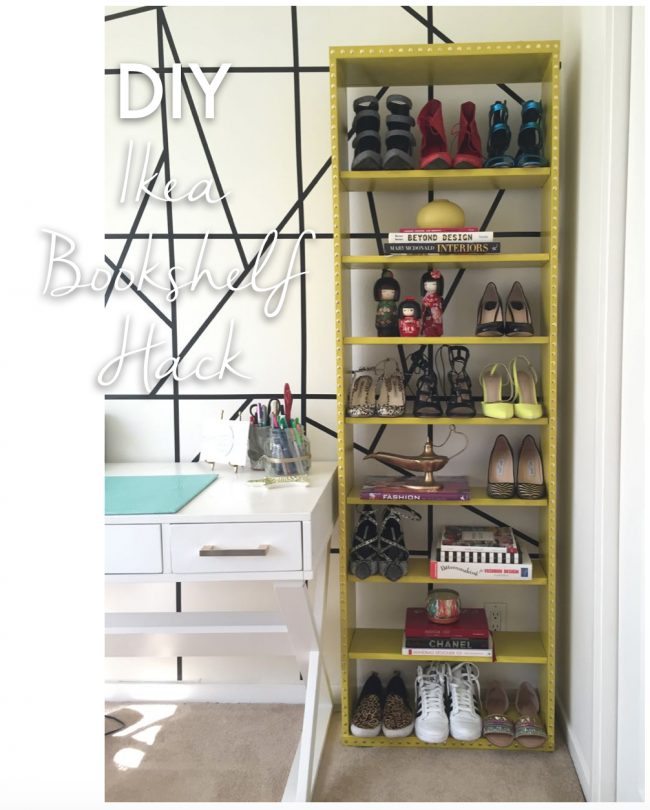
What you need:
1. Ikea bookshelves
2. Box cutter
3. Primer, Paintbrush
4. Paint- semi gloss for a shinier, more durable finish
5. Sandpaper
6. Brass thumb tacks (best price is from a home supply store like home depot in bulk)
7. Ruler
8. Hammer
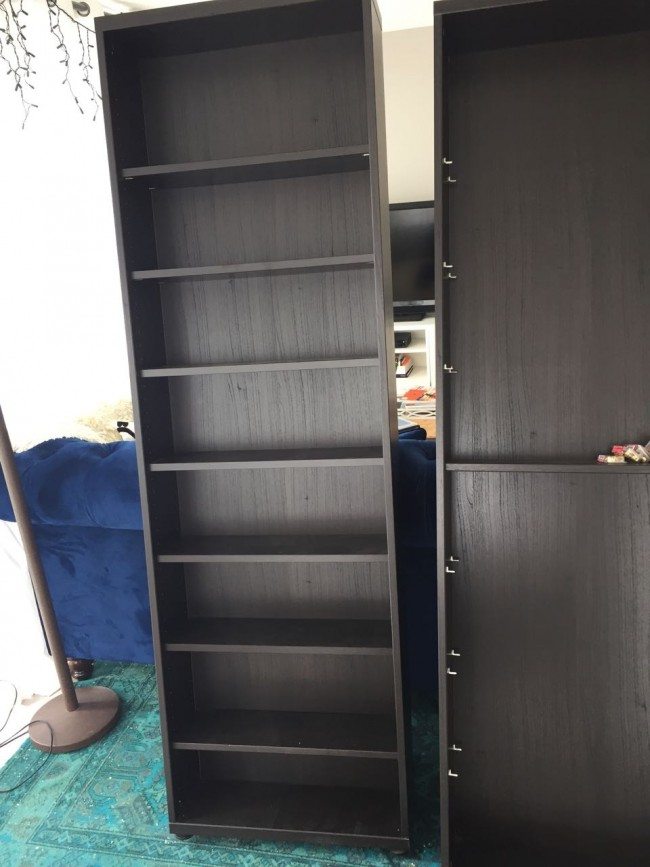
Step 1: Remove the particle board back by using the box cutter. Cut a vertical length down the folding spine of the back and remove.
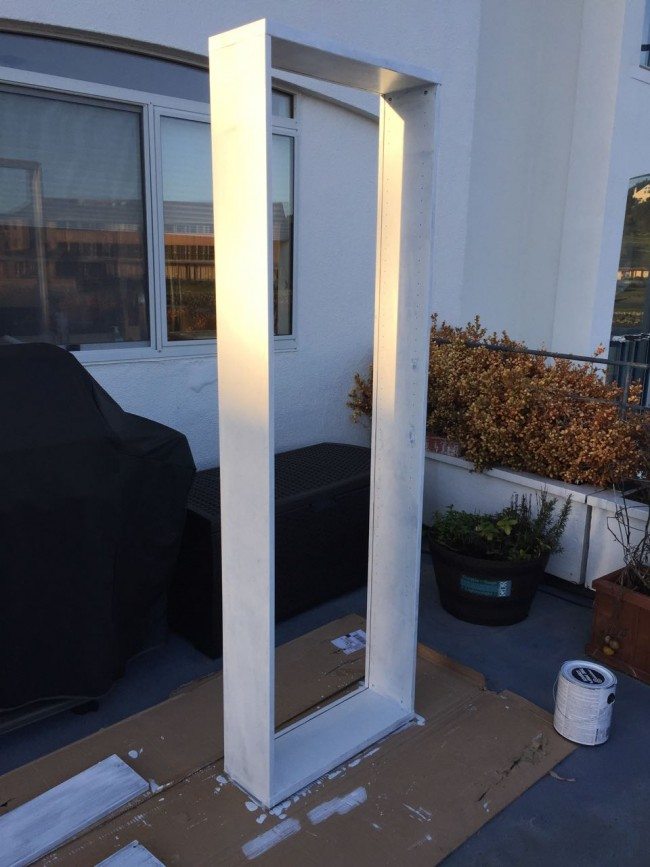
Step 2: Remove the shelves from the frame and place all pieces outside or in a wind-free space to paint.
Lesson learned #1: AVOID windy areas like the plague! Small bits of dust or feathers or anything can remove your perfect finish!
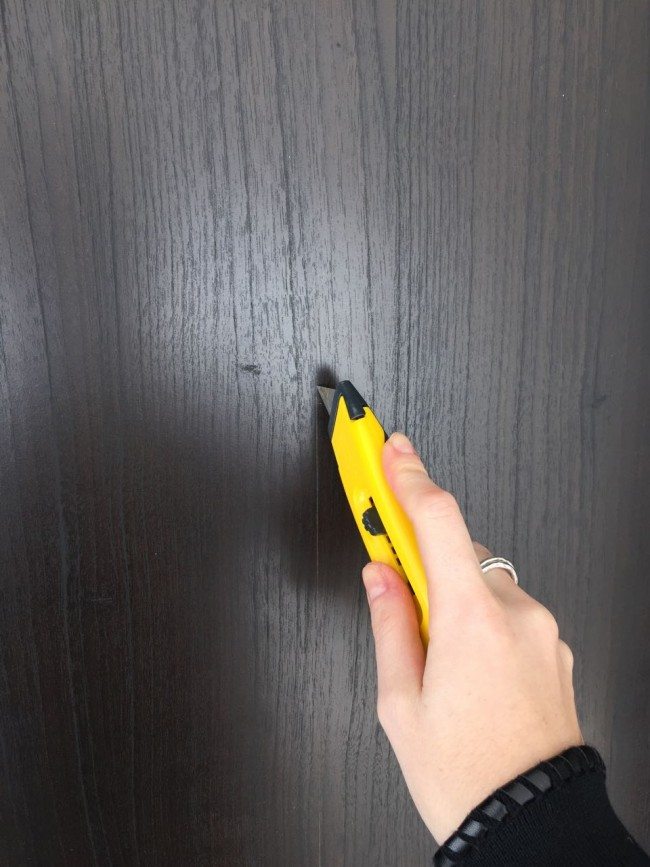
Step 3: Sand down every surface thoroughly, and I mean, thoroughly.
Lesson learned #2: Ikea shelves are covered with an almost plastic-like coating that makes painting over them extremely difficult. If you do not sand enough, the paint will just peel off!
Step 4: Add 1-2 layers of white primer to the shelves depending on how dark the base color was to start with. Since I was going very light from a dark base, I needed 2 coats.
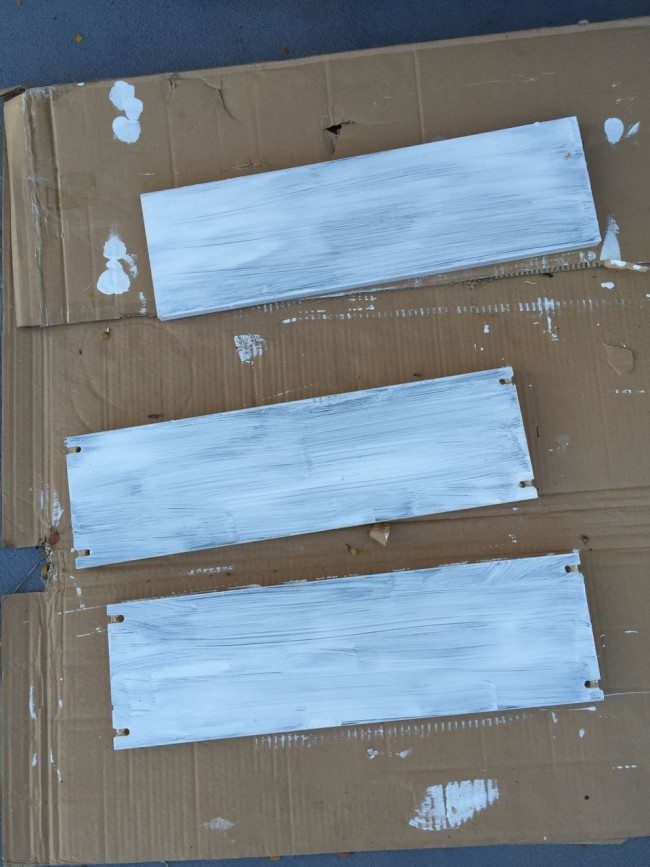
Step 5: Paint 2 coats of color paint of your choice. It’s faster to paint with a roller, but the finish will not look as good as with a paint brush, so take the time to paint with a 2-3″ brush by hand.
Lesson learned #3: I mistakenly chose water-based paint for this project but if I could start it over again I would have chosen oil-based. Oil based paints are often not used as much in DIY projects because they small very strong and take a long time to dry, however once dry they are far more durable than water-based. Additionally, I was going with a lacquer-like finish for this project in which oil-based would have served me better, but lesson learned!
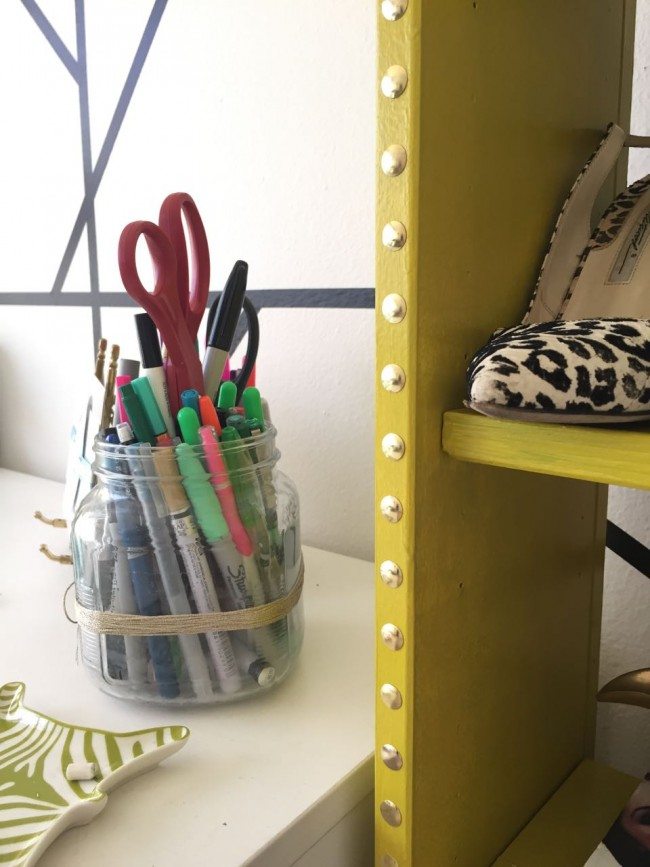
Step 6: Allow the paint to dry and take out the brass tacks. Measure and mark small dots where you want the brass tacks to go- I chose every inch, as my tacks were about 3/8″ in diameter.
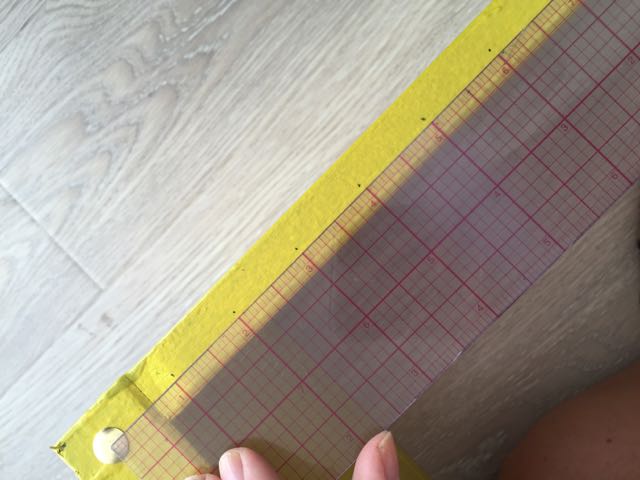
Step 7: Hammer in the tacks carefully. They go in pretty easily but start slowly with each tack to not hit yourself or bend the post of the tack.
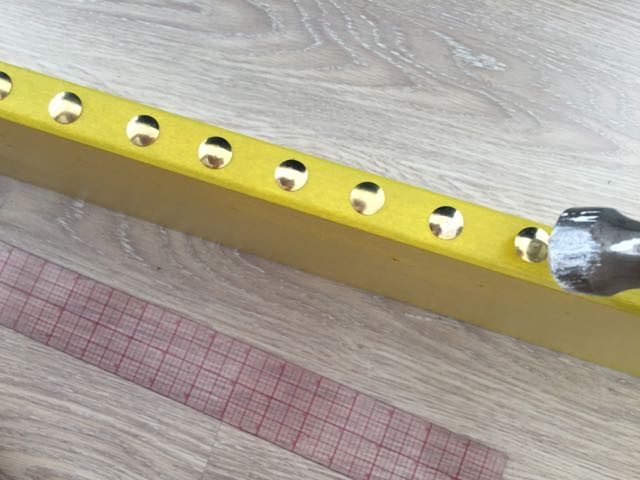
That’s it! it’s a fairly simple DIY that takes a lot of patience- as painting Ikea furniture requires more steps than painting more classic wood pieces. Overall I’m pleased with how it came out! The brass tacks give the bookshelf a small sense of glamour to what would otherwise be a boring pieces of furniture, and the chartreuse color adds a pop of fun. What do you think?
